
 Carmen J. Moore

Understanding how to use the light meter on your digital camera is essential for capturing well-exposed photos in various lighting conditions. The light meter measures the amount of light in a scene and helps you determine the correct exposure settings for your shot. By mastering the light meter, you can achieve better control over the exposure of your images and enhance the overall quality of your photography.
In this article, we will explore the basics of using the light meter on a digital camera, including how to interpret its readings and adjust your camera settings accordingly. Whether you are a beginner or an experienced photographer, understanding the light meter will help you take your photography skills to the next level.



Understanding the Basics
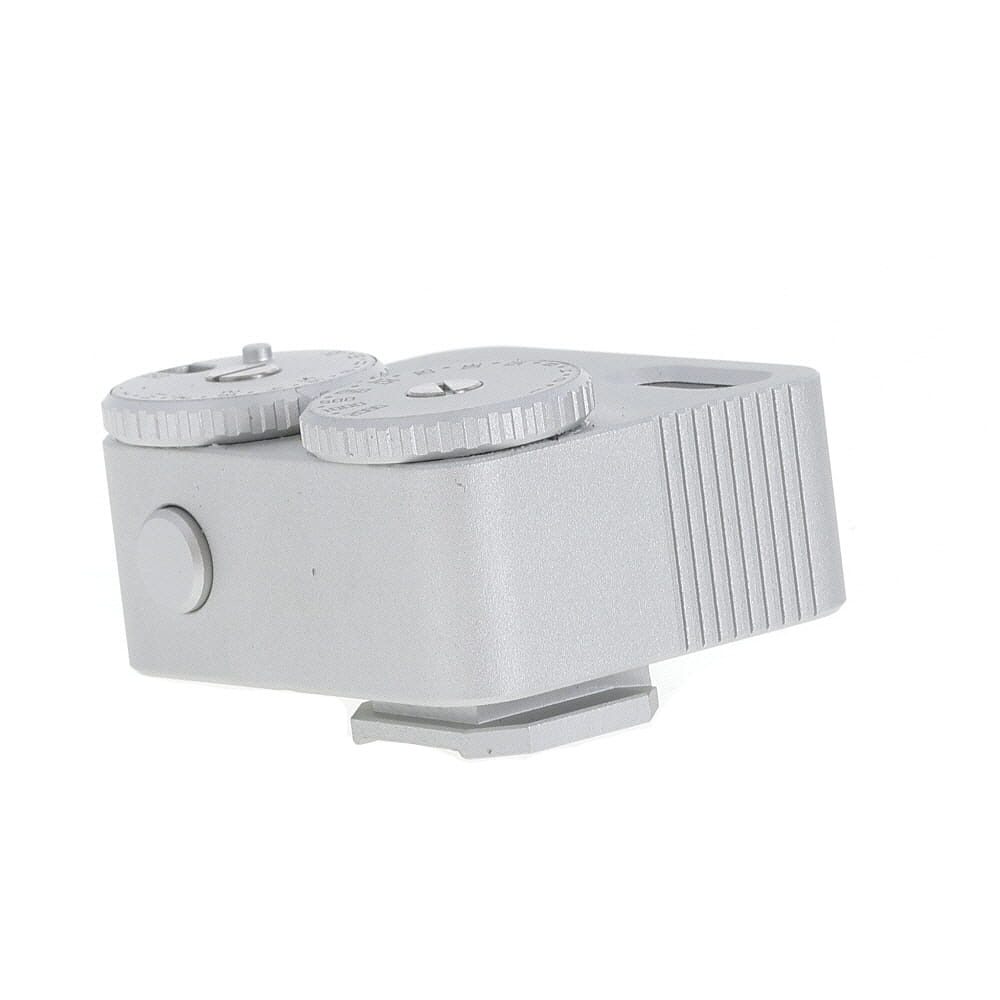
Before using the light meter on your digital camera, it is important to understand the basics of how it works. The light meter measures the amount of light in a scene and helps you determine the correct exposure settings for your photos.
There are two main types of light meters: incident and reflective. An incident light meter measures the light falling on a subject, while a reflective light meter measures the light reflected off a subject. Understanding which type of light meter your camera has will help you use it effectively.
Setting Up Your Camera
Before using the light meter on your digital camera, it’s important to set up your camera properly to ensure accurate exposure readings. Here are some steps to follow:
1. Select the appropriate shooting mode: Choose the shooting mode that best suits your shooting conditions, such as aperture priority, shutter priority, or manual mode.
2. Set the ISO: Adjust the ISO setting on your camera to control the sensitivity of the sensor to light. A lower ISO value is ideal for bright conditions, while a higher ISO value is suitable for low-light situations.

3. Choose the metering mode: Select the metering mode that works best for your subject, such as evaluative metering, spot metering, or center-weighted metering.
4. Check the exposure compensation: Adjust the exposure compensation if needed to fine-tune the exposure settings based on the lighting conditions.
By following these steps, you can ensure that your camera is set up correctly and ready to use the light meter effectively for capturing perfectly exposed photos.
Calibrating the Light Meter
Calibrating the light meter on your digital camera is essential to ensure accurate exposure readings. Here’s how you can do it:
- Find a neutral gray card or a white piece of paper.
- Set your camera to manual mode.
- Point your camera at the gray card or white paper and fill the frame with it.
- Adjust the exposure settings until the light meter reads zero.
- Take a test shot and review the histogram to ensure proper exposure.
Additional Tips:
- Repeat the calibration process in different lighting conditions for best results.
- Consider using a handheld light meter for more precise readings.
Using the Light Meter
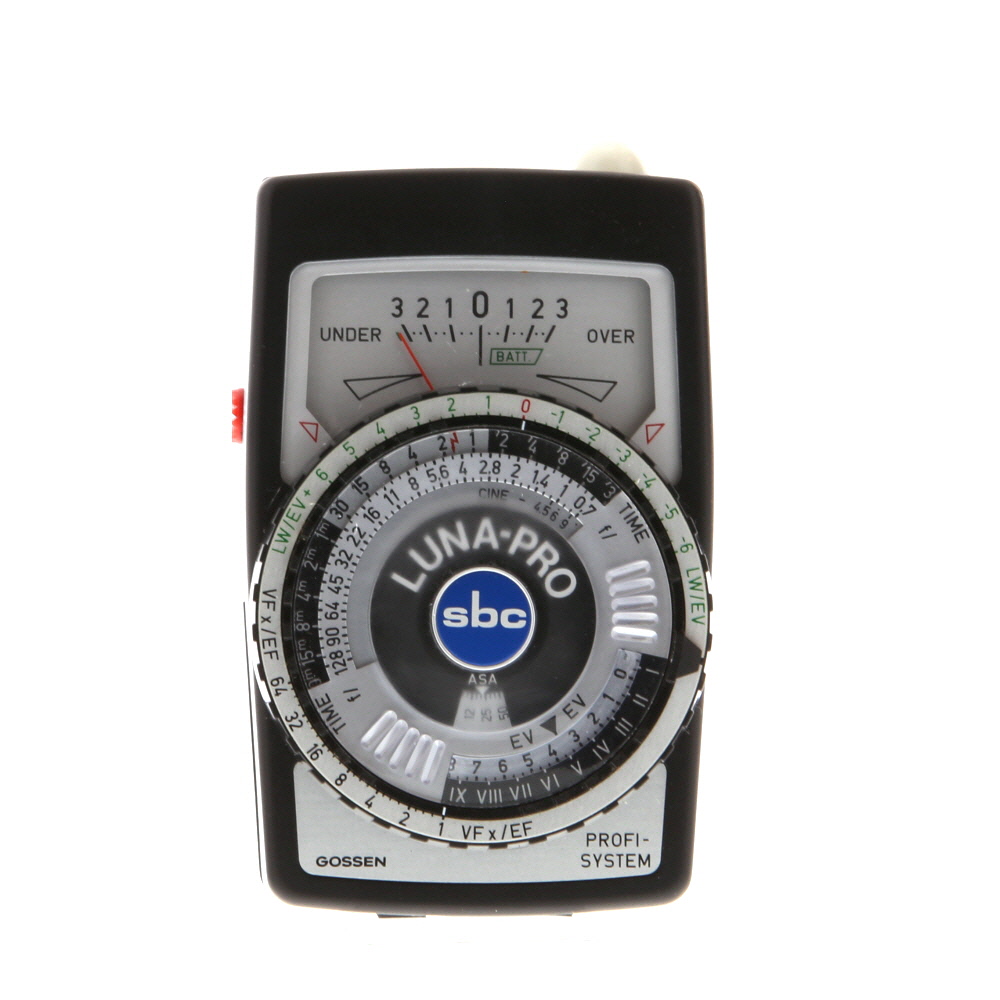
When using the light meter on your digital camera, it is important to understand how it works and how to interpret its readings. The light meter measures the amount of light in a scene and helps you determine the correct exposure settings for your photos.
Step 1: Metering Modes
Most digital cameras have different metering modes, such as spot metering, center-weighted metering, and evaluative metering. Each mode measures light in a different way and can be used in various shooting conditions.
Step 2: Reading the Meter
When looking at the light meter display on your camera, you will see a scale that ranges from -3 to +3. The goal is to adjust your settings until the meter is at zero, indicating a properly exposed image. If the meter is to the left of zero, it means the image will be underexposed, and if it is to the right, it will be overexposed.
Adjusting Exposure Settings
Once you have measured the light in your scene using the light meter, you may need to adjust the exposure settings on your digital camera to ensure a properly exposed image. Here are some steps to help you adjust the exposure settings:
1. Shutter Speed
Adjust the shutter speed to control the amount of time the camera’s sensor is exposed to light. A faster shutter speed lets in less light, while a slower shutter speed lets in more light. Experiment with different shutter speeds to achieve the desired exposure.
2. Aperture
Adjust the aperture to control the size of the opening through which light enters the camera. A larger aperture (smaller f-stop number) lets in more light, while a smaller aperture (larger f-stop number) lets in less light. Changing the aperture also affects the depth of field in your image.

Interpreting the Readings
Once you have taken a meter reading on your digital camera, it is important to understand how to interpret the results to achieve the desired exposure. Here are some key points to consider:
1. Exposure Value (EV)
The exposure value (EV) is a numerical representation of the camera’s recommended exposure settings based on the light meter reading. A higher EV indicates a brighter image, while a lower EV indicates a darker image. You can adjust the shutter speed, aperture, and ISO settings to achieve the desired EV for your shot.
2. Histogram
The histogram graphically displays the distribution of tones in your image, helping you evaluate the exposure levels. A well-exposed image typically shows a balanced histogram with peaks in the mid-tones. If the histogram is skewed to the left, the image is underexposed, while a right-skewed histogram indicates overexposure.
| Underexposed | Well-Exposed | Overexposed |
|---|---|---|
 |
 |
 |
Understanding Exposure Values
Exposure values (EV) are a way to measure the amount of light in a scene. The EV scale ranges from -2 to +2, with 0 representing the correct exposure for a given scene. Understanding EV is crucial for properly exposing your photos.
A higher EV value indicates more light in the scene, while a lower EV value indicates less light. By adjusting the settings on your camera to match the EV of the scene, you can ensure that your photos are properly exposed.
Using the light meter on your camera, you can determine the EV of a scene and adjust your settings accordingly. Pay attention to the EV reading and make adjustments to your aperture, shutter speed, and ISO to achieve the desired exposure.
Once you have a good grasp of exposure values, you will be able to confidently adjust your camera settings to capture beautifully exposed photos in any lighting condition.
Advanced Techniques
Spot Metering: This technique allows you to measure the light in a specific area of the frame, rather than the entire scene. This can be useful when you want to ensure a particular part of the image is correctly exposed, such as a subject’s face in a portrait.
Exposure Compensation: Sometimes the light meter may not give you the exposure you desire. In such cases, you can manually adjust the exposure compensation to make the image brighter or darker. This can be useful in high-contrast situations where the camera’s metering may not be accurate.
Bracketing: Bracketing involves taking multiple shots of the same scene at different exposure settings. This can help you capture a wider range of light values and ensure you get the perfect exposure in challenging lighting conditions.
Using Histogram: The histogram is a useful tool that shows you the distribution of light in your image. By checking the histogram, you can ensure that you have captured the full range of tones in your photograph and make adjustments as needed.
Using Spot Metering
Spot metering allows you to measure the exposure based on a specific point in the frame, rather than the overall scene. This can be useful when you have a subject that is backlit or in a high-contrast situation.
To use spot metering, first, select spot metering mode in your camera settings. Then, aim the spot metering point at the area you want to meter for. The camera will then adjust the exposure settings based on the light reading from that specific spot.
Keep in mind that spot metering can be more precise but requires you to carefully choose the metering point. It’s especially useful for portrait photography or when you want to ensure a specific part of the image is properly exposed.
Troubleshooting
If you are experiencing issues with the light meter on your digital camera, here are some common troubleshooting steps you can take:

1. Check the Battery
Make sure your camera’s battery is fully charged. A low battery can affect the accuracy of the light meter.
2. Reset the Settings
If the light meter is not functioning correctly, try resetting the camera settings to default. This can sometimes resolve software glitches.
| Issue | Solution |
|---|---|
| Light meter reading is too high or too low | Adjust the exposure compensation or ISO settings to correct the exposure. |
| Light meter is not responding | Try cleaning the camera’s contacts or updating the firmware. |
| Light meter is inconsistent | Ensure the metering mode is set correctly for the scene you are shooting. |
FAQ
How does a light meter work on a digital camera?
A light meter on a digital camera measures the intensity of light in a scene and helps the camera determine the optimal exposure settings. It typically calculates the correct combination of aperture, shutter speed, and ISO sensitivity to ensure a properly exposed image.
Can I rely solely on the light meter in my digital camera for accurate exposure?
While the light meter in a digital camera is a useful tool for determining exposure, it’s not always 100% accurate. Factors like backlighting, high contrast scenes, and unusual lighting conditions can sometimes confuse the meter. It’s important to understand how the meter works and be prepared to make manual adjustments if needed for the best results.



What’s the difference between incident and reflective light meters? I’ve heard both terms but not sure how each one works in practice.
Calibration with a gray card is a game-changer! I didn’t realize how off my settings were until I tried it. Highly recommend everyone give it a go.
When you mention adjusting the shutter speed and aperture, does one have more impact on exposure than the other? I’m confused about how to balance both when the light meter shows different readings.
Each setting affects exposure differently. The shutter speed controls how long the sensor is exposed to light, while the aperture controls the amount of light entering the camera. Adjusting both can help you achieve the desired exposure, but keep in mind that changing one will usually require compensating with the other.
I recently started using the light meter feature on my camera, and it really helped improve my shots in tricky lighting. It took some practice, but totally worth it!
I think using the histogram is overrated. I usually just trust my light meter and adjust from there. The histogram feels too complicated for basic shots.