
 Carmen J. Moore

If you’re a photography enthusiast or just someone who loves capturing moments with a digital camera, you may often find yourself needing to transfer photos from your camera to your MacBook Air. This process can seem daunting at first, but with the right tools and knowledge, it can be a breeze.
Step 1: Connect Your Camera to Your MacBook Air
The first step in transferring photos is to connect your digital camera to your MacBook Air using a USB cable. Make sure your camera is turned on and set to the correct mode for transferring photos.

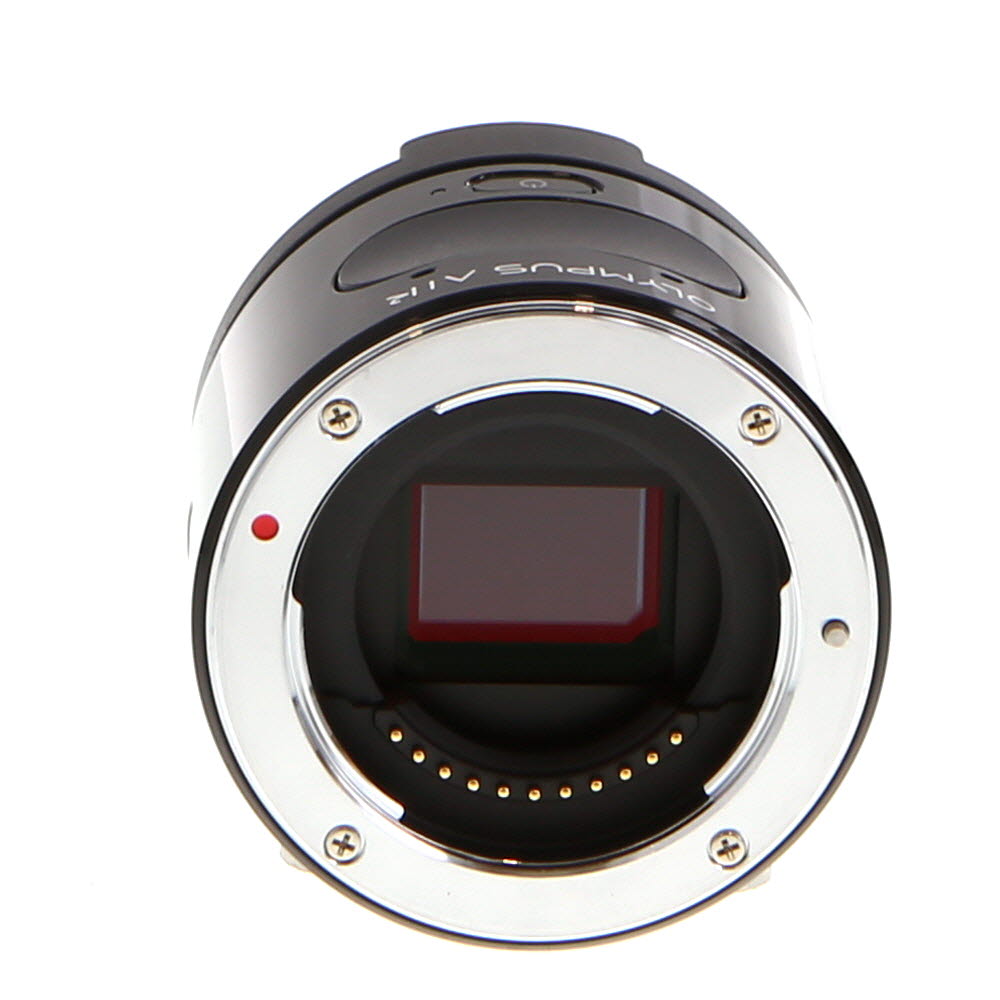


Note: Some digital cameras may require you to install specific software on your MacBook Air to enable photo transfer. Check your camera’s manual for instructions.
Step-by-Step Guide: Transferring Photos from Digital Camera to MacBook Air
To transfer photos from your digital camera to your MacBook Air, follow these simple steps:
- Connect your camera: Use a USB cable to connect your digital camera to your MacBook Air.
- Turn on your camera: Power on your digital camera so that it is recognized by your MacBook Air.
- Open Photos app: Launch the Photos app on your MacBook Air.
- Import photos: In the Photos app, click on the Import tab and select the photos you want to transfer from your digital camera.
- Start import: Click on the Import Selected button to start transferring the selected photos from your camera to your MacBook Air.
- Wait for completion: Allow the import process to complete, and once done, disconnect your camera from your MacBook Air.
That’s it! You have successfully transferred photos from your digital camera to your MacBook Air.
Prepare Your Equipment
Before transferring photos from your digital camera to your MacBook Air, make sure you have all the necessary equipment ready. You will need your digital camera, a USB cable to connect your camera to your MacBook Air, and your MacBook Air itself. Ensure that your digital camera is charged or has fresh batteries to avoid any interruptions during the transfer process.
Connect Your Digital Camera to MacBook Air
Transferring photos from your digital camera to your MacBook Air is a simple process that requires you to connect the camera to your laptop using a USB cable. Follow these steps to transfer your photos:

Step 1: Turn on Your Digital Camera
Make sure your digital camera is turned on and in the playback mode. This will allow your MacBook Air to recognize the camera when you connect it.
Step 2: Connect the Camera to Your MacBook Air
Locate the USB cable that came with your digital camera and use it to connect the camera to one of the USB ports on your MacBook Air. Once connected, your MacBook Air should detect the camera and display it as a connected device.
After following these steps, you can easily transfer your photos from your digital camera to your MacBook Air for editing or storage.
Import Photos Using Photos App
To import photos from your digital camera to your MacBook Air, you can use the Photos app. Follow these steps:
Step 1: Connect your digital camera to your MacBook Air using a USB cable.
Step 2: Open the Photos app on your MacBook Air.
Step 3: Click on the “Import” tab at the top of the Photos app window.
Step 4: Select the photos you want to import from your digital camera.
Step 5: Click on the “Import Selected” button to transfer the selected photos to your MacBook Air.
Step 6: Once the import is complete, you can view and organize your photos in the Photos app.
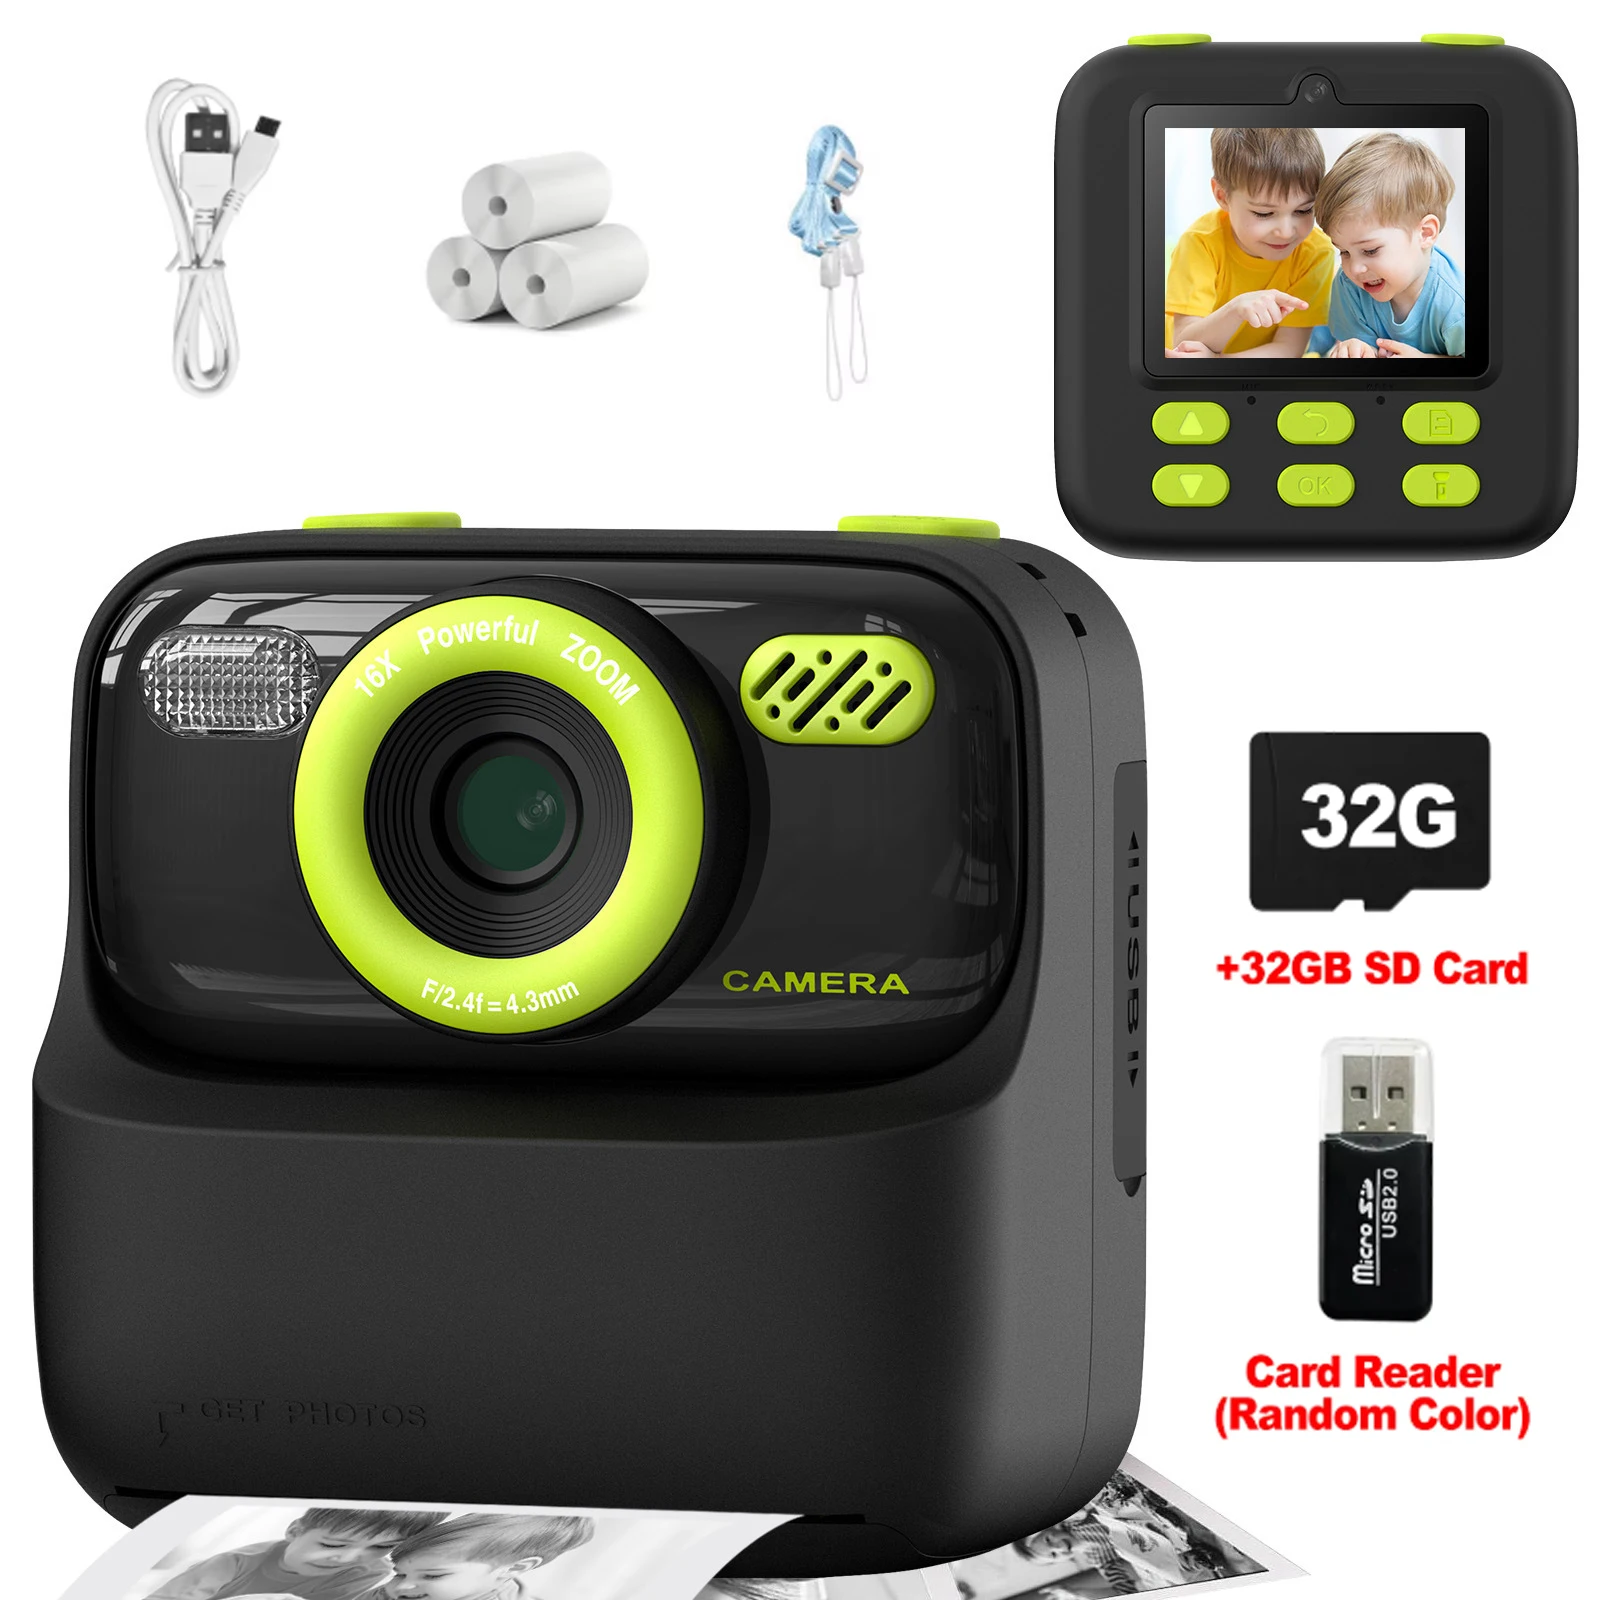
Using the Photos app makes it easy to transfer and manage your photos from your digital camera on your MacBook Air.
Transfer Photos via Image Capture
If you want to transfer photos from your digital camera to your MacBook Air, you can use the built-in Image Capture application. Follow these steps:
- Connect your digital camera to your MacBook Air using a USB cable.
- Open the Image Capture application on your MacBook Air. You can find it in the Applications folder.
- Your digital camera should appear in the left sidebar of the Image Capture window. Click on it to select it.
- You can choose the destination folder where you want to transfer the photos by selecting it from the “Import to” drop-down menu.
- Select the photos you want to transfer by clicking on them. You can use Command + click to select multiple photos.
- Click the “Import” button to transfer the selected photos to your MacBook Air.
- Once the transfer is complete, you can disconnect your digital camera from your MacBook Air.
Using Image Capture is a quick and easy way to transfer photos from your digital camera to your MacBook Air without the need for additional software.
Utilize Cloud Storage Services
Another convenient way to transfer photos from your digital camera to your MacBook Air is by utilizing cloud storage services. Cloud storage allows you to upload your photos to a secure online server and access them from any device with an internet connection.
Popular cloud storage services like Google Drive, Dropbox, and iCloud offer easy-to-use apps that you can install on both your digital camera and MacBook Air. Simply upload your photos to the cloud storage service from your camera, and then download them onto your MacBook Air using the app.

Email Photos to Yourself
If you prefer a simple and quick method to transfer photos from your digital camera to your MacBook Air, you can email the photos to yourself. Follow these steps:
- Connect your digital camera to your computer and transfer the photos to your desktop.
- Open your email client on your MacBook Air.
- Create a new email and attach the photos you want to transfer.
- Send the email to yourself.
- Access your email on your MacBook Air and download the attached photos.
This method allows you to easily access your photos on your MacBook Air without the need for any additional software or cables.
Use a USB Flash Drive
If your digital camera doesn’t have a direct connection to your MacBook Air or if you prefer a different method, you can transfer photos using a USB flash drive. Here’s how:
- Insert the USB flash drive into a USB port on your MacBook Air.
- Locate the photos you want to transfer on your digital camera and copy them to the USB flash drive.
- Eject the USB flash drive from your digital camera and remove it from the camera.
- Insert the USB flash drive into the USB port on your MacBook Air.
- Open the USB flash drive on your MacBook Air to access the copied photos.
- Copy the photos from the USB flash drive to a folder on your MacBook Air for safekeeping.
Using a USB flash drive is a simple and convenient way to transfer photos from your digital camera to your MacBook Air without the need for cables or additional software.
Backup and Organize Your Photos
Once you have transferred your photos from your digital camera to your MacBook Air, it is important to backup and organize them to ensure they are safe and easy to access. Follow these steps to properly manage your photo library:
1. Backup Your Photos
It is crucial to create backups of your photos to prevent loss in case of a computer crash or accidental deletion. You can backup your photos by using an external hard drive, cloud storage services like iCloud or Google Drive, or a dedicated backup software.
2. Organize Your Photos
| Organize by Date: | Sort your photos by date to easily locate them based on when they were taken. You can create folders for each year, month, or event to keep your photos organized chronologically. |
| Add Tags and Keywords: | Adding tags and keywords to your photos can help you quickly search and filter them based on specific criteria. Use descriptive terms like location, people, or event to make your photos easily searchable. |
| Create Albums: | Organize your photos into albums based on themes, events, or people. This will make it easier to browse and share your photos with others. |
FAQ
How can I transfer photos from my digital camera to my MacBook Air?
You can transfer photos from your digital camera to your MacBook Air using a USB cable. Simply connect your camera to your MacBook Air using the USB cable that came with your camera. Your MacBook Air should recognize the camera as a storage device, and you can then import the photos using the Photos app or other photo management software.
Is there a way to transfer photos wirelessly from my digital camera to my MacBook Air?
Yes, you can transfer photos wirelessly from your digital camera to your MacBook Air using a Wi-Fi connection or a wireless transfer app. Some cameras have built-in Wi-Fi capabilities that allow you to transfer photos to your MacBook Air without a cable. Alternatively, you can use a wireless transfer app like PhotoSync to transfer photos from your camera to your MacBook Air over a Wi-Fi network.
Can I edit the photos on my MacBook Air after transferring them from my digital camera?
Yes, you can edit the photos on your MacBook Air after transferring them from your digital camera. Once the photos are imported into the Photos app or another photo editing software, you can crop, enhance, adjust colors, apply filters, and perform other editing tasks to improve the quality of your photos. The Photos app on MacBook Air offers a range of editing tools to help you enhance your photos and make them look their best.



I used to struggle with transferring photos until I discovered the Image Capture app on my MacBook Air. It's super easy and doesn't require extra software! Just plug in the camera, and it recognizes it right away. I also prefer using cloud storage for backups; it gives me peace of mind knowing my photos are safe even if something happens to my laptop.
Good article! I have a question though. What if my camera doesn't automatically show up in the Photos app? Are there specific settings I should check?