
 Carmen J. Moore

Scanning negatives with a digital camera can be a cost-effective and efficient way to digitize your film photographs. Whether you are a professional photographer or an enthusiast looking to preserve your analog images, this method allows you to convert your negatives into high-quality digital files without the need for a dedicated film scanner.
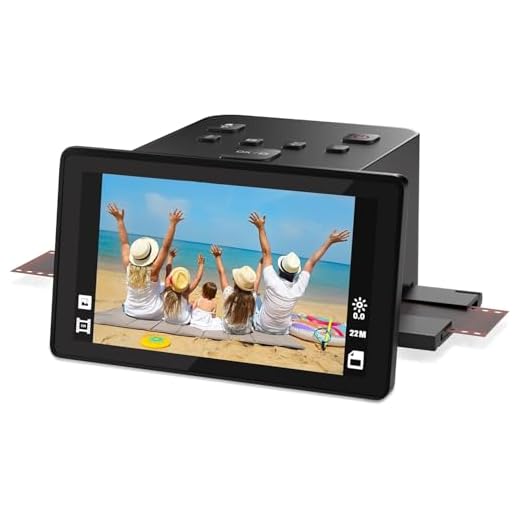



In this article, we will guide you through the process of scanning negatives with a digital camera, providing you with tips and techniques to achieve the best results. By following these steps, you can unlock the potential of your film negatives and bring your analog images into the digital age.
Preparing your workspace
Before you start scanning your negatives with a digital camera, it’s important to set up your workspace properly. Here are some key steps to follow:
1. Clean your workspace
Make sure your workspace is clean and free of dust and debris. This will help prevent any particles from getting on your negatives and affecting the quality of your scans.
2. Set up a stable surface
Place your digital camera on a stable surface, such as a tripod or a flat table. This will ensure that your camera is steady and your negatives are properly aligned for scanning.
Choosing the right equipment
When it comes to scanning negatives with a digital camera, having the right equipment is crucial for achieving high-quality results. Here are some key factors to consider when choosing the equipment:

1. Digital Camera:
Make sure you have a digital camera with a high resolution and good quality lens. A camera with at least 10 megapixels is recommended for capturing fine details in the negatives.
2. Macro Lens:
Invest in a macro lens for your camera to ensure you can capture sharp and detailed images of the negatives. A macro lens allows you to focus closely on the negatives without losing clarity.
Setting up your digital camera
Before you start scanning your negatives with a digital camera, you need to set up your camera properly. Follow these steps to ensure you get high-quality scans:
- Choose a well-lit area with natural light or set up artificial lighting to ensure even illumination.
- Mount your digital camera on a stable tripod to avoid camera shake and ensure sharp images.
- Set your camera to manual mode to have control over settings such as aperture, shutter speed, and ISO.
- Adjust the white balance settings on your camera to match the lighting conditions for accurate color reproduction.
- Use a macro lens or set your camera to macro mode to capture fine details when scanning the negatives.
Scanning process step-by-step
Scanning negatives with a digital camera involves a few simple steps to ensure high-quality results. Follow these steps to scan your negatives effectively:
Step 1: Set up your equipment
Place your negatives on a flat surface in a well-lit area. Position your digital camera on a tripod to ensure stability and focus.

Step 2: Frame the negative
Use the viewfinder or display screen on your camera to frame the negative. Ensure the negative is centered and straight within the frame.
Continue with the scanning process by capturing the image of the negative with your digital camera.
Adjusting settings for best results
When scanning negatives with a digital camera, it’s important to adjust your camera settings to achieve the best results. Here are some tips on how to do it:
1. Exposure
Make sure to set the exposure correctly to capture all the details in the negative. Experiment with different exposure settings to find the right balance between brightness and contrast.
2. White balance
Adjust the white balance of your camera to ensure accurate colors in the scanned negatives. Use a white balance card or a neutral gray card to achieve the most natural colors.

By fine-tuning these settings, you can get the best results when scanning negatives with a digital camera.
Finalizing the scanned negatives
Once you have scanned all your negatives with your digital camera, it’s time to finalize the process to ensure you have high-quality digital images. Here are a few steps to consider:
1. Organize your files: Create a folder on your computer to store all the scanned negative images. Organize them in a logical way so you can easily find specific images when needed.
2. Edit and enhance: Use photo editing software to adjust the brightness, contrast, and color balance of your scanned negatives. You can also remove any dust or scratches that may have appeared during the scanning process.
3. Save your files: Save your edited images in a high-quality format, such as TIFF or PNG, to preserve the detail and quality of the scanned negatives. Make sure to back up your files to prevent any loss of data.

4. Share and enjoy: Once you have finalized your scanned negatives, you can share them with friends and family or print them to display in your home. Enjoy your digital versions of your film negatives!
Tips and tricks for better scanning
Scanning negatives with a digital camera can be a bit tricky, but with these tips and tricks, you can achieve better results:
- Use a light table or backlight to illuminate the negatives for better clarity.
- Clean your negatives before scanning to avoid dust and scratches on the final image.
- Adjust the exposure settings on your digital camera to ensure proper lighting and color balance.
- Experiment with different angles and distances to find the best position for scanning.
- Consider using a macro lens or extension tubes for capturing fine details in the negatives.
FAQ
What equipment do I need to scan negatives with a digital camera?
To scan negatives with a digital camera, you will need a digital camera with a macro lens or a lens capable of focusing at close distances, a light table or a backlight source, a tripod, a negative holder or a way to keep the negatives flat, and editing software to invert the colors and make adjustments to the scanned images.
Can I use my smartphone to scan negatives with a digital camera?
Yes, you can use your smartphone to scan negatives with a digital camera. You will need a macro lens attachment for your smartphone, a backlight source, a tripod or a stable surface to keep your phone steady, and editing apps to invert the colors and make adjustments to the scanned images. While the quality may not be as high as using a dedicated digital camera, it can still produce decent results.



Good article! I'm new to this and wondering if a standard DSLR is good enough for scanning negatives? Or do I really need a high-end camera?
I've used a standard DSLR with good results. As long as it has at least 10 megapixels and you use a decent macro lens, you should be fine!
A standard DSLR can work well for scanning negatives if it meets the recommended specifications. Just ensure the lens is suitable for close-up focus.
I recently tried scanning my negatives using a light table and my digital camera. It was a bit tricky at first, but after adjusting the exposure settings, I got some really nice scans. I had to do a bit of post-processing to clean up some dust spots, but overall, I'm happy with the results. This method feels way more affordable than buying a dedicated scanner!