
 Carmen J. Moore

Using a tripod can greatly improve the quality of your photos and videos by providing stability and reducing camera shake. One of the key steps to getting the most out of your tripod is properly attaching your digital camera to it. In this guide, we will walk you through the steps to securely mount your camera on a tripod.
Step 1: Choose the right tripod plate
Most tripods come with a quick-release plate that attaches to the bottom of your camera. Make sure you select the appropriate plate that fits your camera model. The plate should have a screw that matches the mounting hole on your camera.




Step 2: Attach the plate to your camera
Locate the mounting hole on the bottom of your camera and align it with the screw on the tripod plate. Use a coin or screwdriver to securely tighten the screw, ensuring that the plate is firmly attached to your camera.
Essential steps for setting up a digital camera on a tripod
Setting up a digital camera on a tripod is essential for capturing sharp and stable images. Follow these steps to ensure a secure and stable setup:
Step 1: Choose a stable surface
Place the tripod on a flat and stable surface to prevent any wobbling or shaking during shooting. Avoid placing the tripod on uneven or slippery surfaces.
Step 2: Attach the camera to the tripod
Securely attach the camera to the tripod head using the mounting plate or screw. Make sure the camera is firmly attached to prevent any accidental falls.

Tip: Double-check the connection between the camera and the tripod to ensure it is secure.
Step 3: Adjust the tripod height and angle
Extend the tripod legs to the desired height and adjust the angle of the camera using the tripod head. Position the camera to frame your shot effectively.
By following these essential steps, you can set up your digital camera on a tripod for stable and professional-looking photos.
Choosing the right tripod for your camera
When selecting a tripod for your digital camera, there are several factors to consider to ensure you get the right fit for your needs. Here are some key points to keep in mind:
- Weight capacity: Make sure the tripod can support the weight of your camera and any additional accessories you plan to use.
- Height: Choose a tripod that can extend to a height that is comfortable for your shooting style.
- Material: Tripods are typically made of aluminum or carbon fiber. Aluminum tripods are sturdy and affordable, while carbon fiber tripods are lightweight and more expensive.
- Leg locks: Look for tripods with secure leg locks that are easy to adjust and provide stability.
- Head type: Consider the type of tripod head you prefer, such as ball heads or pan-tilt heads, based on your shooting needs.
By considering these factors, you can choose a tripod that is the right fit for your camera and shooting style, providing stability and support for your photography adventures.
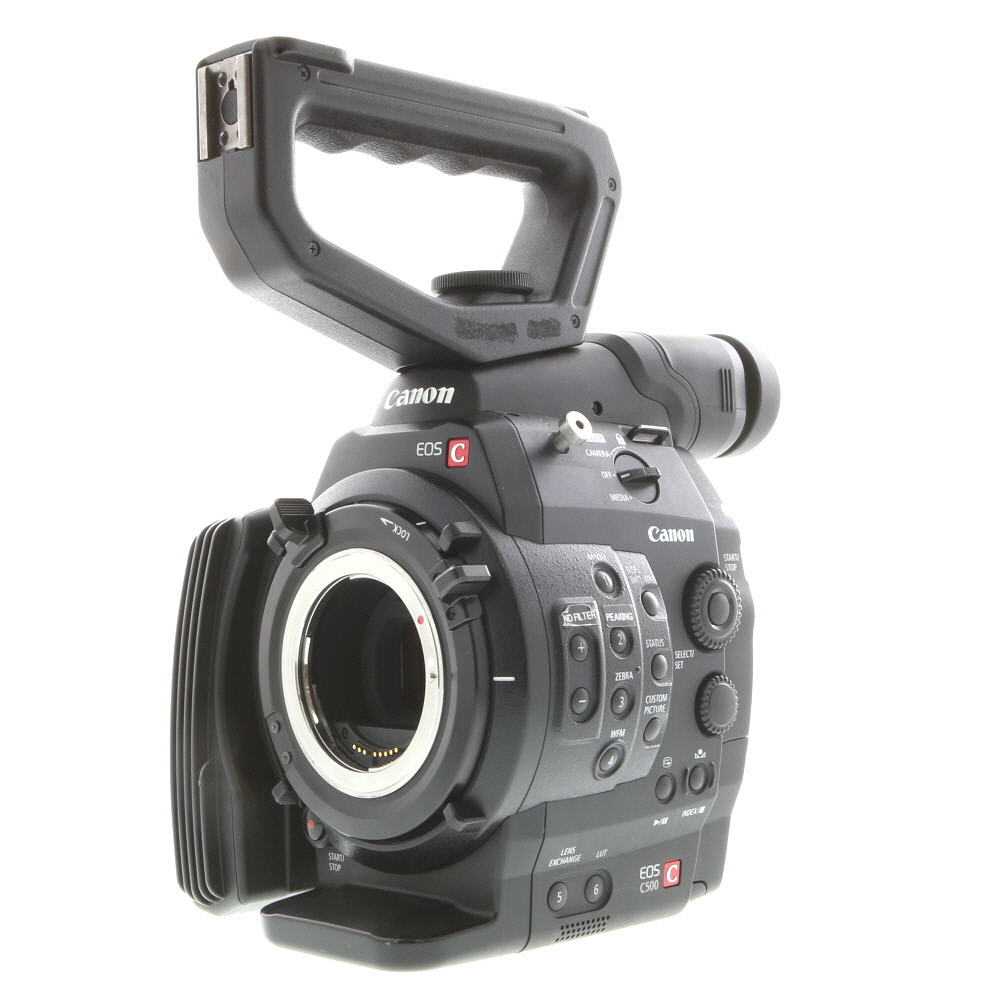
Unfolding and Extending the Tripod Legs
When setting up your tripod, the first step is to unfold and extend the tripod legs. Follow these steps to properly unfold and extend the legs:
-
Unlock the Leg Locks:
Locate the leg locks on each tripod leg. Depending on the type of tripod you have, the leg locks may be twist locks or flip locks. Unlock the leg locks by twisting or flipping them open.
-
Extend the Legs:
With the leg locks unlocked, extend each tripod leg to your desired height. Make sure to extend all legs evenly to maintain stability.
-
Lock the Legs in Place:
Once you have extended the legs to the desired height, lock them in place by twisting or flipping the leg locks back into position. Ensure that the legs are securely locked to prevent any wobbling or instability.
| Tip: Before extending the legs, adjust the center column of the tripod to the desired height to provide additional stability. |
Adjusting the height of the tripod
Before mounting your digital camera on the tripod, it’s important to adjust the height of the tripod to your desired level. Follow these steps to adjust the height:
- Unlock the leg locks: Start by unlocking the leg locks on the tripod legs. This will allow you to extend or retract the legs.
- Extend or retract the legs: Depending on whether you want to increase or decrease the height, extend or retract the legs of the tripod accordingly. Make sure to adjust all three legs evenly to maintain stability.
- Lock the leg locks: Once you have set the tripod to the desired height, lock the leg locks securely to keep the legs in place.
After adjusting the height of the tripod, you can now mount your digital camera on top of it and ensure it is stable and secure before capturing your shots.
Attaching the camera to the tripod head
Once you have set up your tripod, it’s time to attach your digital camera to the tripod head. Follow these steps:
- Make sure the tripod head is securely attached to the tripod legs.
- Locate the mounting plate on the tripod head. This plate typically has a screw that will attach to the bottom of your camera.
- Align the mounting plate with the bottom of your camera and securely attach it using the screw. Make sure it is tight to prevent any movement.
- Once the camera is securely attached to the mounting plate, you can then slide the plate into the mounting slot on the tripod head. Make sure it locks into place.
- Double-check the security of the camera attachment before operating the tripod to ensure your camera is safe and stable.
Securing the camera in place on the tripod
Once you have positioned the camera on the tripod plate, make sure it is securely fastened in place. Most tripods come with a mounting plate that attaches to the camera’s tripod socket. Slide the plate onto the camera and tighten the screw to secure it firmly.

Double-check that the camera is properly aligned and balanced on the tripod head. Adjust the position if needed to ensure stability. Tighten any knobs or levers on the tripod head to lock the camera in place.
Finally, give the camera a gentle shake to ensure it is securely attached to the tripod. If the camera moves or feels loose, readjust the mounting plate and tighten the screws until the camera is stable and secure.
Aligning the camera with the desired angle
Once the camera is securely mounted on the tripod, it’s time to align it with the desired angle for your shot. Follow these steps:
- Adjust the tripod head: Loosen the tripod head by turning the knob or lever to allow the camera to move freely.
- Align the camera: Look through the viewfinder or use the camera’s screen to frame your shot. Rotate the camera left or right and tilt it up or down to get the desired composition.
- Lock the tripod head: Once you have the camera positioned correctly, tighten the tripod head to secure the camera in place.
Using a remote shutter release or self-timer function
If you want to avoid camera shake when taking a photo with your digital camera on a tripod, using a remote shutter release or the self-timer function can be very helpful. A remote shutter release allows you to trigger the camera shutter without physically touching the camera, reducing the risk of introducing vibrations that can blur your photos. You can also use the self-timer function on your camera, which delays the shutter release after you press the button, giving any vibrations caused by pressing the button time to settle before the photo is taken.
Checking the stability of the tripod setup
Before mounting your digital camera on the tripod, it is crucial to ensure the stability of the setup to avoid any potential accidents or shaky footage. Follow these steps to check the stability of your tripod:

1. Extend the tripod legs
Start by extending the tripod legs to the desired height. Make sure each leg is securely locked in place to prevent any wobbling or shifting during use.
2. Test the stability
Once the tripod legs are extended, gently shake the tripod to check its stability. If the tripod wobbles or feels unsteady, adjust the leg positions or tighten the locking mechanisms until the tripod is stable and secure.
| Checklist: |
| ✓ Tripod legs extended |
| ✓ Legs securely locked in place |
| ✓ Stable and steady tripod setup |
Adjusting the camera settings for tripod use
When using a tripod with your digital camera, it’s important to adjust the camera settings to ensure you capture the best possible image.
1. Turn off image stabilization: If your camera has image stabilization, it’s best to turn it off when using a tripod. Image stabilization is designed to reduce camera shake when shooting hand-held, but it can actually introduce blur when the camera is on a stable surface like a tripod.
2. Use a low ISO: When shooting with a tripod, you can use a lower ISO setting to reduce noise in your images. A lower ISO setting will result in a cleaner image with less digital noise.
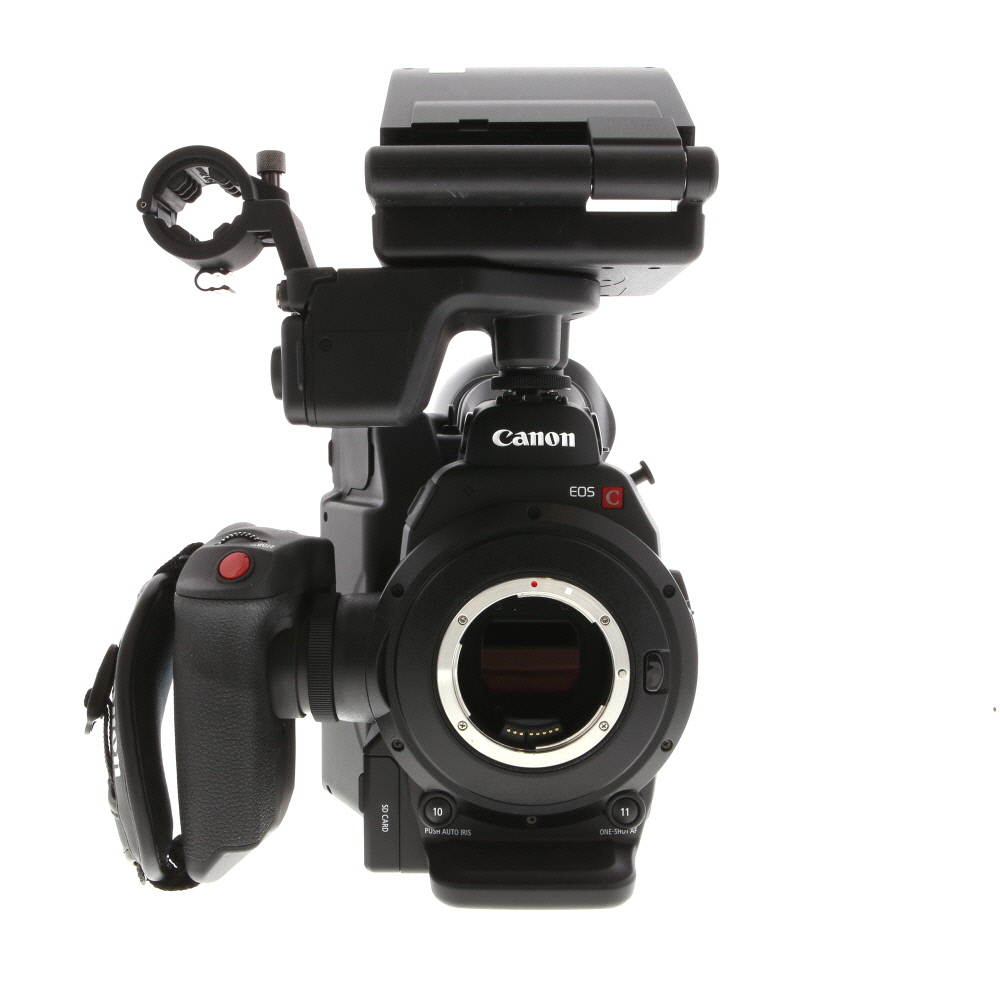
3. Set a longer exposure time: With the camera on a tripod, you can use longer exposure times to capture more light and detail in your images. Experiment with different exposure times to find the right balance between capturing enough light and avoiding overexposure.
4. Use the self-timer or a remote shutter release: To further reduce camera shake, use the self-timer function or a remote shutter release to trigger the camera without physically touching it. This will help ensure sharp, blur-free images.
By adjusting these settings when using your digital camera on a tripod, you can achieve sharper, more professional-looking images with greater detail and clarity.
Capturing stunning and steady shots with your tripod-mounted camera
Mounting your digital camera on a tripod can greatly enhance the quality of your photos by providing stability and allowing you to compose your shots with precision. Follow these steps to ensure you capture stunning images:
1. Choose a sturdy tripod that can support the weight of your camera and lens.

2. Attach the quick-release plate to the bottom of your camera and securely fasten it to the tripod head.
3. Adjust the height and angle of the tripod to achieve the desired composition.
4. Use a remote shutter release or the camera’s self-timer function to prevent camera shake when taking the photo.
5. Experiment with different camera settings, such as aperture and shutter speed, to achieve the desired exposure.
6. Take your time to compose your shot and make any necessary adjustments before pressing the shutter button.

By following these tips, you can capture sharp, clear, and professional-looking photos with your tripod-mounted camera.
FAQ
How do I attach a digital camera to a tripod?
Attaching a digital camera to a tripod is usually done by screwing the camera onto the tripod mount. Most tripods have a mounting plate with a screw that fits into the bottom of the camera. Simply align the screw with the camera’s tripod socket and twist it securely into place.
What is the benefit of using a tripod with a digital camera?
Using a tripod with a digital camera provides stability and helps prevent camera shake, resulting in sharper images, especially in low-light conditions or when using slow shutter speeds. It also allows for precise composition and framing of shots.
Can I adjust the height of the tripod when setting up a digital camera?
Most tripods have adjustable legs and a center column that can be extended or retracted to change the height of the camera. This allows you to position the camera at different levels and angles to achieve the desired composition for your photos.
Do I need a special adapter to attach my digital camera to a tripod?
Most digital cameras come with a standard tripod socket that is compatible with most tripods. However, if your camera has a non-standard mounting point, you may need to purchase an adapter to attach it securely to the tripod. Make sure to check the compatibility of your camera with the tripod before purchasing.



I recently set up my tripod for the first time, and I followed the steps here. I found that locking the legs securely was crucial because my first attempt was a bit wobbly. I also learned the hard way to double-check the mounting plate because my camera slipped a little during filming!
I had the same issue at first! It’s so important to ensure everything is tight. I usually give my camera a little shake after setting it up just to be sure.
How do I know if the tripod plate I have will fit my camera? My camera model is pretty popular, but I'm not sure about the compatibility.
Check the specifications of both the tripod plate and your camera. Most manufacturers provide compatibility details. If your camera has a standard mounting hole, most plates should fit, but verifying is always a good idea.
Great guide! The tips about using a remote shutter release to avoid camera shake are super helpful. I didn't realize that could make such a difference in my photos.