
 Carmen J. Moore

Have you ever gazed up at the night sky and marveled at the beauty of the Milky Way? Capturing the splendor of our galaxy with a digital camera can be a rewarding experience for any photography enthusiast.



Photographing the Milky Way requires careful planning, the right equipment, and a good understanding of the settings needed to capture the night sky in all its glory.
With the proper techniques and a bit of practice, you can create stunning images of the Milky Way that will leave you in awe of the universe’s vastness and beauty.
Essential Tips for Capturing the Milky Way
Photographing the Milky Way can be a challenging yet rewarding experience. Here are some essential tips to help you capture stunning images of our galaxy:
1. Location is Key
Choose a location away from light pollution to ensure clear and dark skies. National parks or remote areas are ideal spots for capturing the Milky Way.
2. Use a Fast Lens
Invest in a fast lens with a wide aperture (f/2.8 or lower) to gather more light and create sharp images of the Milky Way.

Experiment with different exposure settings and ISO levels to find the optimal combination for capturing the beauty of the Milky Way.
Choosing the Right Location
When photographing the Milky Way, choosing the right location is crucial. Here are some tips for selecting the perfect spot:
| 1. Dark Sky | Find a location away from light pollution to ensure a clear view of the stars. |
| 2. Clear Horizon | Look for a location with a clear view of the horizon to capture the full arc of the Milky Way. |
| 3. Interesting Foreground | Add interest to your Milky Way photos by including a captivating foreground element, such as a tree, rock formation, or body of water. |
| 4. Accessibility | Choose a location that is easily accessible, especially if you plan to carry heavy photography equipment. |
Preparing Your Gear
Before heading out to photograph the Milky Way, it’s important to make sure you have the right gear and equipment with you. Here are some essential items to consider:
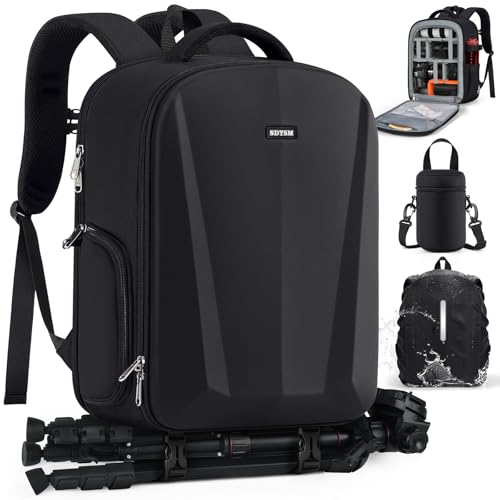
- Camera: Make sure you have a digital camera that is capable of shooting in manual mode and has manual focus capabilities.
- Lens: A wide-angle lens with a low aperture (f/2.8 or lower) is ideal for capturing the night sky.
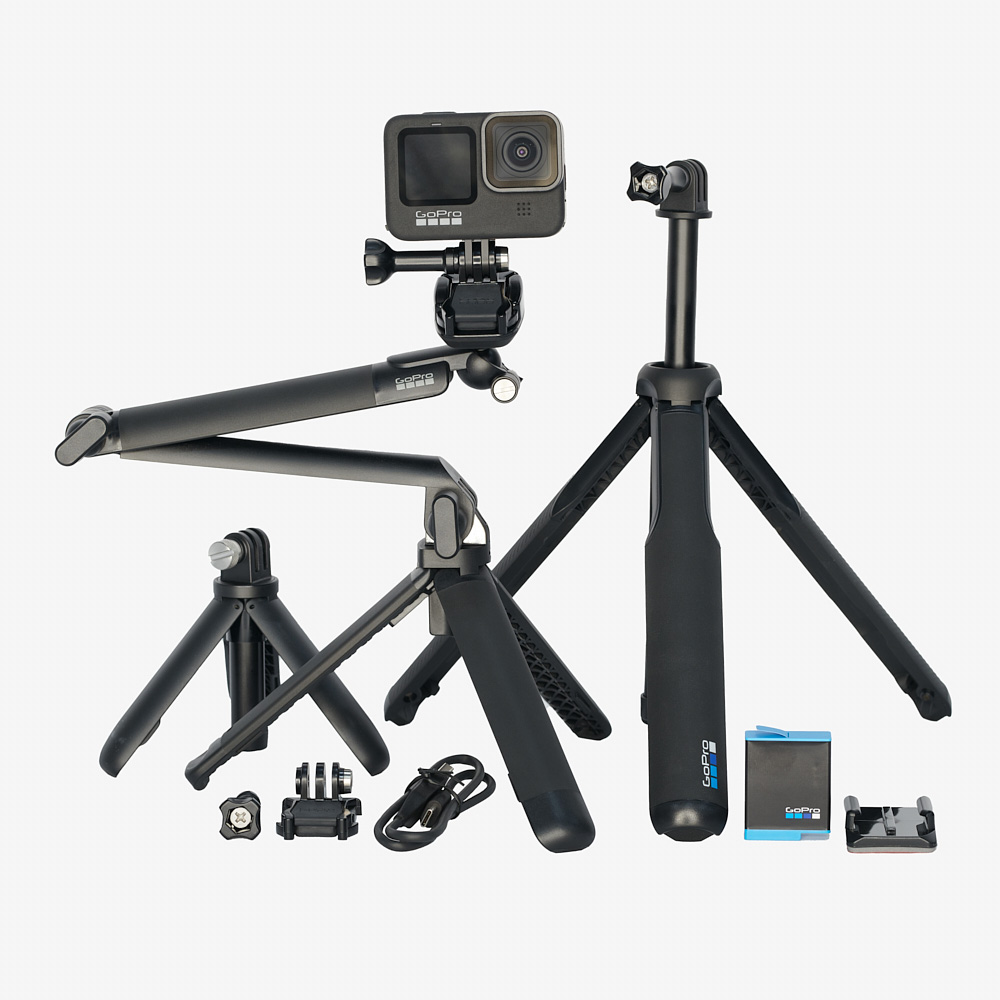
- Tripod: A sturdy tripod is essential for keeping your camera steady during long exposure shots.
- Remote Shutter Release: This will help minimize camera shake when taking photos.
- Flashlight or Headlamp: A light source will help you navigate in the dark and adjust camera settings.
- Extra Batteries and Memory Cards: Make sure you have enough power and storage space for a night of shooting.
Setting Up Your Camera
Before you start photographing the Milky Way, it’s important to set up your camera properly to capture the best possible images. Here are some key steps to follow:
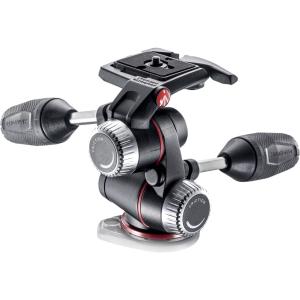
1. Use a sturdy tripod: To avoid camera shake and ensure sharp images, use a sturdy tripod to keep your camera steady during long exposure shots.
2. Set your camera to manual mode: Manual mode allows you to have full control over your camera settings, including aperture, shutter speed, and ISO.
3. Use a wide-angle lens: A wide-angle lens with a large aperture (f/2.8 or wider) is ideal for capturing the vast expanse of the Milky Way in the night sky.
4. Set your focus to infinity: To capture sharp starry skies, set your lens to manual focus and adjust it to infinity to ensure the stars are in focus.
5. Adjust your camera settings: Start with an ISO of around 1600-3200, an aperture of f/2.8 or wider, and a shutter speed of 20-30 seconds to capture the Milky Way’s details without star trails.
6. Use a remote shutter release: To prevent camera shake during long exposures, use a remote shutter release or set a timer to trigger the shutter without touching the camera.

7. Check for light pollution: Choose a location away from city lights to minimize light pollution and capture clear, dark skies for the best Milky Way photos.
Adjusting Camera Settings
When photographing the Milky Way with a digital camera, it is crucial to adjust your camera settings to capture the night sky effectively. Here are some essential settings to consider:
- Manual Mode: Set your camera to manual mode to have full control over the settings.
- ISO: Start with an ISO between 800-3200 to capture the stars effectively without introducing too much noise.
- Aperture: Use a wide aperture (low f-stop) such as f/2.8 or lower to allow more light to reach the sensor.
- Shutter Speed: Experiment with long exposures ranging from 15-30 seconds to capture the faint light of the Milky Way.
- White Balance: Set the white balance to a cooler temperature (around 4000-5000K) to enhance the blue tones of the night sky.
- Focusing: Switch to manual focus and set the focus to infinity to ensure sharp starry details.
- Noise Reduction: Consider turning on long exposure noise reduction to minimize noise in your images.
Focusing on the Stars
When photographing the Milky Way, achieving sharp focus on the stars is crucial for capturing clear and detailed images. Here are some tips to help you focus accurately:
| 1. Manual Focus: | Switch your camera to manual focus mode to have full control over focusing. Autofocus may struggle in low light conditions, so manual focus is preferred for astrophotography. |
| 2. Use Live View: | Engage the live view mode on your camera to zoom in on a bright star or planet in the sky. Adjust the focus manually until the star appears as a sharp point of light. |
| 3. Infinity Focus: | Set your lens to infinity focus, which is usually indicated by a symbol that looks like ∞. Fine-tune the focus slightly if needed to ensure the stars are sharp. |
| 4. Test Shots: | Take test shots at different focus points to check the sharpness of the stars in the frame. Adjust the focus as necessary until you achieve the desired clarity. |
| 5. Manual Focus Assist: | If your camera has a manual focus assist feature, use it to help you achieve precise focus on the stars. This can be especially helpful in low-light conditions. |
Taking Test Shots
Before you start shooting the Milky Way, it’s a good idea to take some test shots to ensure you have the right settings. Here’s how to do it:
- Find a dark location away from city lights to reduce light pollution.
- Set up your camera on a tripod to keep it steady during the long exposure.
- Set your camera to manual mode and adjust the settings: aperture to the widest setting (low f-stop), ISO to a high value (1600-3200), and shutter speed to around 20-30 seconds.
- Focus your lens to infinity to capture the stars sharply.
- Take a test shot and review the image on your camera’s LCD screen. Adjust the settings as needed to get the desired exposure and sharpness.
By taking test shots, you can fine-tune your camera settings and composition before capturing the stunning beauty of the Milky Way.

Shooting the Milky Way
To capture stunning images of the Milky Way with your digital camera, follow these essential tips:
1. Find a Dark Sky Location: Choose a location away from city lights to minimize light pollution and enhance the visibility of the Milky Way.
2. Use a Sturdy Tripod: Stability is crucial for long exposure shots, so make sure to use a sturdy tripod to avoid camera shake.
3. Set the Right Exposure: Experiment with different exposure settings to find the right balance between capturing the Milky Way’s details and avoiding overexposure.
4. Shoot in RAW Format: Shooting in RAW allows for greater flexibility in post-processing and helps retain more image data.
5. Focus on Infinity: Set your camera’s focus to infinity to ensure sharpness in your Milky Way shots.
6. Use a Fast Wide-Angle Lens: A wide-angle lens with a large aperture (f/2.8 or wider) is ideal for capturing the expansive beauty of the Milky Way.
7. Experiment with Composition: Play with different compositions, foreground elements, and framing to create unique and captivating Milky Way images.
8. Take Test Shots: Capture test shots to adjust your settings and composition before capturing the final image of the Milky Way.
9. Be Patient and Persistent: Shooting the Milky Way takes practice and patience, so keep trying and refining your techniques to capture stunning night sky photos.

Post-Processing Your Images
Once you have captured the Milky Way photos, it’s time to enhance them through post-processing. Here are some steps you can take to improve your images:
| 1. | Adjust the exposure: Increase the brightness and contrast to bring out the details in the Milky Way. |
| 2. | Reduce noise: Use noise reduction tools to minimize the graininess in your image. |
| 3. | Enhance colors: Bring out the natural colors of the stars and the Milky Way by adjusting the saturation and hue. |
| 4. | Sharpen details: Use sharpening tools to make the stars and the Milky Way more defined. |
| 5. | Crop and straighten: Crop the image to remove any distractions and straighten the horizon if needed. |
Sharing Your Stunning Milky Way Photos
Once you’ve captured breathtaking photos of the Milky Way with your digital camera, it’s time to share your work with the world. Here are a few ways you can showcase your stunning images:
- Share on social media platforms like Instagram, Facebook, and Twitter. Use relevant hashtags to reach a wider audience.
- Submit your photos to photography websites and online galleries to get recognized by the photography community.
- Print your images and display them in art shows, galleries, or even sell them as prints online.
Remember, your Milky Way photos are a reflection of your skills and creativity, so don’t be shy about sharing them with others!
FAQ
What equipment do I need to photograph the Milky Way with a digital camera?
To photograph the Milky Way with a digital camera, you will need a camera with manual settings, a wide-angle lens with a large aperture (f/2.8 or wider), a sturdy tripod, and a remote shutter release to prevent camera shake.
What camera settings should I use to capture the Milky Way?
To capture the Milky Way, set your camera to manual mode, use a high ISO (1600-3200), a wide aperture (f/2.8 or wider), a shutter speed of around 20-30 seconds, and focus to infinity. Experiment with different settings to achieve the desired results.

How can I find the best location to photograph the Milky Way?
To find the best location for photographing the Milky Way, look for dark sky areas away from light pollution. Use apps like Stellarium or Photopills to plan your shoot and find the Milky Way’s position in the night sky. Consider factors like foreground interest and composition to create stunning Milky Way photos.




I'm new to astrophotography. Can you explain why a fast lens is necessary for capturing the Milky Way? What does 'wide aperture' really mean?
A fast lens, typically with a wide aperture of f/2.8 or lower, allows more light to hit the sensor, which is crucial in low-light situations like night photography. This helps capture more detail in the Milky Way and reduces noise in your images.
I had my first attempt at photographing the Milky Way last summer. I went to a national park known for its dark skies, and it was breathtaking! I used a 16-35mm f/2.8 lens on a sturdy tripod. The key for me was experimenting with the ISO settings; I found that 3200 worked best without too much noise. Can't wait to try again!
I don't think you need a super expensive lens to get decent shots of the Milky Way. I use a kit lens and have had good results. It's all about technique, right?