
 Carmen J. Moore

If you’re looking to add a creative twist to your photography, a fisheye lens can offer a unique and captivating perspective. While fisheye lenses can be expensive, you can actually create your own DIY fisheye lens for your digital camera with just a few simple materials and some creativity.
What is a fisheye lens? A fisheye lens is an ultra-wide-angle lens that produces strong visual distortion to create a wide panoramic or hemispherical image. The lens captures a vast field of view, with the distortion giving images a characteristic curved appearance.
In this article, we’ll guide you through the steps to make your own fisheye lens for your digital camera, allowing you to experiment with this fun and quirky photography technique without breaking the bank.


Guide to Creating a Fisheye Lens for Digital Camera
Transforming your regular digital camera into a fisheye lens powerhouse can be a fun and rewarding DIY project. With a few simple materials and some handy skills, you can capture unique and distorted images that add creativity to your photography.
Materials Needed:
- Wide-angle lens attachment
- 2-inch concave lens
- Black electrical tape
- Scissors
- Marker
Start by attaching the wide-angle lens to your digital camera. This will serve as the base for your fisheye lens. Next, carefully place the 2-inch concave lens over the wide-angle lens, ensuring it is centered and secure. Use black electrical tape to hold the concave lens in place, making sure there are no gaps for light to leak through.
Once your fisheye lens attachment is assembled, test it out by taking photos with your digital camera. Experiment with different angles and subjects to see the distortion effect in action. With practice, you’ll master the art of fisheye photography and create stunning images that stand out from the crowd.
Step-by-Step Instructions for Making Your Own Fisheye Lens
Materials Needed:
- Door peephole lens
- Body cap for your camera
- Black electrical tape
- Drill with a bit that matches the peephole’s diameter
- Scissors
Step 1: Take the body cap for your camera and drill a hole in the center of it using the drill and the bit that matches the peephole’s diameter.

Step 2: Remove the lens from the door peephole and place it in the hole you drilled in the body cap. Secure it in place using black electrical tape.
Step 3: Seal any gaps between the lens and the body cap with additional black electrical tape to prevent light leaks.
Step 4: Attach the newly created fisheye lens to your camera’s lens mount and start capturing unique fisheye images!
Materials Needed for DIY Fisheye Lens Project
To create your own fisheye lens for a digital camera, you will need the following materials:
1. Peephole Lens
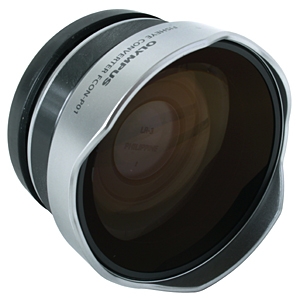
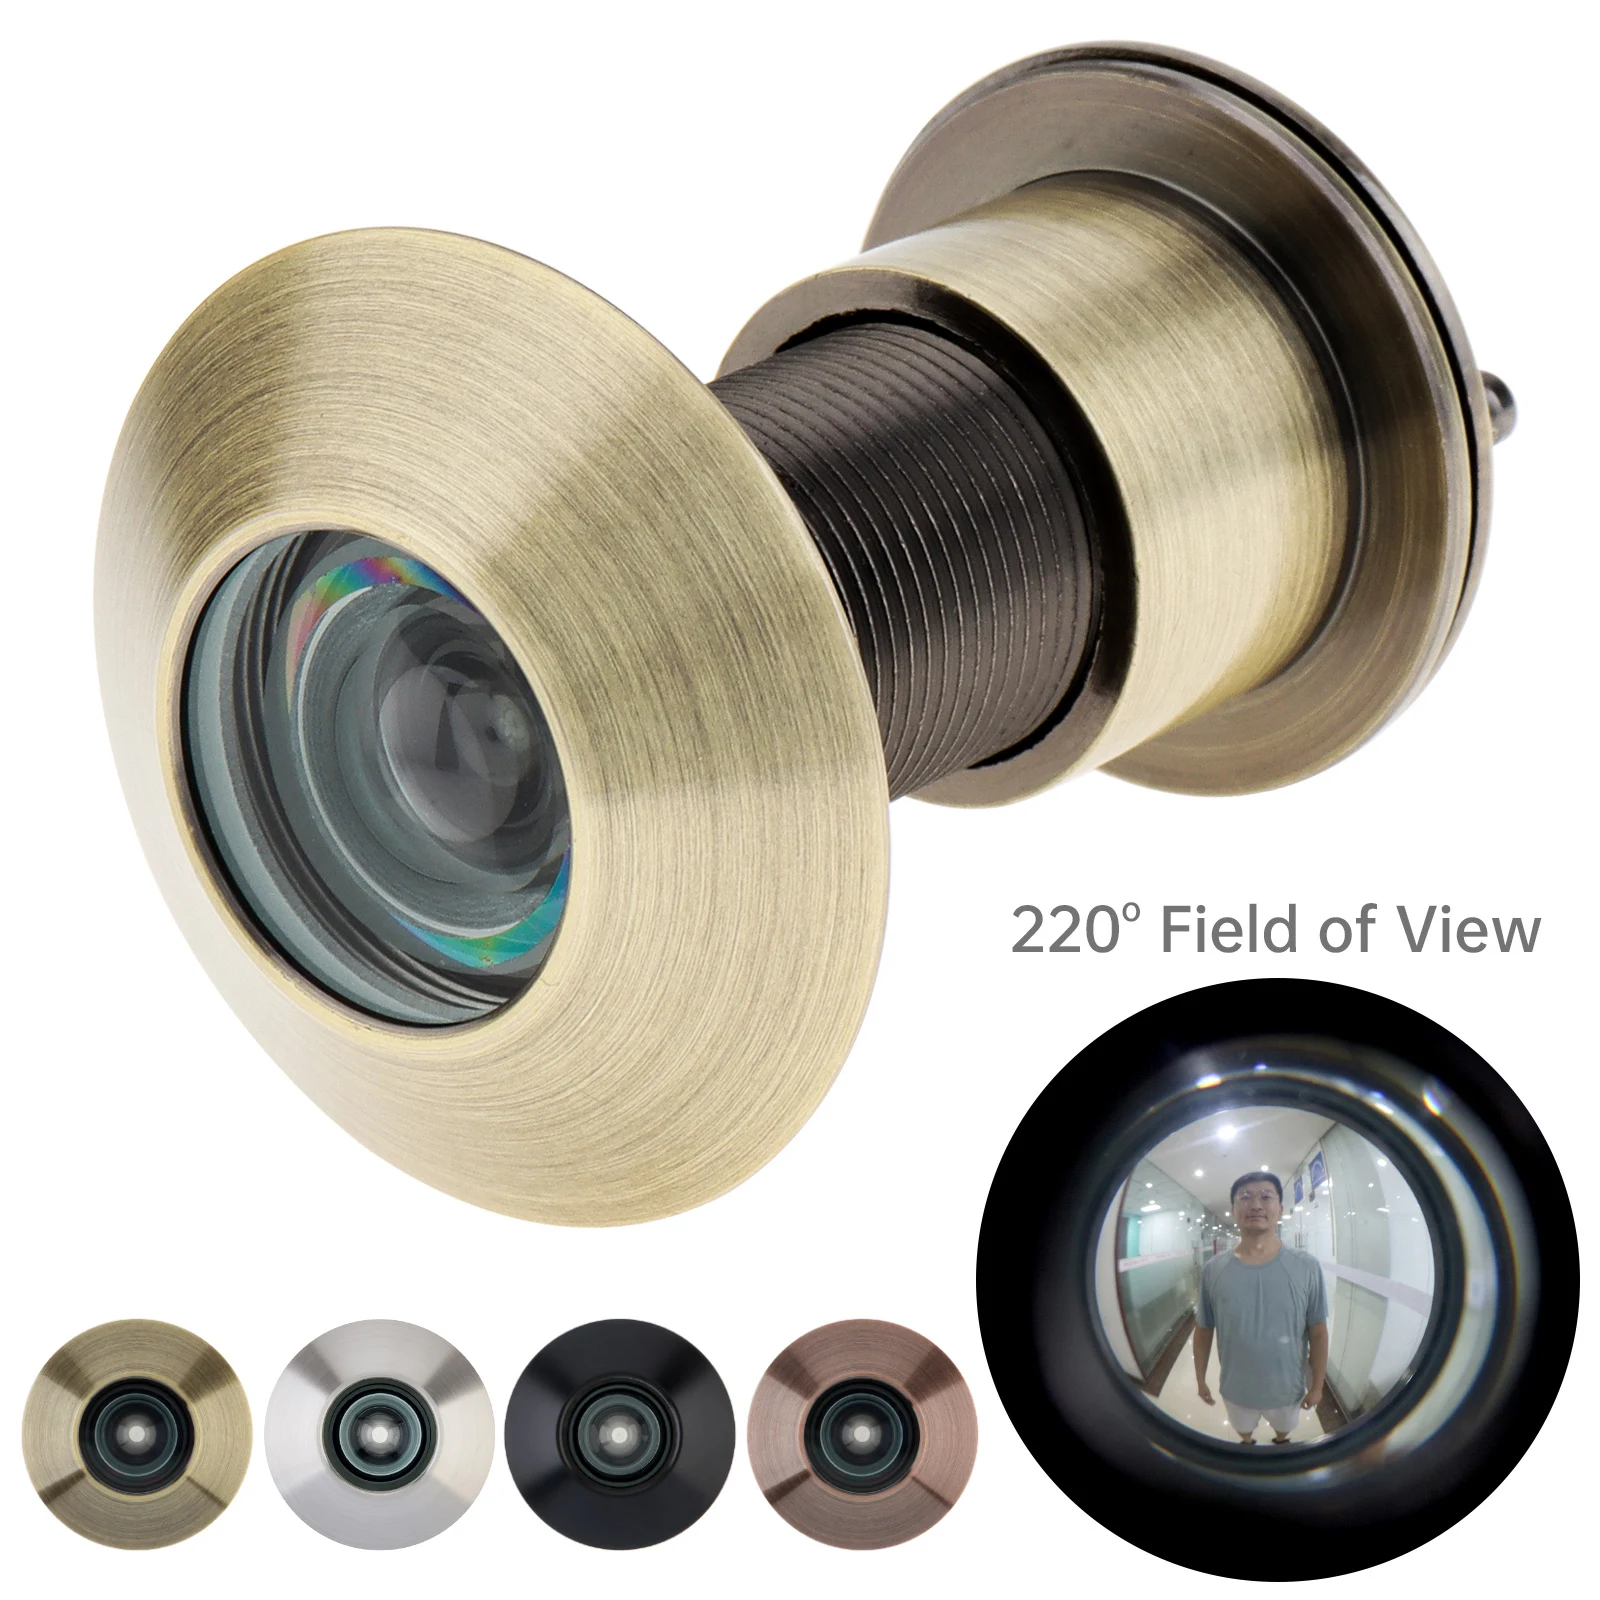
A peephole lens is the most vital component for this project. It is a small, wide-angle lens commonly used in peepholes of doors. You can find them in hardware stores or online.
2. Camera Body Cap
A camera body cap will serve as the base for attaching the peephole lens to your camera. Make sure it fits your camera model. You may have one that came with your camera or can easily purchase one online or at a camera store.
Choosing the Right Digital Camera for Fisheye Lens Modification
When it comes to modifying a digital camera with a fisheye lens, selecting the right camera is crucial to ensure the best results. Here are some key factors to consider when choosing a digital camera for fisheye lens modification:
1. Sensor Size
The sensor size of the camera will determine the field of view and image quality when using a fisheye lens. Cameras with larger sensors generally produce better results with fisheye lenses.
2. Lens Compatibility
Make sure that the camera you choose is compatible with the fisheye lens you plan to use for modification. Some cameras may require additional adapters or modifications to work with certain fisheye lenses.
| Camera Model | Sensor Size | Lens Compatibility |
|---|---|---|
| Canon EOS 5D Mark IV | Full-frame | Compatible with various fisheye lenses |
| Nikon D850 | Full-frame | Works well with Nikon fisheye lenses |
| Sony Alpha a7 III | Full-frame | Compatible with Sony fisheye lenses |
Preparing the Lens Cap for Fisheye Conversion
To create a fisheye lens for your digital camera, you’ll first need to prepare the lens cap for the conversion process. Follow these steps:
- Choose a Lens Cap: Start by selecting a lens cap that fits securely on your camera’s lens. It’s important that the cap is the right size to ensure a proper fit.
- Remove the Inner Ring: Carefully remove the inner ring of the lens cap using a small screwdriver or a pair of pliers. This step is necessary to allow the lens cap to sit closer to the camera lens.
- Clean the Inside: Clean the inside of the lens cap to remove any debris or dust that may affect the image quality. Use a lens cleaning cloth or a soft brush for this task.
- Mark the Center: Mark the center of the lens cap to guide you in cutting the fisheye lens hole. You can use a pencil or a fine marker for this purpose.
Once you have prepared the lens cap following these steps, you’ll be ready to move on to the next phase of creating your fisheye lens for your digital camera.
Creating the Fisheye Effect with Simple Optical Tools
While a fisheye lens can provide a unique perspective for your photography, you can also achieve a similar effect using simple optical tools. One way to create a fisheye effect is to use a peephole lens, which can be easily attached to your camera lens to distort the image and create a wide-angle view.
To make a DIY fisheye lens, you can also experiment with a door peephole or a small glass marble. By placing these items in front of your camera lens, you can achieve a distorted and circular view that mimics the fisheye effect.
Tips for Using Optical Tools:
Experiment with different objects: Try using various optical tools like door peepholes, glass marbles, or even water droplets to see which one creates the most interesting fisheye effect.
Adjust the distance: The distance between the optical tool and your camera lens can affect the intensity of the fisheye effect. Experiment with different distances to achieve the desired distortion.

Testing Your Homemade Fisheye Lens on Different Subjects
Now that you have successfully crafted your fisheye lens for your digital camera, it’s time to put it to the test! Experiment with different subjects to see how the fisheye effect enhances your photography.
1. Architecture: Capture unique and distorted perspectives of buildings and structures. The fisheye lens can exaggerate lines and curves, creating a dynamic and intriguing composition.
2. Landscapes: Use the fisheye lens to capture expansive landscapes with a surreal and immersive feel. The distortion can add depth and drama to your outdoor shots.
3. Portraits: Get up close and personal with your subjects to create fun and quirky portraits. The fisheye lens can distort facial features in a playful way, resulting in creative and unconventional portraits.
4. Creative experiments: Don’t be afraid to think outside the box! Try experimenting with abstract compositions, close-up shots of everyday objects, or capturing dynamic action scenes with your fisheye lens.
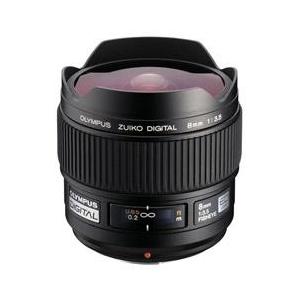
By testing your homemade fisheye lens on different subjects, you’ll discover its unique capabilities and unleash your creativity in photography!
Tips for Enhancing the Fisheye Effect in Your Photography
When using a fisheye lens on your digital camera, there are several techniques you can employ to enhance the unique fisheye effect in your photography:
1. Get Close to Your Subject: To exaggerate the distortion and create a more dramatic effect, get close to your subject when shooting with a fisheye lens. This will make the subject appear larger and more distorted, adding visual interest to your photos.
2. Experiment with Angles: Play around with different shooting angles to see how the fisheye lens distorts the scene. Shooting from low angles or tilting the camera can produce interesting and dynamic results, adding a creative touch to your images.
3. Use Leading Lines: Incorporate leading lines into your composition to guide the viewer’s eye through the distorted fisheye perspective. Leading lines can help create a sense of depth and draw attention to key elements in your photos.

4. Embrace the Distortion: Instead of trying to correct the distortion caused by the fisheye lens, embrace it and use it to your advantage. The unique distortion can add a surreal and artistic quality to your images, making them stand out from traditional photographs.
5. Experiment with Post-Processing: After capturing your fisheye images, experiment with post-processing techniques to further enhance the fisheye effect. Adjusting the contrast, saturation, and distortion levels can help you create visually striking and captivating photos.
Adjusting Camera Settings for Best Results with Fisheye Lens
When using a fisheye lens with your digital camera, it’s important to adjust the camera settings to achieve the best results. Here are some tips on how to optimize your camera settings for fisheye photography:
1. Aperture
Set the aperture to a medium setting (around f/8 to f/11) to ensure sharpness across the frame while still maintaining a wide depth of field. Avoid using the smallest aperture settings as they can introduce diffraction and reduce image quality.
2. Shutter Speed
Use a fast shutter speed to avoid motion blur, especially when shooting moving subjects or handheld. A shutter speed of at least 1/125s is recommended, but you may need to adjust it based on the lighting conditions and the effect you want to achieve.

| Camera Setting | Recommended Value |
|---|---|
| ISO | Low to medium (ISO 100-400) |
| White Balance | Auto or adjust based on the lighting conditions |
| Focus | Manual focus for better control, especially in close-up shots |
By adjusting these camera settings, you can capture stunning fisheye photos with your digital camera. Experiment with different settings to find the perfect combination for your desired results.
Sharing Your Unique Fisheye Photos with the World
Once you have created stunning fisheye photos using your DIY fisheye lens, it’s time to share your unique perspective with the world. Here are some tips on how to showcase your fisheye photography:
| 1. Social Media: | Share your fisheye photos on popular social media platforms like Instagram, Facebook, and Twitter. Use relevant hashtags to reach a wider audience. |
| 2. Online Photography Communities: | Join online photography communities and share your fisheye shots for feedback and inspiration. Websites like Flickr and 500px are great platforms for showcasing your work. |
| 3. Create a Portfolio: | Build a portfolio of your fisheye photography on a personal website or portfolio platform. This will help you establish your unique style and attract potential clients. |
| 4. Collaborate with Other Photographers: | Collaborate with other photographers to create joint projects or exhibitions featuring fisheye photography. This can help you reach a broader audience and gain valuable exposure. |
| 5. Enter Photography Contests: | Submit your fisheye photos to photography contests and competitions to showcase your skills and potentially win awards or recognition. |
Exploring Creative Possibilities with DIY Fisheye Lenses
Adding a fisheye effect to your photos can bring a unique and creative perspective to your photography. While fisheye lenses are available for purchase, creating your own DIY fisheye lens can be a fun and cost-effective way to experiment with this unique photographic style.
There are several creative possibilities that DIY fisheye lenses offer. From capturing distorted and exaggerated perspectives to creating surreal and artistic images, fisheye lenses can add a new dimension to your photography.
Materials Needed:
| 1. Peephole lens |
| 2. Adapter ring |
| 3. Camera body cap |
| 4. Glue or adhesive |
By combining a peephole lens with an adapter ring and a camera body cap, you can create your own fisheye lens that can be attached to your digital camera. This DIY approach allows you to customize the focal length and distortion level of your fisheye lens to achieve the desired effect in your photos.
Experimentation and Creativity:
Once you have assembled your DIY fisheye lens, the possibilities for creative experimentation are endless. Try shooting close-up portraits to distort facial features, capture sweeping landscapes to accentuate curvature, or play with light and shadows to create dynamic and abstract compositions.
Exploring the creative possibilities with DIY fisheye lenses can inspire you to think outside the box and push the boundaries of traditional photography. Embrace the unique perspective and artistic freedom that fisheye lenses offer, and let your creativity shine through in your images.
FAQ
What materials do I need to make a fisheye lens for a digital camera?
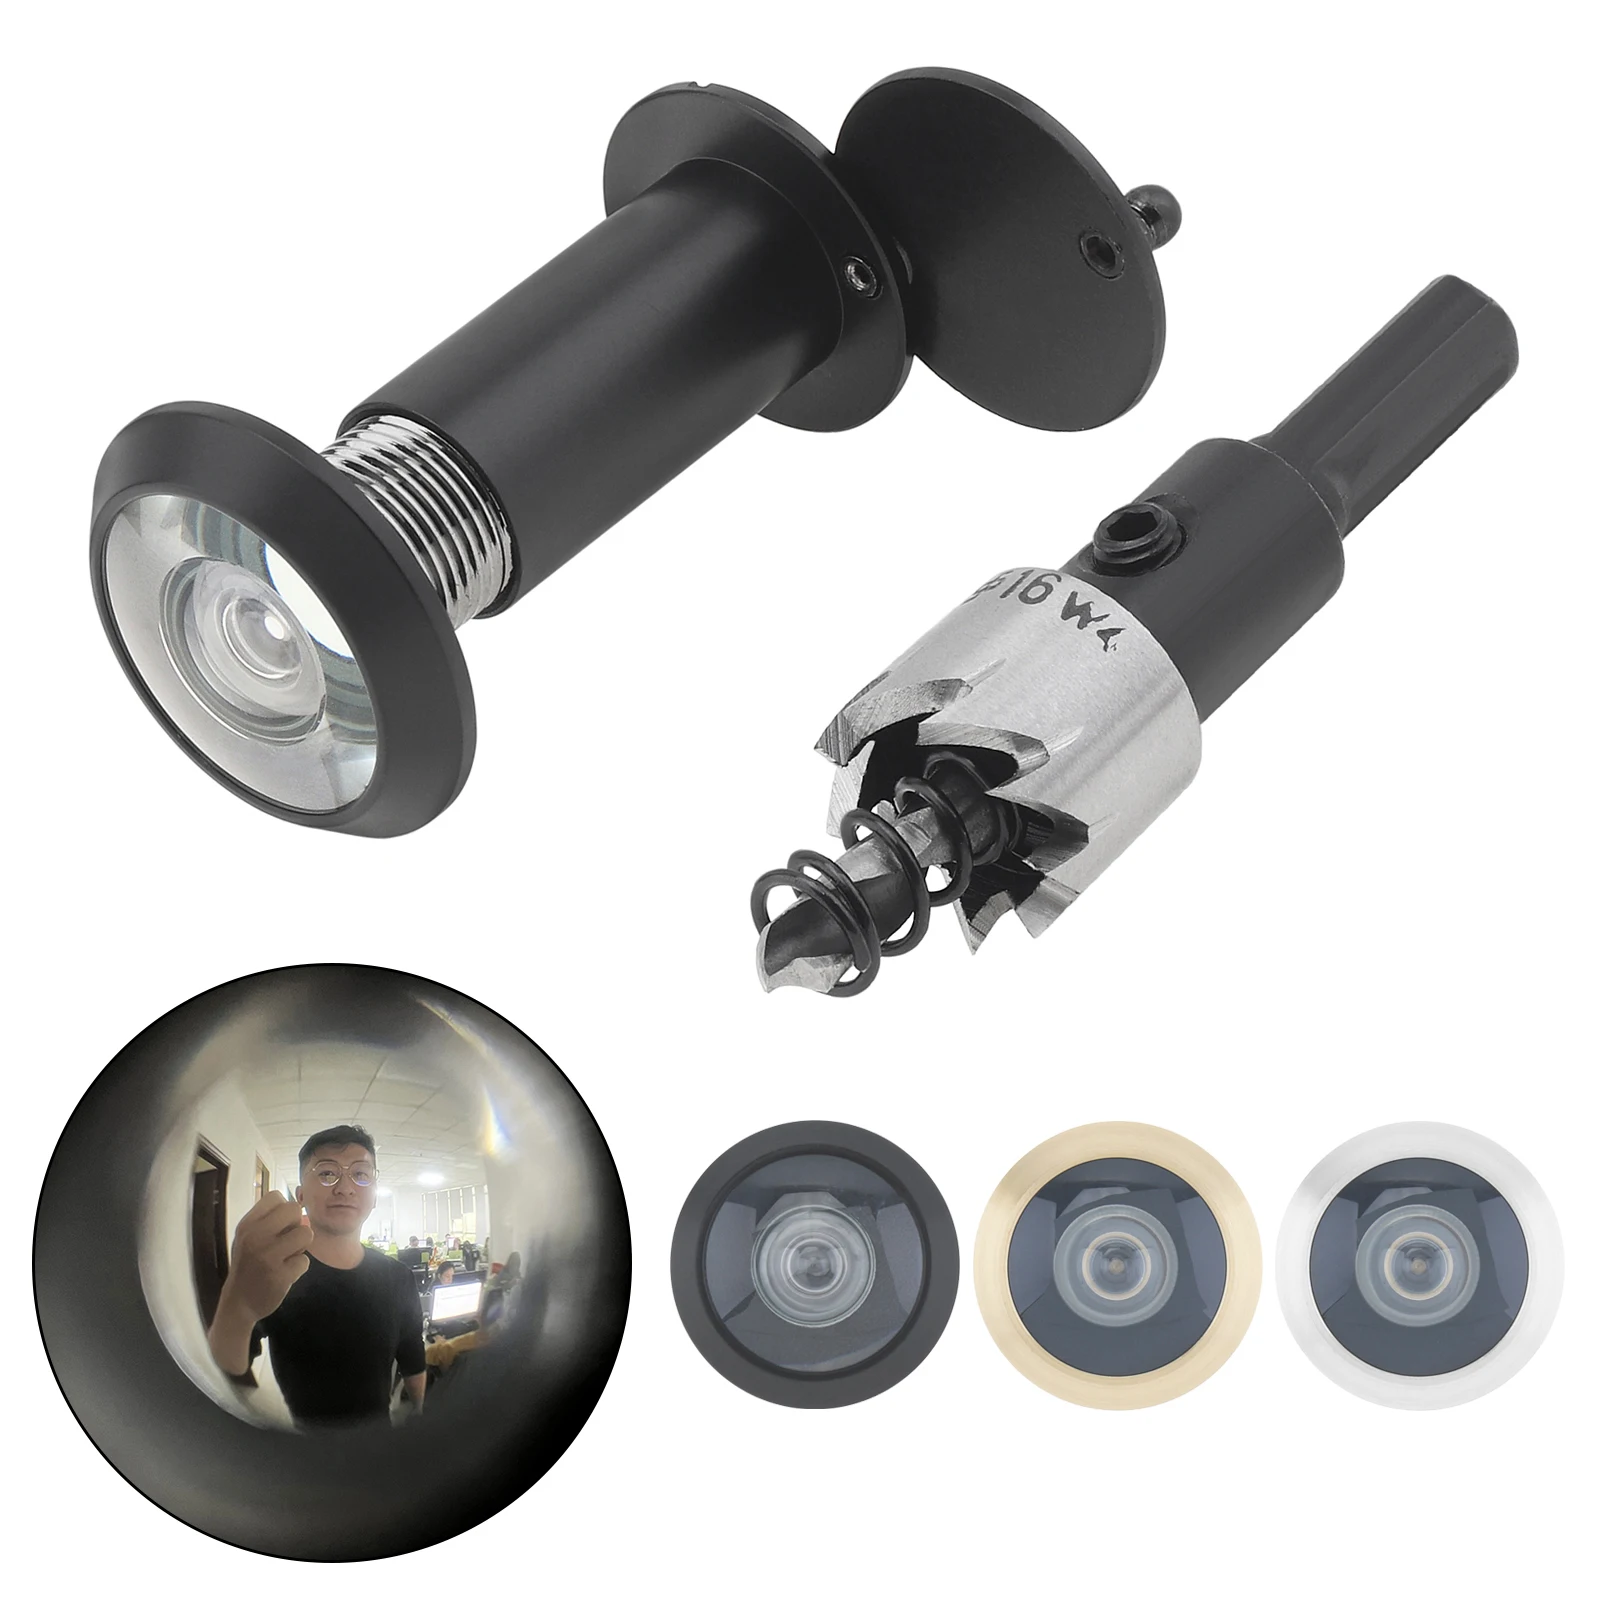
To make a fisheye lens for a digital camera, you will need a peephole lens, a camera body cap, black electrical tape, a drill, and a hot glue gun.
Is it difficult to make a fisheye lens for a digital camera?
Creating a fisheye lens for a digital camera can be a fun DIY project, but it may require some precision and patience. With the right tools and materials, you can successfully make one at home.
Can I achieve the fisheye effect without buying an expensive lens?
Yes, you can create a fisheye effect for your digital camera by making a DIY fisheye lens using a peephole lens and other simple materials. It’s a cost-effective way to experiment with fisheye photography.
Are there any tutorials available online for making a fisheye lens for a digital camera?
Yes, there are many tutorials and guides online that can walk you through the process of making a fisheye lens for a digital camera. You can find step-by-step instructions with photos or videos to help you along the way.
What are some tips for getting the best results with a DIY fisheye lens?
When using a DIY fisheye lens for your digital camera, make sure to experiment with different angles and lighting conditions to achieve unique and creative shots. Also, consider editing your photos afterwards to enhance the fisheye effect.


I tried making a fisheye lens using a peephole last weekend, and it was a fun project! I used black electrical tape, just as you suggested, to secure everything. The first few shots I took ended up blurry, but once I got the distance right, it was amazing. I captured some great shots of my city skyline. Just make sure to adjust the angle while shooting—some angles really make the distortion pop!
I wonder how this DIY fisheye lens compares to an actual fisheye lens. Are the results similar, or is there a noticeable difference in image quality and distortion?
There can be a noticeable difference in quality. While a DIY lens can produce fun and creative effects, professional fisheye lenses often offer better sharpness and clarity. The DIY option is great for experimentation, though!
Good article! I'm curious, how do you determine the right concave lens to use for this? Are there specific measurements or types that work best?
I’ve used water droplets in front of my lens to mimic a fisheye effect before. It’s a cheap alternative and can yield interesting results!