
 Carmen J. Moore

Regular maintenance of your Panasonic Lumix digital camera is essential to ensure optimal performance and image quality. One crucial aspect of maintenance is internal cleaning, which helps prevent dust and debris from affecting the camera’s sensor and lens.
Internal cleaning of your Panasonic Lumix digital camera should be done carefully to avoid damaging delicate components. In this guide, we’ll provide step-by-step instructions on how to effectively clean the inside of your camera to keep it in top condition.
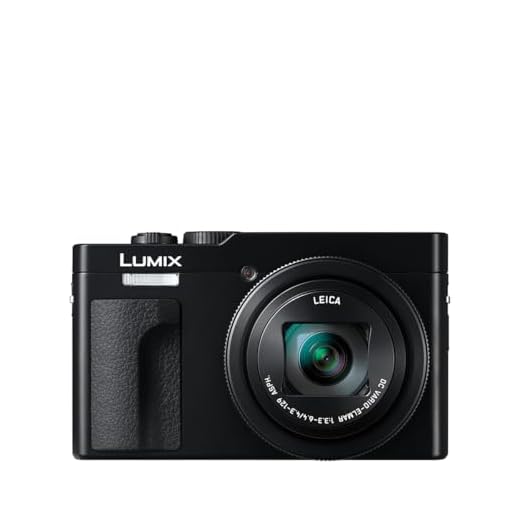

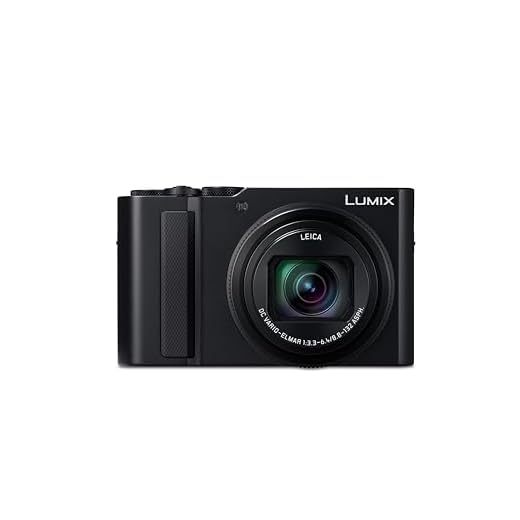
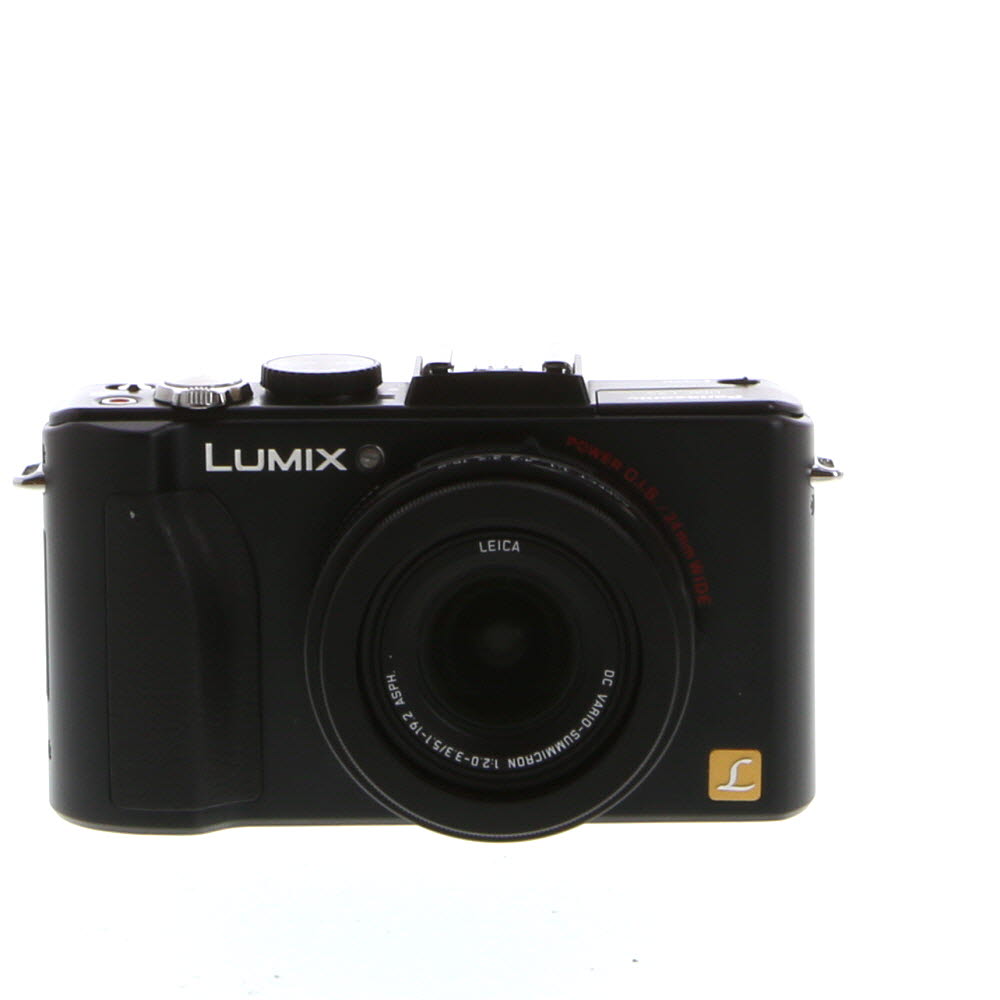
By following these instructions, you can improve the longevity and performance of your Panasonic Lumix digital camera, ensuring that your photos and videos remain clear and sharp.
Step-by-Step Guide to Internally Clean Panasonic Lumix Digital Camera
Keeping your Panasonic Lumix digital camera clean internally is essential to ensure optimal performance and longevity. Follow these steps to effectively clean the internal components of your camera:
1. Gather Your Supplies
Before you begin, make sure you have the necessary supplies, including a blower brush, microfiber cloth, cleaning solution specifically designed for camera lenses, and a soft brush.
2. Turn Off the Camera
Before cleaning the camera, turn it off and remove the battery to prevent any electrical damage.
3. Remove the Lens
If your camera has an interchangeable lens, carefully remove it from the camera body. This will allow you to access the sensor and other internal components.

Continue with caution and follow the manufacturer’s guidelines to avoid damaging your camera while cleaning its internal components.
Tips for Preparing Your Workspace
Before you start cleaning your Panasonic Lumix digital camera, it’s important to prepare your workspace properly to ensure a smooth and efficient cleaning process. Here are some tips to help you get your workspace ready:
- Gather Your Supplies: Make sure you have all the necessary cleaning supplies on hand, such as a soft microfiber cloth, a lens cleaning solution, a blower brush, and a cleaning kit specifically designed for cameras.
- Choose a Clean, Well-Lit Area: Select a clean and well-lit area to work on your camera. Avoid dusty or cluttered spaces that could introduce more dirt and debris to your camera.
- Protect Your Camera: Place your camera on a soft, clean surface to prevent scratches or damage during the cleaning process. You can use a clean towel or a camera pad to provide a cushioned surface for your camera.
- Turn Off Your Camera: Before you begin cleaning, make sure to turn off your Panasonic Lumix digital camera to prevent any accidental damage or malfunctions.
- Read the User Manual: Refer to the user manual of your camera to understand the recommended cleaning procedures and precautions specific to your model. This will help you avoid damaging sensitive components.
Removing Dust and Debris from the Camera Body
To clean the exterior of your Panasonic Lumix digital camera, start by using a soft, dry microfiber cloth to gently wipe away any dust or dirt. Be sure to pay attention to the seams and crevices where dust can accumulate.
Using a Camera Cleaning Brush
For more stubborn debris, you can use a camera cleaning brush with soft bristles to gently brush away the particles. Avoid applying too much pressure to prevent scratching the camera’s surface.
Cleaning the LCD Screen
To clean the LCD screen, use a microfiber cloth slightly dampened with water or a cleaning solution specifically designed for electronic screens. Gently wipe the screen in a circular motion to remove smudges and fingerprints.
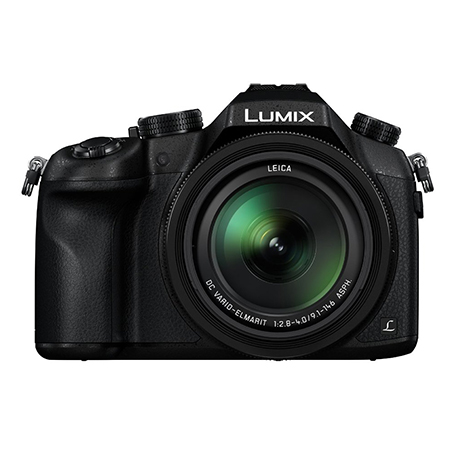
Cleaning the Lens and Sensor
Properly cleaning the lens and sensor of your Panasonic Lumix digital camera is essential for maintaining clear and sharp images. Here are some steps to help you clean the lens and sensor effectively:
1. Cleaning the Lens
1. Use a soft-bristled brush or a blower to remove any dust or debris from the lens surface.
2. Gently wipe the lens with a microfiber cloth to remove any smudges or fingerprints. Avoid using rough materials that may scratch the lens.
3. For stubborn dirt or smudges, dampen the cloth with a few drops of lens cleaning solution and gently wipe the lens surface.
2. Cleaning the Sensor
| 1. Put the camera in sensor cleaning mode to expose the sensor. |
| 2. Use a sensor cleaning swab or sensor cleaning brush to gently remove any dust or dirt from the sensor surface. |
| 3. Avoid touching the sensor with your fingers and be gentle to prevent damage. |
| 4. Once the sensor is clean, exit sensor cleaning mode and turn off the camera. |
By following these steps carefully, you can ensure that your Panasonic Lumix digital camera produces high-quality images without any unwanted artifacts caused by dust or dirt on the lens or sensor.

Using Proper Tools for a Thorough Clean
When cleaning your Panasonic Lumix digital camera internally, it is essential to use the right tools to ensure a thorough and effective cleaning process. Here are some recommended tools:
- Microfiber cloth: Use a soft, lint-free microfiber cloth to gently wipe down the camera body and lens. This will help remove dust, fingerprints, and smudges without scratching the surface.
- Cotton swabs: Dip a cotton swab in a small amount of lens cleaning solution to clean hard-to-reach areas such as the camera’s buttons, dials, and crevices.
- Lens cleaning solution: Use a specialized lens cleaning solution to remove stubborn dirt or smudges from the lens. Avoid using harsh chemicals or abrasive cleaners that could damage the lens coating.
- Rocket blower: Use a rocket blower to gently blow away any loose dust or debris from the camera’s sensor or mirror. This can help prevent dust spots from appearing in your photos.
By using the proper tools and following a careful cleaning routine, you can keep your Panasonic Lumix digital camera in top condition and ensure optimal performance for years to come.
Reassembling Your Panasonic Lumix Camera
After cleaning the internal components of your Panasonic Lumix digital camera, it’s time to reassemble the camera to ensure it functions properly. Follow these steps to put your camera back together:
| Step 1: | Start by carefully placing the lens back onto the camera body. Align the lens with the mount and twist it gently until it clicks into place. |
| Step 2: | Next, reattach any cables or connectors that were disconnected during the cleaning process. Make sure they are securely connected to their respective ports. |
| Step 3: | Insert the battery and memory card back into their slots. Ensure they are properly inserted and secure. |
| Step 4: | Carefully place the camera cover back on and secure it in place by tightening the screws. Be gentle to avoid damaging any components. |
| Step 5: | Power on your Panasonic Lumix camera to test if it is working correctly. Check the functions and settings to ensure everything is functioning as it should. |
By following these steps, you can successfully reassemble your Panasonic Lumix camera after cleaning its internal components. Remember to handle the camera with care and precision to avoid any damage during the reassembly process.
Final Checks and Testing the Camera
Once you have completed the internal cleaning process for your Panasonic Lumix digital camera, it’s important to perform final checks and test the camera to ensure everything is functioning properly.

First, carefully reassemble the camera components and ensure that all screws and parts are securely fastened. Check the camera body and lens for any remaining dust or debris that may have been missed during cleaning.
Power On and Test
Next, power on the camera and test its various functions, including the lens, shutter, autofocus, and image stabilization. Take a few test shots to check the image quality and ensure that there are no issues with the sensor or lens.
Finally, review the images on the camera’s display screen to confirm that they are clear, sharp, and free of any spots or abnormalities. If everything looks good, your Panasonic Lumix digital camera is now clean and ready to use!
FAQ
How often should I clean the sensor of my Panasonic Lumix digital camera?
It is recommended to clean the sensor of your Panasonic Lumix digital camera whenever you notice dust spots or debris affecting your photos. Some photographers clean their sensors every few months, while others may only need to do it once or twice a year. It ultimately depends on how often you use your camera and the shooting conditions.
What is the best way to clean the lens of a Panasonic Lumix digital camera?
To clean the lens of your Panasonic Lumix digital camera, start by using a blower or a soft brush to remove any loose dust particles. Then, use a microfiber cloth or lens cleaning tissue with a small amount of lens cleaning solution to gently wipe the lens in a circular motion. Avoid using harsh chemicals or abrasive materials that may scratch the lens.
Can I use compressed air to clean the inside of my Panasonic Lumix digital camera?
It is not recommended to use compressed air to clean the inside of your Panasonic Lumix digital camera as it can push dust and debris further into the camera, potentially causing more damage. Instead, use a blower or a camera-specific cleaning kit to gently remove dust from the camera’s interior components.
Is it safe to use a sensor cleaning kit on my Panasonic Lumix digital camera?
Yes, it is safe to use a sensor cleaning kit specifically designed for digital cameras on your Panasonic Lumix. Just make sure to follow the manufacturer’s instructions carefully and be gentle when cleaning the sensor to avoid damaging it. If you are unsure about cleaning the sensor yourself, consider taking your camera to a professional for sensor cleaning.




Just a quick note: always check your camera manual before cleaning. Each model might have specific tips or precautions!
I recently followed these steps and cleaned my Lumix. It was nerve-wracking at first, especially when it came to cleaning the sensor, but it really paid off! The images are clearer now, and I didn’t notice any dust spots in my latest shots. Just a tip: I found that using a blower before wiping anything really helps dislodge dust.
Can you clarify what 'sensor cleaning mode' means? How do I activate it on my camera?
I've cleaned a couple of different brands of cameras, and I find Panasonic Lumix is pretty user-friendly in this regard. How does it compare to, say, Canon or Nikon models when it comes to internal cleaning?
I’ve owned a Nikon and a Panasonic, and in my experience, the Lumix is easier to handle. The steps are straightforward, and I didn't feel like I was risking damage as much as with my Nikon.
I’m not entirely convinced that internal cleaning is necessary unless you're seeing visible dirt in your photos. Many people stress over cleaning too much and might risk damaging the camera.
I get where you’re coming from, but I think regular maintenance helps prevent issues down the line. I had a bad experience with dust affecting my images, so now I clean regularly!
Good article! How often should I clean the internal parts of my Panasonic Lumix? Is there a recommended schedule for maintenance?