
 Carmen J. Moore

The aurora borealis, also known as the Northern Lights, is a breathtaking natural phenomenon that many photographers dream of capturing with their digital cameras. The dancing lights in the night sky create a magical display of colors that can result in stunning photographs. However, photographing the aurora can be a challenging task that requires the right equipment, settings, and techniques.



In this article, we will provide you with tips and tricks on how to photograph the aurora with a digital camera to help you capture the beauty of this celestial event. Whether you are a beginner or an experienced photographer, these guidelines will help you improve your aurora photography skills and create memorable images.
Capturing the beauty
When photographing the aurora, it is essential to capture the beauty and magic of this natural phenomenon. To do this, focus on composing your shots to include interesting foreground elements, such as trees, mountains, or bodies of water. These elements can add depth and context to your aurora shots, making them more visually appealing.
Experiment with different shutter speeds and ISO settings to capture the movement and colors of the aurora. A longer exposure time can create a more dramatic effect, while a higher ISO setting can help you capture the fainter details of the aurora. Don’t be afraid to play around with these settings until you find the perfect balance for your desired shot.
Choosing the right camera
When photographing the aurora, it’s important to choose a digital camera that is capable of capturing low-light scenes with high sensitivity. Here are some key factors to consider:
| Low-light performance: | Look for a camera with good low-light performance, as auroras are typically seen in dark environments. Cameras with larger sensors tend to perform better in low light. |
| Manual controls: | Having manual controls for settings such as shutter speed, aperture, and ISO will give you more flexibility in capturing the aurora’s dynamic and changing light. |
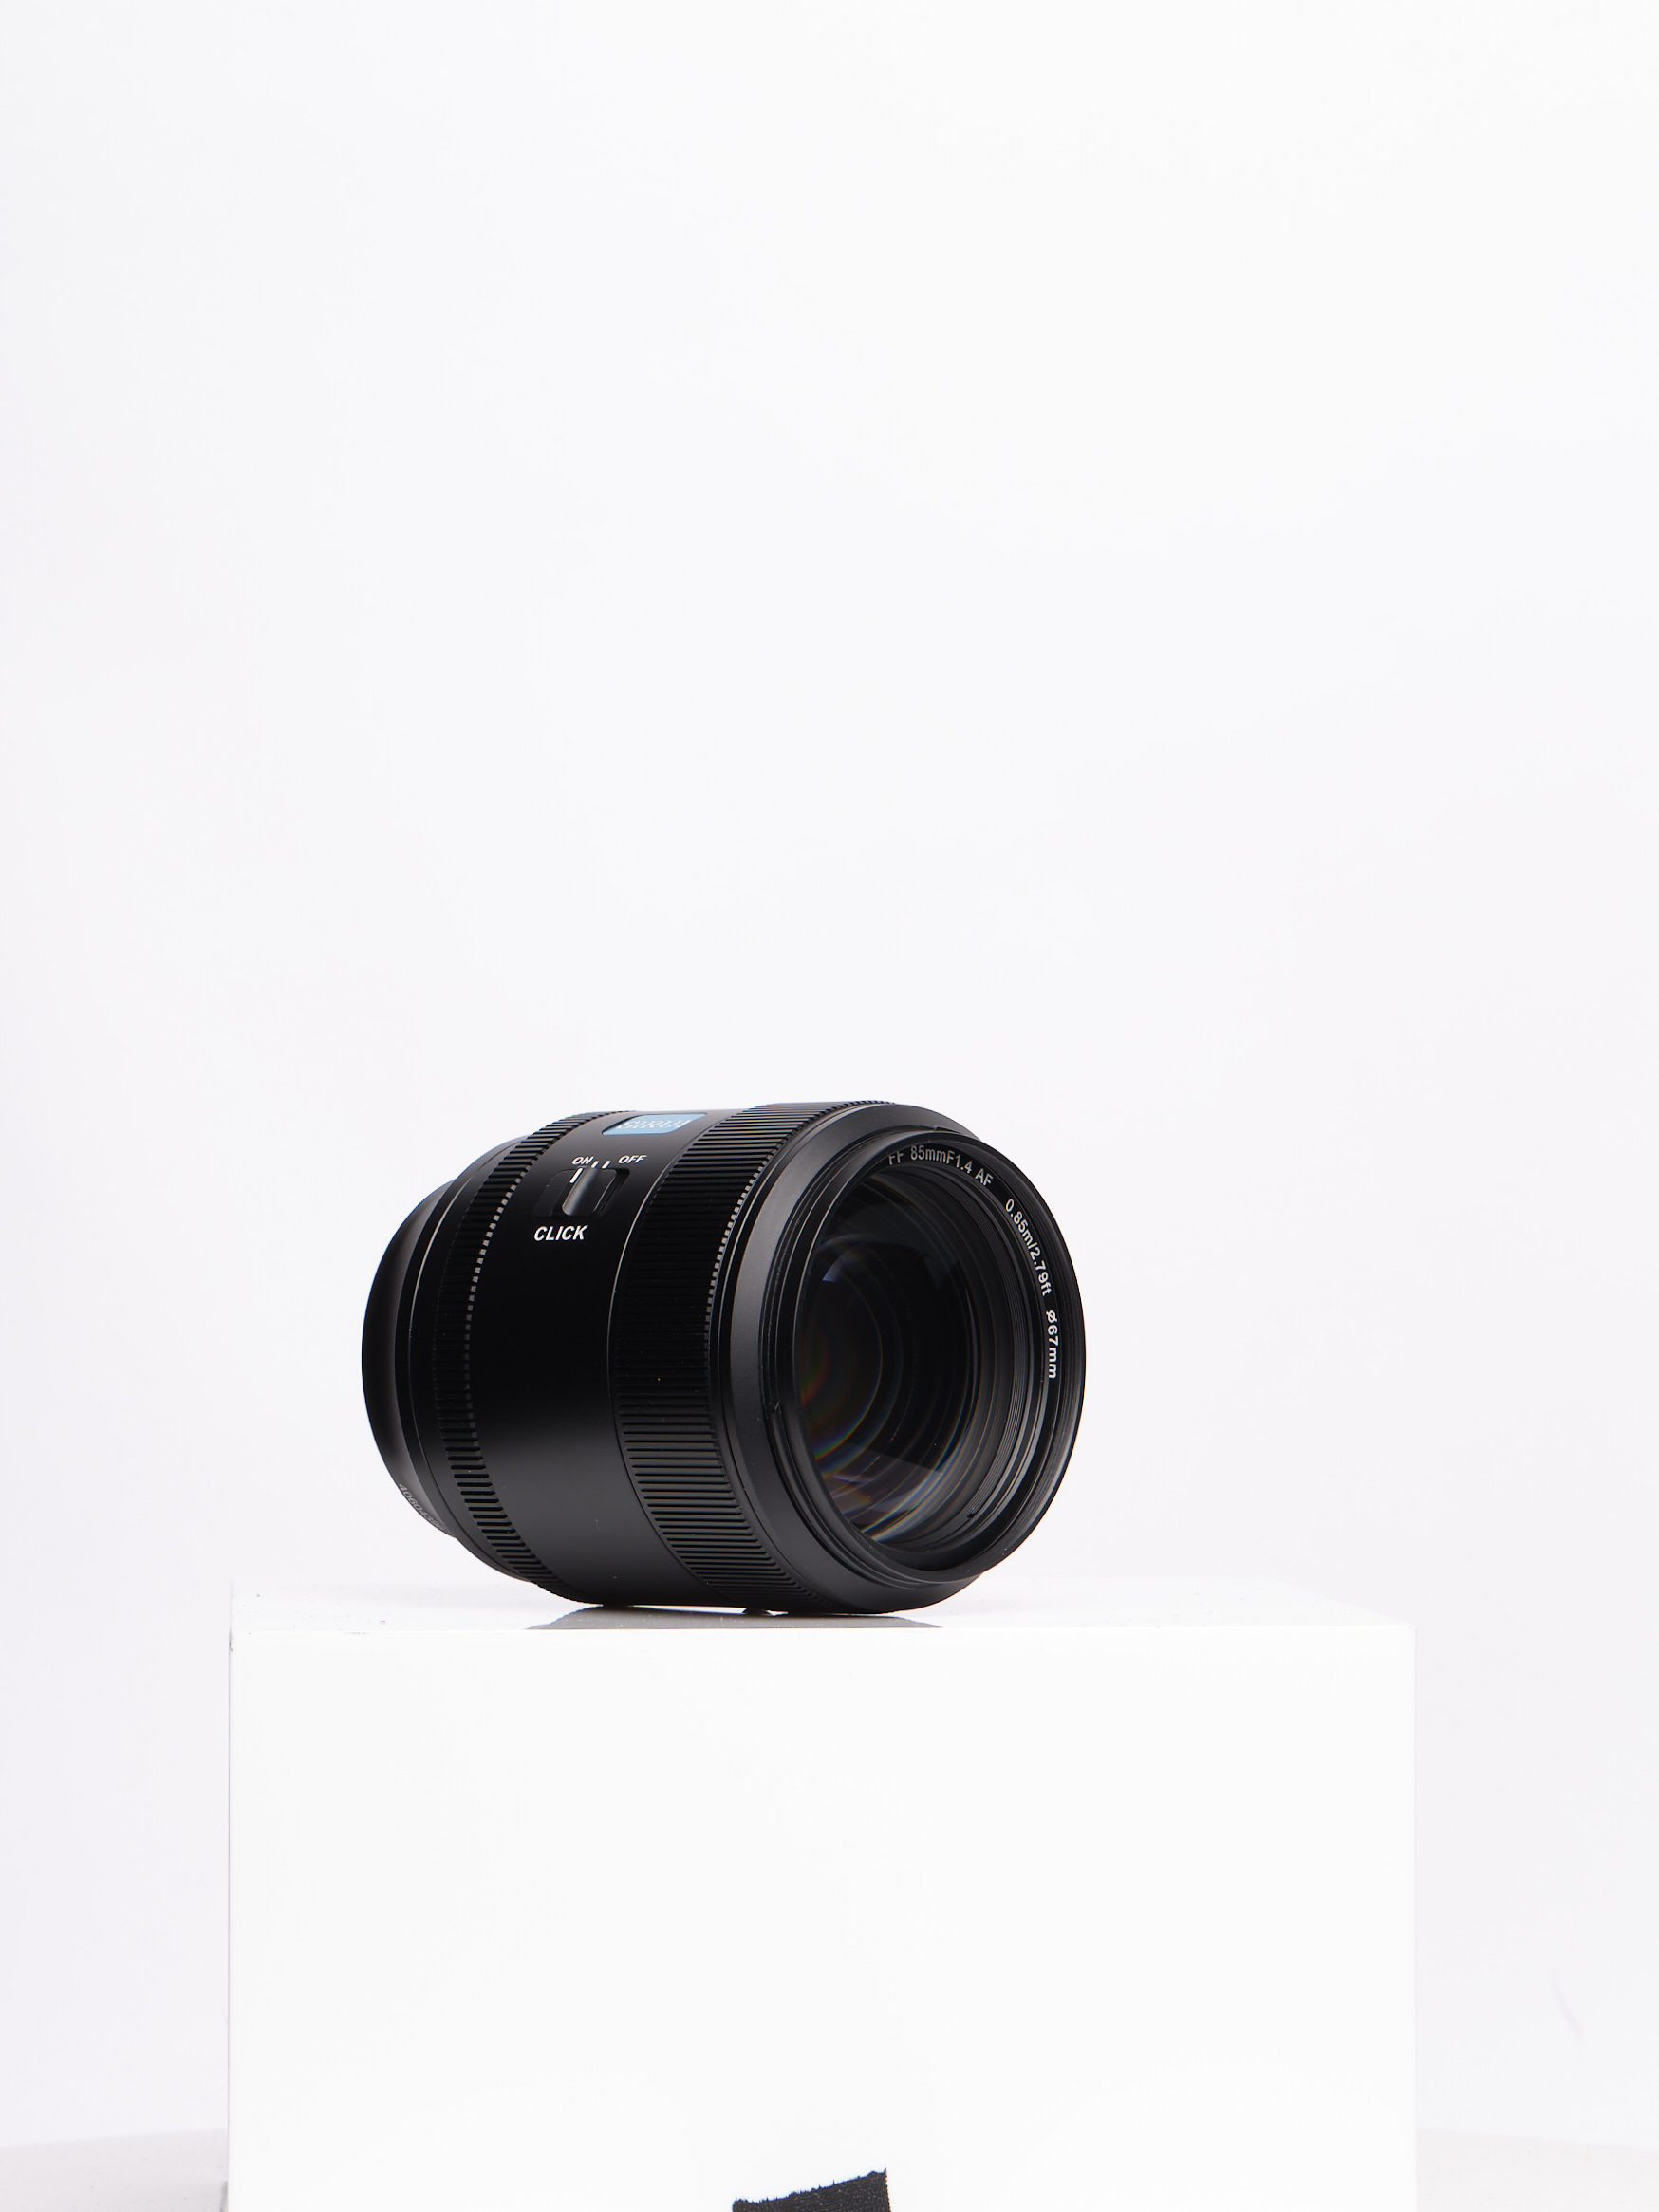
| Wide-angle lens: | Consider using a wide-angle lens to capture the expansive beauty of the aurora. A lens with a focal length of around 14-24mm is ideal for this type of photography. |
| Remote shutter release: | Using a remote shutter release or timer can help reduce camera shake when capturing long exposures of the aurora. |
By choosing the right camera for photographing the aurora, you’ll be better equipped to capture the magic of this natural phenomenon in stunning detail.

Selecting the ideal location
When photographing the aurora with a digital camera, choosing the right location is crucial. Look for areas with minimal light pollution to ensure clear and vibrant shots of the aurora borealis. Remote locations away from city lights are ideal for capturing the natural beauty of the northern lights.
Additionally, consider the weather conditions before heading out to photograph the aurora. Cloud cover can obstruct your view of the aurora borealis, so aim for clear skies to maximize your chances of getting stunning photos. Keep an eye on the aurora forecast to plan your shoot accordingly.
Setting up your equipment
Before heading out to photograph the aurora, make sure you have the right equipment with you. Here is a checklist to ensure you are prepared:
Camera
Use a digital camera with manual settings to have better control over your shots. A camera with good low-light performance is ideal for capturing the faint lights of the aurora.
Tripod
A sturdy tripod is essential to keep your camera steady during long exposure shots. This will help prevent any blurriness in your images.

Remote shutter release
Using a remote shutter release or the camera’s self-timer will help avoid camera shake when taking long-exposure shots.
Ensure your camera battery is fully charged and carry extras, as cold temperatures can drain the battery faster.
Adjusting the camera settings
When photographing the aurora with a digital camera, it is crucial to adjust the camera settings correctly to capture the beauty of the phenomenon. Here are some key settings to consider:
ISO
Set your camera’s ISO to a low value (around 100-400) to reduce noise in the image and capture clear details of the aurora.

Aperture
Use a wide aperture (low f-stop number) to allow more light into the camera and create a brighter image of the aurora.
| Shutter Speed | Choose a slow shutter speed (around 10-30 seconds) to capture the movement and colors of the aurora in the sky. |
| White Balance | Set the white balance to a cooler temperature (around 4000-5000K) to accurately represent the colors of the aurora. |
| Focusing | Manually focus your lens to infinity to ensure sharpness in the aurora and the night sky. |
Capturing the aurora
When photographing the aurora, it is essential to have the right camera settings to capture the beauty of this natural phenomenon. Here are some tips to help you get the best shots:
| 1. Use a tripod: | Keep your camera steady to avoid blurry images. A tripod is essential for long exposure shots. |
| 2. Manual focus: | Set your camera to manual focus and adjust it to infinity to ensure sharp images of the aurora. |
| 3. Aperture: | Use a wide aperture (low f-stop) to let in more light and capture the colors of the aurora. |
| 4. Shutter speed: | Experiment with different shutter speeds to find the right balance between capturing movement and avoiding overexposure. |
| 5. ISO: | Start with a low ISO setting to reduce noise in your images, then adjust as needed based on the lighting conditions. |
| 6. Composition: | Consider including interesting foreground elements to add depth and perspective to your aurora photos. |
Editing and sharing your photos
Once you’ve captured some stunning aurora photos with your digital camera, the next step is to edit and enhance them to make them even more impressive. Here are some tips for editing your aurora photos:
1. Adjust the exposure
Since auroras are often dim and elusive, you may need to adjust the exposure of your photos to bring out the colors and details. Use editing software like Adobe Lightroom or Photoshop to tweak the exposure settings until you’re satisfied with the results.
2. Enhance the colors
To make the aurora colors pop, you can enhance them using the saturation and vibrance tools in your editing software. Be careful not to overdo it, as you want to maintain a natural look while still making the colors stand out.

After editing your photos, you can share them with the world by posting them on social media, creating a photography portfolio, or even entering them into contests. Remember to give yourself credit for capturing these breathtaking natural phenomena!
FAQ
What settings should I use on my digital camera to capture the aurora?
When photographing the aurora with a digital camera, it is recommended to use a wide-angle lens with a large aperture (f/2.8 or wider) to let in more light. Set your camera to manual mode and use a high ISO (800-3200) to capture the faint light of the aurora. Start with a shutter speed of around 15-30 seconds and adjust as needed based on the brightness of the aurora. Experiment with different white balance settings to get the colors of the aurora just right.
Do I need a tripod to photograph the aurora with a digital camera?
Yes, a tripod is essential for capturing sharp and clear images of the aurora. Since you will be using long exposure times to capture the faint light of the aurora, any movement of the camera will result in blurry photos. Make sure to set up your tripod on stable ground and use a remote shutter release or the camera’s self-timer to prevent camera shake when taking the photo.



I recently went out to photograph the aurora and it was an amazing experience! I used a wide-angle lens and set my camera to a 20-second exposure. The results were fantastic! I found that including some foreground elements, like a lake, added depth to my photos. I did struggle a bit with focusing though, especially in the dark. Manual focus was a bit tricky, but I got the hang of it after a few tries. Anyone else faced similar challenges?