
 Carmen J. Moore

Are you looking to enhance the security of your home or business with a high-quality surveillance system? Look no further than the Annke HD Wireless Video Surveillance System. This cutting-edge system offers advanced features and easy setup, making it the perfect choice for your security needs.
Setting up your Annke HD Wireless Video Surveillance System is a straightforward process that can be done in just a few simple steps. Whether you’re a tech-savvy individual or a beginner, this guide will walk you through the process of getting your system up and running quickly and efficiently.
From installing the cameras to configuring the system settings, we’ll cover everything you need to know to ensure that your Annke HD Wireless Video Surveillance System is operating at its best. Let’s dive in and get started on setting up your new surveillance system!
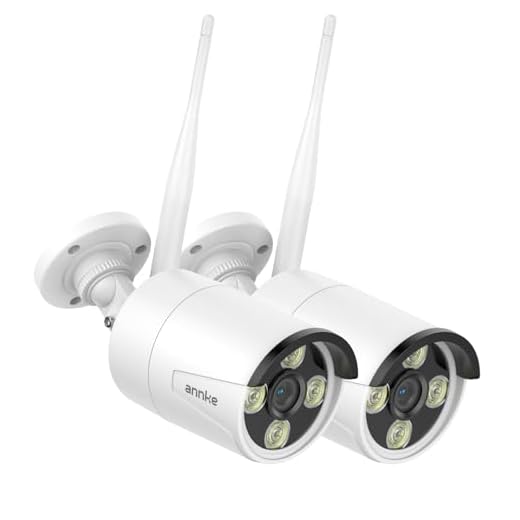

Benefits of Using Annke HD Wireless Video Surveillance System
When it comes to ensuring the safety and security of your property, the Annke HD Wireless Video Surveillance System offers a range of benefits that make it an ideal choice for both residential and commercial use.
1. Easy Installation and Setup
The wireless nature of the Annke HD system makes it incredibly easy to install and set up. With no complicated wiring required, you can have your surveillance system up and running in no time.
2. Remote Access and Monitoring
One of the key benefits of the Annke HD system is the ability to remotely access and monitor your cameras from anywhere using a smartphone or computer. This allows you to keep an eye on your property even when you’re not there.
- 3. High-Quality Video and Audio
- 4. Motion Detection and Alerts
- 5. Expandable and Customizable System
Choosing the Right Annke HD Wireless Camera for Your Needs
When setting up a wireless video surveillance system, it is crucial to choose the right cameras for your specific needs. Annke offers a variety of HD wireless cameras with different features and capabilities. Here are some factors to consider when selecting the perfect camera for your surveillance system:
- Resolution: Determine the resolution you need based on the level of detail you want to capture. Annke cameras come in various resolutions, such as 720p, 1080p, and even 4K.
- Field of View: Consider the field of view offered by the camera to ensure optimal coverage of your monitoring area. Choose cameras with wide-angle lenses for broader coverage.
- Night Vision: If you need surveillance during low-light conditions or at night, opt for cameras equipped with infrared night vision capability for clear footage in the dark.
- Weather Resistance: If you plan to install outdoor cameras, make sure they are weatherproof and designed to withstand various weather conditions for reliable outdoor monitoring.
- Remote Access: Look for cameras that offer remote access through a mobile app or web browser, allowing you to view live footage and receive alerts from anywhere at any time.
- Storage Options: Choose cameras that support different storage options, such as local storage via microSD cards or cloud storage, to store and access recorded footage conveniently.
By considering these factors and selecting the right Annke HD wireless camera for your surveillance needs, you can create a reliable and effective video monitoring system to enhance the security of your home or business.
Setting Up Your Annke HD Wireless Video Surveillance System
Step 1: Unpack your Annke HD wireless video surveillance system and check that all components are included.
Step 2: Connect the NVR (Network Video Recorder) to a power source and your router using an Ethernet cable.
Step 3: Power on the cameras by connecting them to a power source.
Step 4: Wait for the NVR to detect the cameras automatically. This may take a few minutes.
Step 5: Access the NVR interface on a computer or mobile device by installing the Annke Vision app or using a web browser.
Step 6: Follow the on-screen instructions to configure your surveillance system, including setting up motion detection, recording schedules, and remote viewing options.
Step 7: Place the cameras in strategic locations to maximize coverage and adjust the angle as needed.
Step 8: Test the system by monitoring the live feed and reviewing recorded footage.
Step 9: Make any necessary adjustments to optimize the performance of your Annke HD wireless video surveillance system.
Connecting Your Annke HD Wireless Cameras to the Network
Setting up your Annke HD wireless cameras to connect to your network is a crucial step in ensuring seamless surveillance coverage. Follow these steps to connect your cameras to the network:
Step 1: Power On the Camera
Plug the camera into a power source and wait for it to initialize. The camera should have a solid power indicator light when it’s ready.
Step 2: Connect the Camera to the Router
Using an Ethernet cable, connect the camera to your router. This wired connection will allow the camera to communicate with your network.
Note: Make sure your router is connected to the Internet and has DHCP enabled.
Once the camera is connected to the router, it should automatically obtain an IP address from your network.
Accessing and Monitoring Your Annke HD Wireless Video Surveillance System
Once you have successfully set up your Annke HD Wireless Video Surveillance System, you can easily access and monitor it using various methods. Here are the steps to access and monitor your system:
1. Remote Viewing via Mobile App:
Download and install the Annke Vision app on your smartphone or tablet. Use the app to scan the QR code on the DVR/NVR to add your devices. You can then remotely view live footage, playback recordings, and receive alerts on your mobile device.
2. Web Browser Access:
You can also access your surveillance system through a web browser on your computer. Simply enter the IP address of your DVR/NVR in the browser’s address bar and log in with your credentials. This method allows you to view live streams, playback recordings, and manage settings from your computer.
By following these steps, you can easily access and monitor your Annke HD Wireless Video Surveillance System from anywhere at any time.
Troubleshooting Common Issues with Annke HD Wireless Cameras
If you are experiencing issues with your Annke HD wireless cameras, here are some common troubleshooting steps to try:
1. Check Power Source
Make sure the camera is properly connected to a power source and that the power supply is working correctly. If the camera is battery-powered, ensure the batteries are charged or replaced.
2. Verify Connectivity
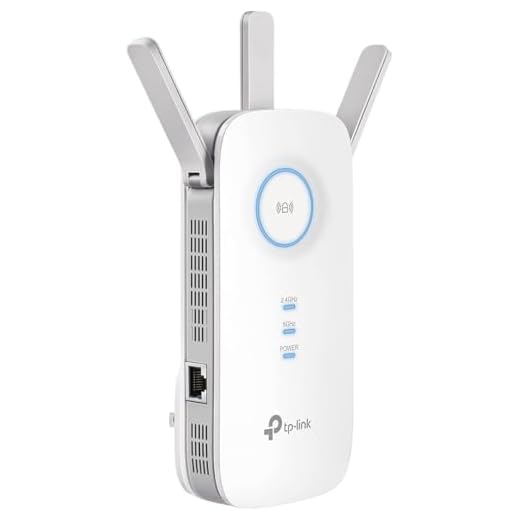
Check the Wi-Fi signal strength where the camera is installed. Weak or unstable Wi-Fi connection can cause video feed issues. Consider moving the camera closer to the router or adding a Wi-Fi extender.
3. Reset Camera
If the camera is unresponsive, try resetting it to factory settings. This can often resolve software glitches or configuration errors.
Follow these steps to troubleshoot common issues with your Annke HD wireless cameras and ensure smooth operation of your video surveillance system.



I'm curious about the remote access feature. How reliable is it? Can I view the footage smoothly on my phone?
I've used the app for a few weeks now, and it works pretty well. Just make sure you have a good internet connection.
Could you clarify what you mean by 'expandable and customizable'? Does it mean I can add more cameras later?
Yes, you can definitely add more cameras to the Annke system as your needs grow. Make sure the additional cameras are compatible with the NVR you're using.
I just set up my Annke HD system following your guide. It was a breeze! I was worried about the installation, but the wireless setup was straightforward. I managed to connect everything within an hour. The video quality is impressive, especially at night. Just a tip: make sure to place the cameras where they can get a good Wi-Fi signal; I had to move one slightly to avoid lag.