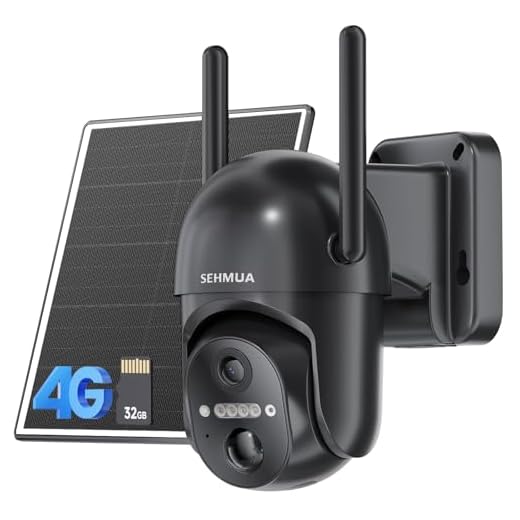


Remote video surveillance is a valuable tool for monitoring your property or business from afar. By logging in to your remote video surveillance system, you can access live video feeds, review recorded footage, and receive alerts about suspicious activity.
Logging in to your remote video surveillance system requires a few key steps to ensure a secure connection and access to your cameras. In this article, we will guide you through the process of logging in to your remote video surveillance system.
Whether you are using a web-based platform, a mobile app, or a dedicated software, the login process is essential for accessing your video feeds remotely. By following the steps outlined in this guide, you can easily log in to your remote video surveillance system and keep an eye on your property from anywhere.
Step-by-Step Guide to Access Remote Video Surveillance
Remote video surveillance allows you to monitor your property from anywhere using an internet connection. Follow these steps to access remote video surveillance:
Step 1: Obtain the Necessary Equipment
Ensure you have a compatible security camera system with remote viewing capabilities. This may include IP cameras, NVRs (Network Video Recorders), and a stable internet connection.
Step 2: Set Up Remote Access
| 1. | Install the security camera system and configure it to connect to your network. |
| 2. | Enable remote access by setting up port forwarding on your router or using a cloud-based service provided by the camera manufacturer. |
| 3. | Register for an account with the camera manufacturer’s remote viewing service, if required. |
By following these steps, you can securely access your remote video surveillance system from anywhere with an internet connection.
Locate the Camera’s IP Address
Before you can log in to remote video surveillance, you need to know the IP address of the camera you want to access. To locate the camera’s IP address, you can check the camera’s user manual or look for a sticker on the camera itself. Alternatively, you can use a network scanning tool to search for devices on your network and identify the camera’s IP address.
Open a Web Browser
First, open a web browser on your computer or mobile device. You can use popular browsers such as Google Chrome, Mozilla Firefox, Safari, or Microsoft Edge.
Step 1:
Launch the web browser by clicking on its icon on your desktop or in the application menu.
Step 2:
Type the IP address or URL provided by your remote video surveillance system into the address bar of the web browser and press Enter.
| Example: | http://192.168.1.100 |
Enter the IP Address in the Address Bar
Once you have the IP address of the remote video surveillance system, open a web browser on your computer or mobile device.
Next, type the IP address into the address bar at the top of the browser window and press Enter.
Input Username and Password
Once you have launched the remote video surveillance application, you will be prompted to input your username and password. This information is usually provided by your system administrator or set up during the initial configuration process. Make sure to enter the correct credentials to access the video feed and control features of the surveillance system.
Navigate to the Login Page
Once you have launched the remote video surveillance application, you need to navigate to the login page to access the system. Follow these steps to find the login page:
| 1. | Open the remote video surveillance application on your device. |
| 2. | Locate the login button or option on the main screen of the application. |
| 3. | Click on the login button to proceed to the login page. |
| 4. | Enter your username and password in the designated fields on the login page. |
| 5. | Click on the “Login” or “Submit” button to log in to the remote video surveillance system. |
Access Live Video Feed
Once you have successfully logged in to the remote video surveillance system, you can access the live video feed from the cameras. Look for an option such as “Live View” or “Live Feed” in the menu or dashboard of the surveillance software.
Click on the camera you want to view to start streaming the live video. You may be able to control the camera, zoom in or out, and adjust settings depending on the features of the surveillance system.
Customize Settings and Features
Once you have successfully logged in to your remote video surveillance system, you can customize various settings and features to tailor the system to your specific needs. Here are some key settings and features you may want to consider adjusting:
1. Camera Settings
You can adjust camera settings such as resolution, frame rate, motion detection sensitivity, and night vision settings. By customizing these settings, you can optimize the performance of your surveillance cameras based on your specific requirements.
2. Alert Notifications
Configure alert notifications to receive real-time updates on any suspicious activity detected by your surveillance system. You can choose to receive alerts via email, SMS, or push notifications on your mobile device, ensuring you stay informed at all times.
| Setting | Description |
|---|---|
| Recording Schedule | Set up a recording schedule to specify when your surveillance cameras should be actively recording footage. This can help conserve storage space and ensure you capture important events. |
| User Access Levels | Manage user access levels to control who can view live feeds, playback recordings, or make changes to system settings. By customizing user access levels, you can enhance security and privacy. |


