
 Carmen J. Moore
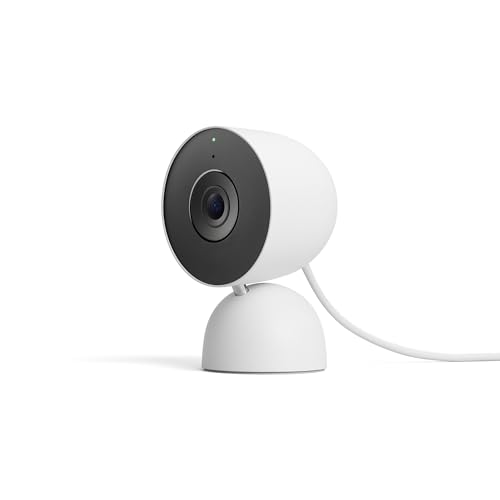
Nest security cameras are a popular choice for homeowners looking to enhance their home security. However, setting up these cameras can be a bit tricky, especially when it comes to wiring them properly. In this guide, we will walk you through the steps to wire your Nest security camera correctly so that you can enjoy peace of mind knowing your home is secure.
Before you begin the wiring process, it is essential to gather all the necessary tools and materials. You will need the Nest security camera, a screwdriver, the power adapter that comes with the camera, and the Nest app installed on your smartphone or tablet. Make sure to read the camera’s user manual carefully before starting the installation process.
The wiring process for Nest security cameras typically involves connecting the camera to a power source and, in some cases, to your home’s existing doorbell wiring. Follow the step-by-step instructions provided in the user manual or the Nest app to ensure that the camera is wired correctly. Once you have completed the wiring process, you can set up the camera through the Nest app and start monitoring your home remotely.
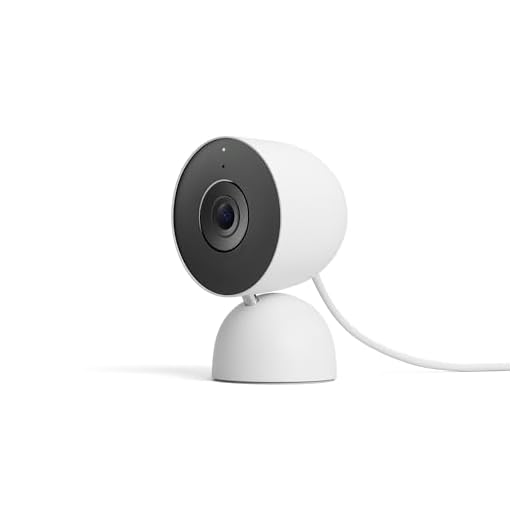

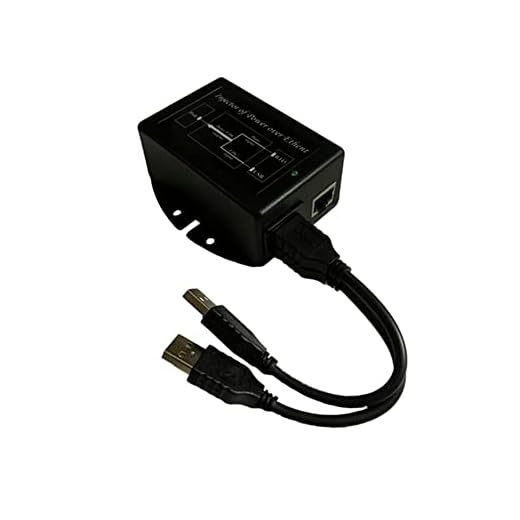
Step-by-Step Guide for Wiring Nest Security Camera
Installing a Nest security camera involves wiring it properly to ensure optimal performance. Follow these steps to wire your Nest security camera:
Step 1: Turn Off Power
Before starting the wiring process, make sure to turn off the power to the area where you will be installing the camera. This is crucial for your safety and to prevent any electrical mishaps.
Step 2: Locate Power Source
Identify the power source where you will be connecting the Nest security camera. This could be an existing outlet or a power supply specifically designed for security cameras. Make sure the power source meets the requirements of the camera.
Caution: Ensure that the power source is compatible with the camera’s voltage and current ratings to avoid damage.
By following these steps and carefully wiring your Nest security camera, you can enjoy enhanced security and peace of mind in your home.
Gather Necessary Tools
Before you start wiring your Nest security camera, make sure you have all the necessary tools and materials ready. Here is a list of items you will need:
| 1. Nest security camera |
| 2. Power adapter |
| 3. Mounting hardware |
| 4. Screwdriver |
| 5. Drill and drill bit |
| 6. Cable clips |
| 7. Ethernet cable (if needed) |
| 8. Power drill (if needed) |
Having these tools on hand will help you complete the wiring process smoothly and efficiently.
Choose the Right Location
When wiring your Nest security camera, it is crucial to choose the right location for optimal performance. Consider the following factors:
| Visibility | Ensure that the camera has a clear view of the area you want to monitor. Avoid obstructions that could block the camera’s line of sight. |
| Power Source | Place the camera near a power outlet for easy wiring. Make sure the power source is stable and reliable. |
| Weather Resistance | If installing the camera outdoors, choose a location with some protection from the elements to prevent damage. |
| Height | Mount the camera at an appropriate height to capture the best angle for surveillance. |
Power Source Considerations
When wiring your Nest security camera, it is important to consider the power source. The camera can be powered using either a wired connection or a battery.
| Wired Connection | If you choose to use a wired connection, make sure to connect the camera to a power outlet using the provided power adapter. This ensures a reliable power source for continuous operation. |
| Battery | Alternatively, you can power the camera using a rechargeable battery. This option provides flexibility in camera placement but may require more frequent recharging. |
Consider your specific needs and the location of the camera when deciding on the power source for your Nest security camera.
Mounting the Camera
Before wiring your Nest security camera, you need to properly mount it in the desired location. Choose a spot that provides a clear view of the area you want to monitor, and ensure it is within reach of a power outlet or has adequate access to power cables.
Use the provided mounting hardware to securely attach the camera to a wall or ceiling. Make sure the mounting surface is stable and can support the weight of the camera. Follow the manufacturer’s instructions for the specific mounting method recommended for your Nest camera model.
Once the camera is securely mounted, you can proceed with wiring it according to the manufacturer’s guidelines to ensure proper functionality and performance.
Connecting the Wires
Before you start connecting the wires for your Nest security camera, make sure to turn off the power to the area where you will be working. This is crucial for your safety.
Gather the Wires
Locate the wires that came with your Nest security camera. You will typically have a power adapter, a USB cable, and an Ethernet cable.
Connect the Wires
Plug the power adapter into a power outlet and connect it to the camera. Then, use the USB cable to connect the camera to your home Wi-Fi network. Finally, if you prefer a wired connection, use the Ethernet cable to connect the camera directly to your router.
Testing the Camera
Once you have successfully wired your Nest security camera, it’s time to test it to ensure everything is functioning properly. Follow these steps to test your camera:
1. Power On the Camera
Make sure the camera is receiving power and is properly connected to the Wi-Fi network. Check the LED indicator on the camera to verify that it is powered on.
2. Check the Camera Feed
Open the Nest app on your smartphone or computer and navigate to the camera feed. Make sure you can see a live video feed from the camera. Check the video quality and ensure there are no connectivity issues.
| Test | Result |
|---|---|
| Live Video Feed | Clear and stable |
| Connectivity | No issues |
Troubleshooting Tips
If you encounter any issues while wiring your Nest security camera, here are some troubleshooting tips to help you resolve them:
1. Check the Power Source
Ensure that the power source you are using is working properly. Test the outlet with another device to confirm that it is supplying power.
2. Verify the Connections
Double-check all the connections between the camera, power source, and any other components. Make sure everything is securely plugged in and that there are no loose connections.


I found that using cable clips really helped keep the wiring neat along the wall. Small detail, but it makes a big difference!
I recently wired my Nest camera, and I have to say, following the steps provided made it much easier than I expected. I did encounter some issues with the Wi-Fi connection initially, but I found that moving the router closer really helped. Just a tip for anyone setting this up: ensure the camera has a direct line to the router for best performance.
When you mention using battery power, do you mean that the camera can work without being wired at all? How long does the battery last?
Yes, the Nest camera can operate on battery power alone, providing flexibility in placement. Battery life can vary, but generally, it lasts several weeks depending on usage and settings.
Good article! I’m wondering if I can use an extension cord for the power supply if the outlet is too far? Will that affect the camera's performance?
I disagree with the idea that wired connections are always better. In my case, the battery-powered option works perfectly well and allows me to place the camera anywhere without worrying about cords.
That's a valid point! Battery-powered cameras offer flexibility, but wired connections typically ensure a constant power supply. It really depends on individual needs and setup preferences.