
 Carmen J. Moore

Security cameras are essential for protecting your home or business, but mounting them properly can be a challenge. One popular mounting location is the soffit, the underside of a roof overhang. Mounting cameras on soffits can provide a strategic vantage point and keep them out of reach of potential intruders.
However, installing security cameras on soffits requires careful planning and the right tools. In this guide, we will walk you through the steps to securely mount your cameras on soffits, ensuring optimal coverage and protection for your property.
Whether you’re a DIY enthusiast or a professional installer, the following tips and techniques will help you achieve a successful and effective camera installation on soffit surfaces.
Guide to Mounting Security Cameras on Soffit
Mounting security cameras on soffit can be a great way to enhance your home security system. Soffits provide a strategic location for camera placement, offering a wide field of view and protection from the elements.
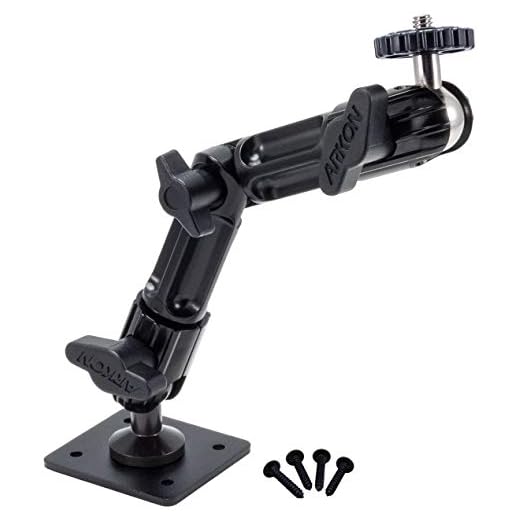


Here’s a step-by-step guide to help you mount security cameras on soffit:
- Choose the Right Camera: Select a camera that is suitable for outdoor use and can be mounted on a soffit.
- Locate the Ideal Spot: Identify the best location on the soffit to mount the camera for optimal coverage.
- Prepare the Soffit: Clean the area where the camera will be mounted and ensure it is flat and stable.
- Drill Holes: Use a drill to create holes for mounting the camera bracket securely on the soffit.
- Attach the Bracket: Securely attach the camera bracket to the soffit using screws or bolts.
- Mount the Camera: Install the camera onto the bracket and adjust its position for the desired angle and view.
- Connect the Camera: Connect the camera to your surveillance system or power source according to the manufacturer’s instructions.
- Test the Camera: Verify the camera’s positioning and functionality by testing the live feed on your monitoring device.
- Adjust as Needed: Make any necessary adjustments to the camera angle or settings to ensure optimal security coverage.
By following these steps, you can effectively mount security cameras on soffit to enhance your home’s security and surveillance capabilities.
Choose the Right Location
When mounting security cameras on soffit, it is important to choose the right location for optimal coverage and security. Consider the following factors:
Visibility
Ensure that the camera has a clear line of sight to the area you want to monitor. Avoid obstructions like trees, buildings, or other structures that could block the view.
Height
Mount the camera at a height that provides a wide-angle view of the area while also keeping it out of reach of potential tampering. A good rule of thumb is to install the camera at least 9 feet above the ground.
Prepare the Necessary Tools
Before you start mounting security cameras on the soffit, make sure you have all the necessary tools handy. Here is a list of tools you will need:
- Ladder: A sturdy ladder that can reach the height of your soffit.
- Drill: A power drill with the appropriate drill bits for your camera mount.
- Screwdriver: A screwdriver for securing the camera mount to the soffit.
- Tape Measure: To accurately measure the distance and position for mounting the camera.
- Pencil: To mark the drilling points on the soffit.
- Silicone Sealant: To seal any holes created during installation to prevent water damage.
- Cable Clips: To secure the camera cables along the soffit to keep them neat and organized.
Measure and Mark the Drill Holes
Before you start drilling, it’s important to measure and mark the exact locations where you’ll be placing the screws for mounting the security cameras. Use a tape measure to determine the distance between each hole, ensuring they are evenly spaced and aligned with the mounting bracket of the camera. Once you have marked the spots, double-check the measurements to avoid any mistakes.
Drill Holes for Mounting
Before mounting the security camera on the soffit, you will need to drill holes to secure it properly. Follow these steps:
- Using a pencil, mark the spots where you want to mount the camera on the soffit. Make sure the location provides a clear view of the area you want to monitor.
- Use a drill with the appropriate size bit to create holes at the marked spots. Make sure the holes are deep enough to securely anchor the screws.
- If you are mounting the camera on a wooden soffit, you can use wood screws to attach the camera. For a metal soffit, use self-tapping screws.
- Once the holes are drilled, insert the screws and tighten them to secure the camera in place. Double-check the alignment and stability of the camera before proceeding to the next step.
Secure the Camera Mounting Bracket
Once the mounting bracket is in place on the soffit, it is important to secure it properly to ensure that the security camera is stable and secure. Follow these steps to securely attach the camera mounting bracket:
1. Use appropriate screws:
Make sure to use the screws provided with the mounting bracket or choose screws that are suitable for the material of your soffit. The screws should be long enough to securely hold the bracket in place.
2. Tighten the screws:
With the camera mounting bracket in position, use a screwdriver to tighten the screws until the bracket is firmly attached to the soffit. Be careful not to overtighten the screws, as this could damage the bracket or the soffit.
Install the Security Camera
After choosing the right location and preparing the necessary tools, follow these steps to install the security camera on the soffit:
- Mark the holes for mounting the camera bracket on the soffit using a pencil or marker.
- Drill pilot holes into the soffit at the marked locations to make it easier to screw in the mounting screws.
- Attach the camera bracket to the soffit using screws and a screwdriver, ensuring it is securely mounted.
- Mount the security camera onto the bracket according to the manufacturer’s instructions, making sure it is aimed in the desired direction.
- Connect the camera to the power source and adjust any settings as needed to complete the installation.
Important Tips:
- Use weatherproof equipment to ensure the camera is protected from the elements.
- Check the camera’s field of view and test its functionality before finalizing the installation.
Adjust the Camera Angle
Once you have mounted the security camera on the soffit, it’s important to adjust the camera angle for optimal coverage. You can adjust the angle of the camera by loosening the mounting screws and tilting the camera up or down. Make sure the camera is facing the area you want to monitor and adjust the angle until you have the desired view.
Test the Camera Functionality
After mounting the security camera on the soffit, it is important to test its functionality to ensure proper installation and operation. Follow these steps to test the camera:
- Power On the Camera: Ensure that the camera is properly connected to power and turned on.
- Check the Video Feed: Use a monitor or mobile device to check the video feed from the camera. Verify that the camera is capturing clear images and videos.
- Adjust Camera Settings: If needed, adjust the camera settings such as resolution, frame rate, and motion detection to optimize its performance.
- Test Night Vision: Test the camera’s night vision capabilities in low-light conditions to ensure visibility in the dark.
- Check Remote Access: If the camera supports remote access, test accessing the live feed from a different location to ensure connectivity.
By following these steps and testing the camera functionality, you can ensure that your security camera is properly installed and ready to monitor your property effectively.
Maintain and Clean the Camera Regularly
Regular maintenance and cleaning of your security camera are essential to ensure its proper functioning and longevity. Here are some tips to help you keep your camera in top condition:
| 1. | Regularly check for any dirt, dust, or debris that may accumulate on the camera lens and housing. Clean the lens with a soft, lint-free cloth and gently remove any dirt or dust from the housing with a brush or compressed air. |
| 2. | Inspect the camera cables and connections for any signs of wear or damage. Ensure that all connections are secure and free of corrosion. |
| 3. | Check the camera’s mounting brackets and hardware for any loose screws or bolts. Tighten any loose hardware to prevent the camera from shifting or becoming misaligned. |
| 4. | Regularly test the camera’s functionality by reviewing the footage and adjusting the settings as needed. Ensure that the camera has a clear view of the area you want to monitor. |
| 5. | Consider scheduling periodic maintenance checks with a professional to ensure that your security camera system is operating at its best. |


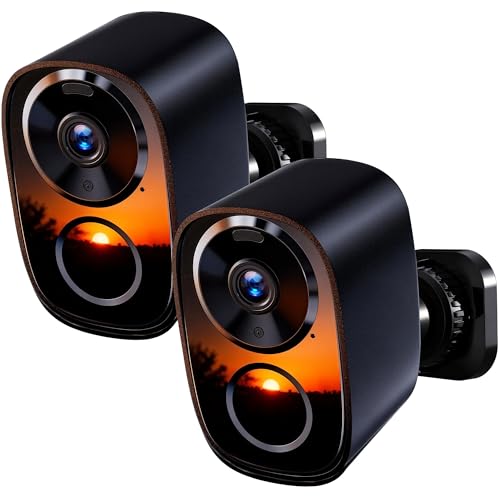



I mounted my cameras on the soffit last month. I found that using a ladder was crucial for reaching the height, and I had to be careful with the alignment. It was also helpful to have a second person to assist with holding the camera while I secured it. Make sure to test the camera's angle before tightening everything up!
What type of drill bit do I need for drilling into metal soffits? I want to make sure I get this right before I start installing my security cameras.
Is it really necessary to use silicone sealant when mounting the cameras? I thought that was only for sealing windows and doors.
Using silicone sealant helps prevent any moisture from entering the holes you drill, which can protect the integrity of your soffit and extend the lifespan of your camera.
I disagree that soffits are the best place for cameras. I think roof corners offer better visibility and are harder for intruders to tamper with. Has anyone tried that?