
 Carmen J. Moore
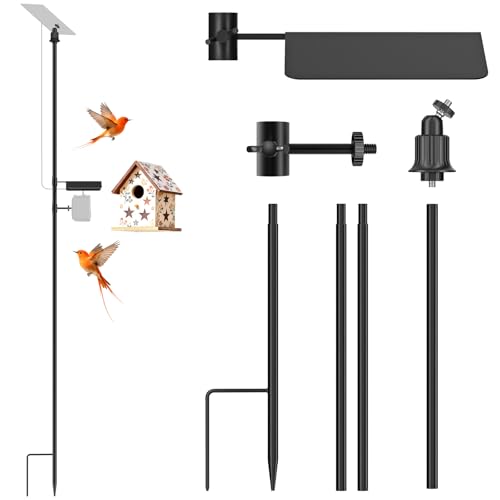
Outdoor security cameras are an essential tool for protecting your home or business, but many people are hesitant to install them because they don’t want to drill holes in their walls or siding. Fortunately, there are alternative methods for mounting outdoor security cameras that don’t require screws.
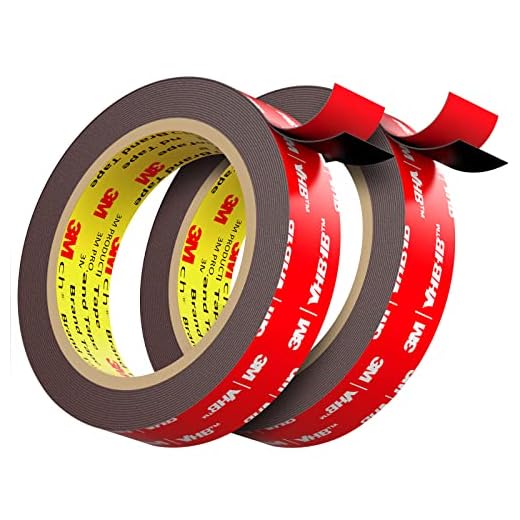
One option is to use adhesive mounting pads or strips to attach the camera to a flat surface. These pads are strong enough to hold the camera securely in place, but can be easily removed without damaging the surface when it’s time to take the camera down.
Another method is to use magnetic mounting brackets. These brackets are designed to attach to the back of the camera and then stick to a metal surface, such as a metal door frame or gutter. This allows you to easily move the camera to different locations as needed.

Step-by-step guide to mounting outdoor security camera without screws
Mounting an outdoor security camera without screws can be a convenient and easy process. Follow these steps to securely install your camera:
- Choose a suitable location for your camera that provides a clear view of the area you want to monitor.
- Ensure the surface is clean and dry before attaching the mounting bracket.
- Use strong adhesive tape or mounting putty to attach the bracket to the surface. Press firmly to secure it in place.
- Attach the camera to the mounting bracket according to the manufacturer’s instructions.
- Adjust the camera angle to ensure it captures the desired area effectively.
- Connect the camera to a power source and set up any necessary connections for monitoring or recording.
- Test the camera to ensure it is functioning properly and adjust any settings as needed.
By following these steps, you can mount your outdoor security camera without screws and enjoy peace of mind knowing your property is being monitored effectively.
Choose the right location
Before mounting your outdoor security camera without screws, it is essential to choose the right location for optimal coverage and security. Look for a spot that provides a clear view of the area you want to monitor, such as the front door, backyard, or driveway. Make sure the camera is positioned at a height that allows it to capture a wide-angle view without any obstructions.
Additionally, consider the camera’s range and field of view to ensure it covers the desired area effectively. Avoid placing the camera in direct sunlight or areas prone to extreme weather conditions, as this can affect its performance and longevity. Finally, make sure the chosen location is easily accessible for maintenance and adjustments if needed.
Prepare the Surface
Before mounting your outdoor security camera without screws, it’s crucial to prepare the surface properly to ensure a secure and stable installation. Here are the steps to follow:
- Clean the mounting surface: Use a clean cloth or rag to wipe down the area where you plan to install the camera. Make sure the surface is free from dirt, dust, and any other debris that could affect the adhesion of the mounting tape.
- Ensure the surface is dry: Before attaching the mounting tape, ensure that the surface is completely dry. Any moisture or dampness could compromise the tape’s adhesive properties and cause the camera to fall off.
- Choose a flat and smooth surface: Select a flat and smooth surface for mounting the camera to ensure a secure attachment. Avoid rough or uneven surfaces that may not provide a stable base for the camera.
- Test the adhesion: Before attaching the camera, test the adhesion of the mounting tape on the surface. Apply some pressure to ensure the tape sticks firmly and securely.
Use adhesive mounting tape
If you prefer not to use screws, another option is to use adhesive mounting tape. This type of tape is designed to securely attach objects to different surfaces without the need for drilling holes. Make sure to clean the surface where you plan to mount the camera with rubbing alcohol to ensure a strong bond.
Once the surface is clean and dry, cut the adhesive mounting tape to the desired length and apply it to the back of the camera. Press firmly to ensure a secure attachment. Then, carefully position the camera on the chosen spot and press down to adhere it to the surface.
Adhesive mounting tape can be a quick and easy solution for mounting outdoor security cameras without the need for screws. Just remember to check the weight limitations of the tape and make sure it is suitable for outdoor use to ensure a secure installation.
Adjust the camera angle
Once you have securely attached the outdoor security camera to the mounting surface without screws, it’s important to adjust the camera angle for optimal coverage and visibility. Follow these steps to adjust the camera angle:
- Use the adjustable mount or bracket provided with the camera to position the camera at the desired angle.
- Ensure that the camera is facing the area you want to monitor and that there are no obstructions blocking its view.
- Test the camera angle by checking the live feed on your monitoring device to see if the desired area is in view.
- Make any necessary adjustments to the angle until you are satisfied with the camera’s coverage.
By adjusting the camera angle properly, you can ensure that your outdoor security camera provides effective surveillance without the need for screws.
Test the camera placement
Before securing the outdoor security camera in place, it’s important to test the camera placement to ensure it covers the desired area effectively. Follow these steps:
- Power on the camera and connect it to your monitoring device or app.
- Mount the camera temporarily using adhesive strips or a mounting bracket without screws.
- Adjust the angle and direction of the camera to capture the desired field of view.
- Test the camera’s visibility in different lighting conditions, including day and night.
- Check for any obstructions or obstacles that may block the camera’s view.
Once you are satisfied with the camera placement and coverage, proceed to secure the camera in its final position using the appropriate mounting method.
Secure the camera cables
Once you have positioned the outdoor security camera and attached it to the mount, you will need to secure the camera cables. To prevent them from being easily tampered with or disconnected, use cable clips or zip ties to neatly secure the cables along the mounting surface. Make sure the cables are not obstructing the camera’s view and are protected from the elements to ensure proper functioning of the security system.
Maintain and clean the camera regularly
Regular maintenance and cleaning of your outdoor security camera are essential to ensure its proper functioning and longevity. Here are some tips to help you maintain your camera:
1. Check for dirt and debris
Inspect the camera regularly for any dirt, dust, or debris that may have accumulated on the lens or housing. Use a soft, dry cloth to gently clean the camera and remove any dirt or smudges that may affect the clarity of the footage.
2. Clean the lens
Keep the camera lens clean and free from any smudges or fingerprints that could obstruct the view. Use a lens cleaning solution and a microfiber cloth to gently clean the lens and ensure clear video quality.
Remember: Avoid using harsh cleaning chemicals or abrasive materials that could damage the camera lens or housing.


Magnetic mounts are awesome! I’ve used them and love how easy it is to adjust the camera’s position whenever I need.
What kind of adhesive tape do you recommend for mounting the camera? I want to make sure it will hold up in different weather conditions.
I’m not sure about using adhesive mounts. I had a bad experience where the camera fell off after a few months. I think screws provide more stability and security. Anyone else have similar issues?
I get that, but my adhesive-mounted camera has stayed up for over a year. It really depends on the tape quality and where you place it.
I mounted my camera using adhesive pads last month, and so far, it's holding up well. I cleaned the surface with rubbing alcohol as suggested. Just be sure not to mount it in direct sunlight, as I noticed the adhesive can weaken in heat. I moved mine to a shaded spot, and it's been fine since!
When you say to prepare the surface, does it matter what kind of surface it is? I have a stucco wall and I'm worried the adhesive won't stick well.
Stucco can be rough, which might affect adhesion. Ensure the area is clean, and consider using a stronger adhesive tape designed for textured surfaces.