
 Carmen J. Moore

Are you looking to enhance the security of your home or business? One effective way to do so is by setting up a night vision security camera. With the advancements in technology, creating your own night vision camera is easier than ever. By following a few simple steps and using affordable materials, you can have a reliable security system in place to monitor your property day and night.
In this guide, we will walk you through the process of building your own night vision security camera. You’ll learn about the essential components you’ll need, the steps to assemble them, and how to set up your camera for optimal performance. Whether you’re a tech enthusiast or a DIY beginner, this project is achievable and rewarding.
Introductory Steps for Setting Up Night Vision Security Camera
To set up a night vision security camera, you need to start by selecting the right camera for your needs. Look for a high-quality camera with infrared capabilities for optimal night vision.
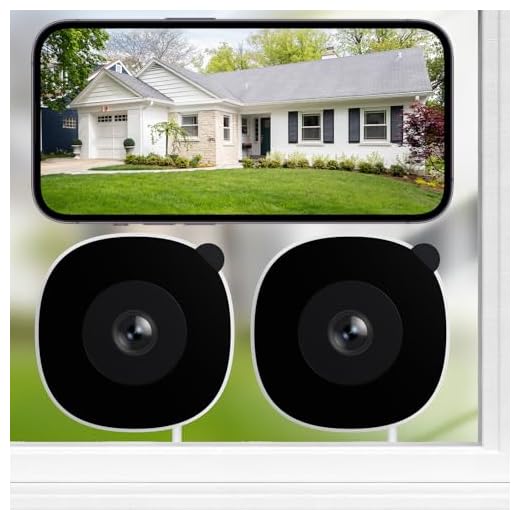

Next, choose the perfect location to install the camera. Make sure it is placed in a strategic position to cover the area you want to monitor, and ensure it has a clear line of sight.
After selecting the camera and location, you will need to power the camera using a reliable power source. Make sure the camera is connected to electricity or a battery source that will keep it running smoothly.
Finally, test the camera to ensure it is functioning properly. Check the night vision capabilities by monitoring the footage in low-light conditions. Adjust the camera settings if necessary to optimize the night vision quality.
Selection of Suitable Camera Model
When choosing a camera for your night vision security camera project, it is important to select a model that is compatible with infrared (IR) illuminators and has the necessary features for night vision capabilities. Look for cameras that have a low lux rating, which indicates their sensitivity to light in low-light conditions. Additionally, consider cameras with built-in IR-cut filters to enhance image quality during daylight hours.
It is recommended to choose a camera with a high resolution and a wide dynamic range to capture clear and detailed images in various lighting conditions. Look for cameras with infrared LEDs or the ability to connect external IR illuminators for enhanced night vision capabilities. Consider models with adjustable IR sensitivity settings to customize the camera’s performance based on your specific surveillance needs.
| Feature | Criteria |
|---|---|
| Low Lux Rating | Below 0.01 lux for better low-light performance |
| IR-Cut Filter | Enhances image quality during daytime |
| High Resolution | At least 1080p for clear and detailed images |
| Wide Dynamic Range | Improves image quality in varying lighting conditions |
| IR Illuminators | Built-in or compatible with external IR LEDs |
| Adjustable IR Sensitivity | Customize camera performance for night vision |
By selecting a suitable camera model with these features, you can ensure optimal performance and quality for your night vision security camera system.
Installation of Camera Mounting System
Before installing your night vision security camera, it is crucial to set up a sturdy and secure mounting system. Follow these steps for a successful installation:
- Choose a strategic location: Select a spot that provides a clear view of the area you want to monitor. Make sure it is high enough to avoid tampering and vandalism.
- Mount the bracket: Attach the mounting bracket securely to the chosen location using appropriate screws and anchors. Ensure it is level and stable.
- Attach the camera: Once the bracket is in place, carefully attach the night vision security camera to the bracket. Follow the manufacturer’s instructions for proper installation.
- Adjust the angle: Adjust the camera angle to capture the desired area and ensure optimal night vision coverage. Test the camera’s view before finalizing the position.
- Secure all connections: Make sure all cables are properly connected and secured to prevent any interference or damage. Use weatherproof connectors for outdoor installations.
- Test the camera: Once the camera is mounted and connected, test its functionality to ensure it captures clear night vision footage. Make any necessary adjustments for better performance.
Connection to Power Supply
Once you have assembled your night vision security camera, you will need to connect it to a power supply for it to function properly. Follow these steps to ensure a successful connection:
- Locate the power input port on the camera. This is usually a small circular port labeled “DC IN”.
- Connect the power cable that came with your camera to the DC IN port. Make sure it is securely plugged in.
- Plug the other end of the power cable into a power outlet or a power source with the correct voltage and current rating. Ensure that the power supply meets the specifications required by your camera.
- Turn on the power supply and check that the camera lights up or powers on. You may need to refer to the camera’s manual for specific instructions on powering it up.
Important Note:
Always use the power adapter provided by the manufacturer to avoid damaging your night vision security camera. Do not use incompatible power sources as it may lead to malfunction or permanent damage.
Configuration of Night Vision Settings
Setting up the night vision settings on your security camera is crucial for capturing clear and detailed footage in low light conditions. Follow these steps to configure the night vision settings:
| 1. Adjust the Infrared Sensitivity: | Access the camera settings menu and locate the night vision settings. Adjust the infrared sensitivity to ensure the camera can capture images in complete darkness without overexposing the footage. |
| 2. Set the IR Cut Filter: | Enable the IR cut filter to enhance the camera’s ability to switch between day and night mode. This filter helps improve image quality by blocking out unwanted light during the night. |
| 3. Position the Camera Properly: | Ensure the camera is positioned correctly to take full advantage of its night vision capabilities. Avoid placing the camera near sources of light that may interfere with the night vision mode. |
| 4. Test the Night Vision: | After adjusting the settings, test the night vision feature to verify that the camera can capture clear footage in low light conditions. Make any necessary adjustments to improve the image quality. |
Testing the Camera in Low-Light Conditions
Once you have completed assembling your night vision security camera, it’s time to test its performance in low-light conditions. This step is crucial to ensure that your camera will work effectively during nighttime surveillance.
Here are some steps to follow when testing your night vision camera in low-light conditions:
- Choose a dark or dimly lit area to test the camera.
- Turn on the camera and adjust the settings for night vision mode.
- Observe the quality of the video feed on the monitor or screen.
- Check the visibility and clarity of objects in the camera’s field of view.
- Move around in the area to see how well the camera captures motion in low light.
- Make any necessary adjustments to the camera settings to improve its performance.
By thoroughly testing your night vision security camera in low-light conditions, you can ensure that it will provide reliable surveillance footage during nighttime hours.
Monitoring and Maintenance of the Security System
After installing your night vision security camera system, it is crucial to regularly monitor and maintain it to ensure optimal performance and security. Here are some key tips for monitoring and maintaining your security system:
Regular Check-ups
Regularly check the cameras, cables, and connections for any signs of damage or tampering. Make sure the cameras are clean and free from obstructions that could affect their field of view.
Testing and Calibration
Periodically test the night vision capabilities of your cameras to ensure they are functioning properly in low-light conditions. Calibration may be necessary to adjust the sensitivity and range of the cameras.
Secure Access
Ensure that only authorized personnel have access to the security system controls and monitoring equipment. Implement strong passwords and encryption to prevent unauthorized access.
By following these monitoring and maintenance practices, you can ensure that your night vision security camera system remains effective and reliable in protecting your property.


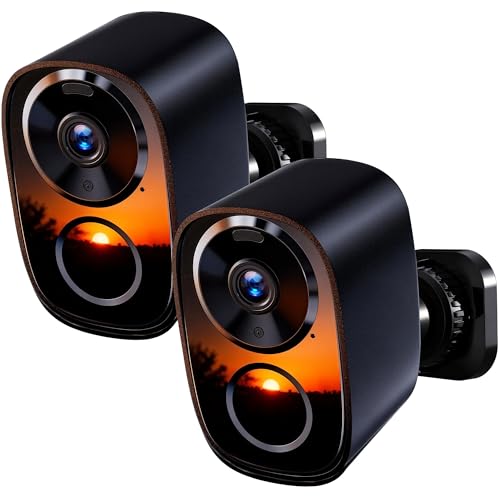



I recently set up a night vision camera using the steps from your guide. I chose a camera with adjustable IR sensitivity, and it’s been great! One tip I’d give is to test the positioning thoroughly. I initially had it too low, and it didn’t capture the whole yard. After adjusting it higher, the footage is much clearer. Also, make sure to test it in different lighting conditions for the best results.
Glad to hear you found the guide useful! Installation can vary based on the model, but typically, as long as you follow the manufacturer's instructions, it should go smoothly. If you experience any specific challenges, feel free to ask!
That’s helpful! I didn’t think about testing in different lighting. How did you find the installation process? Was it straightforward?
Great article! What kind of camera models would you recommend for someone on a budget? I’m looking to make my own night vision security camera without spending too much.
I’ve had good luck with some of the budget models from Amcrest and Wyze. They have decent IR capabilities without breaking the bank.