
 Carmen J. Moore
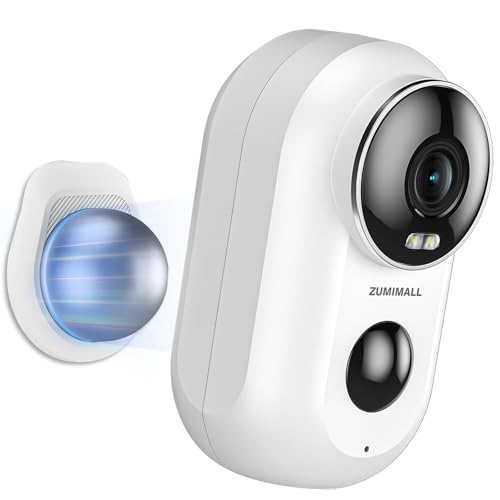
Security cameras are essential for protecting your home or business, but installing them can be a daunting task. One of the most popular and effective locations for security cameras is under the eaves of your building. This strategic placement provides a clear view of the surrounding area while keeping the cameras protected from the elements.

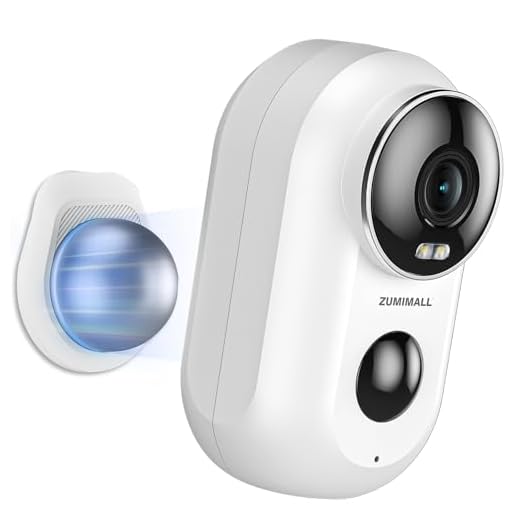

In this guide, we will walk you through the steps to install security cameras under the eaves of your property. Whether you are a DIY enthusiast or hiring a professional, these tips will help you ensure your security cameras are installed correctly and provide optimal coverage.
From choosing the right cameras to mounting them securely, we will cover everything you need to know to set up a reliable and effective security camera system under the eaves. Follow our step-by-step instructions and enjoy peace of mind knowing your property is well-protected.
Step-by-Step Guide to Installing Security Cameras under Eaves
Installing security cameras under eaves is a great way to enhance your home’s security. Follow these steps to ensure a successful installation:
- Choose the Right Location: Select a suitable spot under the eaves that provides a clear view of the area you want to monitor.
- Mount the Camera: Use a mounting bracket to securely attach the camera to the underside of the eaves.
- Connect the Cables: Run the camera cables along the eaves and connect them to a power source and recording device.
- Adjust the Camera Angle: Ensure the camera is positioned at the desired angle for optimal coverage.
- Test the Camera: Turn on the camera and test the video feed to make sure it is functioning properly.
- Secure the Cables: Use cable clips or ties to secure the cables along the eaves to prevent them from getting damaged.
- Monitor Regularly: Check the camera regularly to ensure it is capturing the desired footage and adjust as needed.
Choose the Right Cameras for Your Eaves
When selecting security cameras for installation under eaves, it’s important to choose the right type of cameras that will meet your specific needs. Consider factors such as weather resistance, resolution, night vision capabilities, and power source.
Weather resistance is crucial for outdoor cameras, so make sure to choose cameras that are designed to withstand harsh weather conditions. Look for cameras with an IP66 or higher rating to ensure they are waterproof and can withstand dust, rain, and snow.
Resolution is another important factor to consider. Higher resolution cameras will provide clearer and more detailed images, making it easier to identify people or objects. Opt for cameras with at least 1080p resolution for better image quality.
For nighttime surveillance, choose cameras with infrared night vision capabilities. These cameras use infrared LEDs to illuminate the area in low-light conditions, providing clear images even in the dark. Make sure to check the night vision range of the cameras to ensure they cover the desired area.
Lastly, consider the power source for your cameras. You can choose between wired cameras that require a power outlet nearby or wireless cameras that run on batteries or solar power. Select the option that best fits your installation location and preferences.
Determine the Best Location for Mounting
Before installing security cameras under eaves, it is crucial to determine the best location for mounting. Here are some key factors to consider:
- Choose a spot that provides a clear view of the area you want to monitor, such as the front door, driveway, or backyard.
- Ensure the camera is positioned high enough to capture a wide field of view and discourage tampering.
- Avoid placing the camera in direct sunlight to prevent glare and distortion in the footage.
- Consider the proximity to power outlets or wiring for easy installation and maintenance.
- Check for any obstructions that may block the camera’s line of sight, such as trees, bushes, or walls.
By carefully selecting the location for mounting your security cameras under eaves, you can maximize their effectiveness in monitoring your property and enhancing your overall security setup.
Prepare the Necessary Tools and Equipment
Before you start installing security cameras under eaves, make sure you have all the necessary tools and equipment ready. Here is a list of items you will need:
- Security cameras
- Power drill
- Screws and anchors
- Ladder
- Measuring tape
- Screwdriver
- Cable clips
- Power supply
- Extension cables
- Weatherproof housing (if needed)
Having these tools and equipment on hand will help you complete the installation process smoothly and efficiently.
Install Mounting Bracket under Eaves
Before installing the security camera under the eaves, you’ll need to mount the bracket securely. Follow these steps:
- Choose a suitable location under the eaves where you want to install the camera.
- Hold the mounting bracket in place and mark the screw holes on the eaves.
- Use a drill to create pilot holes for the screws in the marked locations.
- Secure the mounting bracket to the eaves using screws and a screwdriver.
- Ensure the bracket is firmly attached and level for optimal camera positioning.
Connect and Secure the Camera to the Bracket
Once the bracket is securely attached to the eave, it’s time to connect the security camera to the bracket. Most security cameras come with a mounting plate that attaches to the bracket with screws.
First, ensure the camera is properly positioned on the mounting plate. Use the provided screws to secure the camera to the plate. Make sure the camera is facing the desired direction for optimal coverage.
Securing the Camera
After the camera is attached to the bracket, tighten all screws to ensure a secure fit. Double-check that the camera is stable and properly aligned. This step is crucial to prevent the camera from moving or falling due to wind or other external factors.
Tip: Consider using additional weatherproof sealant around the mounting screws to prevent water from seeping into the mounting holes and potentially damaging the camera.
Test the Camera and Adjust Settings
Once the security camera is properly installed under the eaves, it’s essential to test it to ensure it’s functioning correctly. Connect the camera to a power source and monitor or recording device. Check the camera’s field of view and adjust its angle if needed to capture the desired area.
Next, access the camera’s settings to adjust features such as motion detection sensitivity, resolution, and night vision settings. Make sure the camera is set up to record or send alerts as per your preferences. Test the camera’s night vision capability by checking the quality of the footage in low-light conditions.
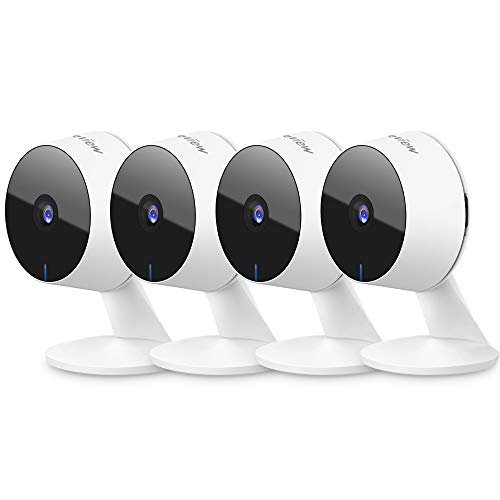


Always remember to check your camera's settings after installation! Adjust motion detection and night vision for the best results.
What type of security camera is best for rainy climates?
Could you clarify the best way to run the cables? I have a two-story home, and I'm worried about how to hide the cables properly without them being too visible.
I installed my security cameras under the eaves last month. It was easier than I thought! Just followed the steps provided and used a drill for the mounting brackets. The view is fantastic now!
I don’t think installing cameras myself is a good idea. Better to hire a professional to avoid mistakes.
I disagree! If you're a bit handy, DIY can save a lot of money. Just follow the instructions carefully.
How do wired cameras compare to wireless ones for outdoor use? I'm considering both options.
Wired cameras usually offer more reliable connections, but wireless can be easier to install. It depends on your setup.