
 Carmen J. Moore
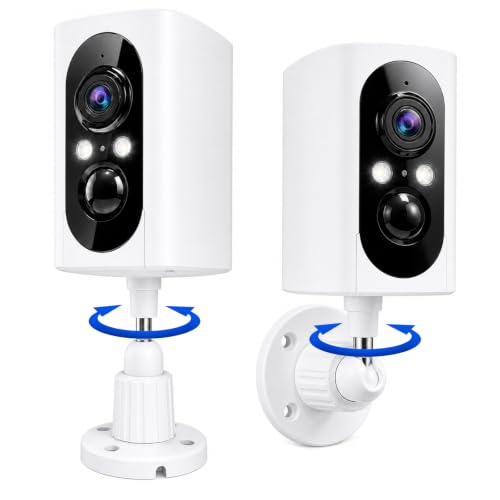
Are you looking to enhance the security of your home or office? A Ring wireless security camera could be the perfect solution for you. These cameras offer easy installation, high-quality video recording, and convenient remote access.
In this guide, we will walk you through the steps to install your Ring wireless security camera so you can enjoy peace of mind knowing your property is protected.
From setting up the camera to connecting it to your Wi-Fi network, we will cover everything you need to know to get your Ring wireless security camera up and running in no time.
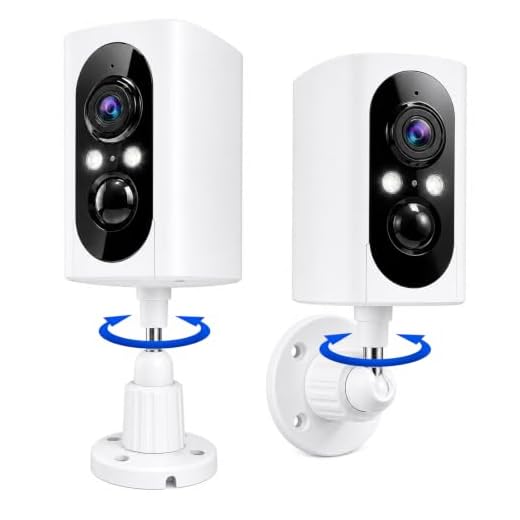
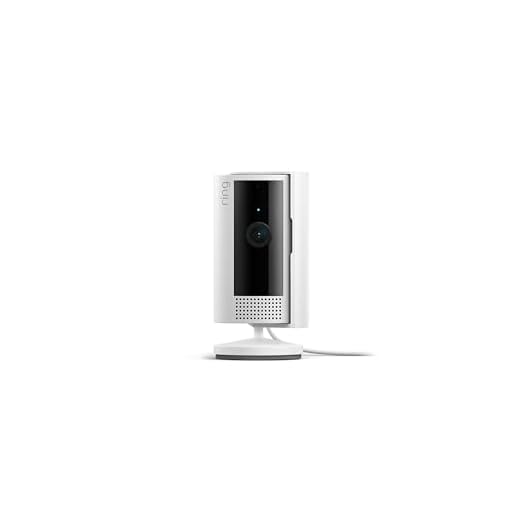

Step-by-Step Guide to Installing Ring Wireless Security Camera
Installing a Ring wireless security camera is a straightforward process that can be completed in a few simple steps. Follow this step-by-step guide to set up your Ring camera and enhance the security of your property.
1. Choose the Installation Location
Before you begin the installation process, select a suitable location for your Ring camera. Make sure the camera has a clear view of the area you want to monitor and is within range of your Wi-Fi network.
2. Mount the Camera
Use the mounting bracket provided with your Ring camera to secure it in place. Make sure the camera is positioned at the desired angle and height for optimal coverage.
| 3. Connect the Camera to the Ring App | Follow the instructions in the Ring app to connect your camera to your Wi-Fi network. This step will enable you to access the camera’s live feed and settings remotely. |
| 4. Set Up Motion Detection | Configure the motion detection settings in the Ring app to receive alerts when the camera detects activity in the monitored area. Adjust the sensitivity and notification preferences as needed. |
| 5. Test the Camera | Once the camera is installed and connected, test its functionality by triggering motion events or manually checking the live feed. Ensure that the camera is capturing clear footage and functioning as expected. |
Unboxing the Camera
When you receive your Ring wireless security camera, the first step is to unbox it carefully. Inside the package, you will find the camera itself, mounting hardware, a power adapter, and any necessary cables. Make sure to inspect all the contents to ensure everything is included and in good condition.
Setting Up the Camera
Before you start setting up your Ring wireless security camera, make sure it is fully charged and that you have downloaded the Ring app on your smartphone or tablet.
1. Open the Ring app and follow the on-screen instructions to create an account or log in if you already have one.
2. Tap on the “Set Up a Device” option in the app and select “Security Cameras” from the list of available devices.
3. Follow the app’s instructions to connect your camera to your Wi-Fi network. Make sure to place the camera within the range of your Wi-Fi signal for a strong connection.
4. Once your camera is connected to the network, you can customize its settings such as motion detection sensitivity and notification preferences.
5. Mount the camera in the desired location using the included mounting hardware. Make sure the camera is securely attached and has a clear view of the area you want to monitor.
6. Test the camera by checking the live feed on the Ring app to ensure it is capturing the footage correctly.
7. Congratulations! Your Ring wireless security camera is now set up and ready to help you keep your home safe.
Connecting to Wi-Fi
Once you have the Ring wireless security camera set up in your desired location, you’ll need to connect it to your Wi-Fi network. Follow these steps to ensure a successful connection:
- Open the Ring app on your smartphone and select the camera you want to connect.
- Follow the on-screen instructions to enter your Wi-Fi network details.
- Make sure your Wi-Fi network is on and working properly.
- Wait for the camera to connect to your Wi-Fi network, which may take a few minutes.
- Once the connection is established, you can start using your Ring wireless security camera to monitor your home.
Installing the Mounting Bracket
Before you begin installing your Ring wireless security camera, you need to attach the mounting bracket to the desired location. Here’s how to do it:
| 1. | Choose a suitable mounting location for your camera, ensuring it has a clear view of the area you want to monitor. |
| 2. | Use the included screws and anchors to secure the mounting bracket to the wall or ceiling. |
| 3. | Make sure the mounting bracket is level to ensure proper alignment of the camera. |
| 4. | Once the mounting bracket is securely in place, you can proceed to attach the Ring wireless security camera to it. |
Adjusting Camera Settings
Once you have successfully installed your Ring wireless security camera, it’s important to adjust the camera settings to ensure optimal performance:
- Positioning: Make sure your camera is positioned correctly to capture the desired area. Adjust the angle and height as needed.
- Motion Detection: Customize the motion detection settings to reduce false alarms and ensure that important events are captured.
- Recording Schedule: Set up a recording schedule to capture footage at specific times or days, depending on your needs.
- Night Vision: Adjust the night vision settings to improve visibility in low-light conditions.
- Alerts: Configure alerts to receive notifications on your mobile device when motion is detected or other events occur.
By adjusting these settings, you can optimize the performance of your Ring wireless security camera and enhance the security of your home or property.
Testing and Finalizing Installation
Once you have completed the physical installation of your Ring wireless security camera, it’s time to test the system to ensure everything is working correctly. Here are some steps to follow:
1. Power on the camera by plugging it into a power source or inserting the battery.
2. Download the Ring app on your smartphone and follow the on-screen instructions to connect the camera to your Wi-Fi network.
3. Position the camera in the desired location and adjust the angle for optimal coverage.
4. Test the camera’s live view and motion detection features by moving in front of the camera and checking the app for notifications.
5. Adjust settings such as motion sensitivity, motion zones, and notification preferences to customize your security system.
6. Consider adding additional accessories like solar panels or mounting brackets to enhance the camera’s performance.
7. Once you are satisfied with the setup, finalize the installation by securing any loose wires, adjusting the camera’s position if necessary, and double-checking all connections.
By following these steps, you can ensure that your Ring wireless security camera is properly installed and functioning as intended to protect your home or property.



I found the installation process a bit tricky, especially the mounting part. I think it could be improved with clearer instructions.
I had a similar experience! Maybe a video guide would help a lot of us out.
I just bought a Ring camera but I'm not sure how to choose the best mounting location. Any tips on what to look for?
Make sure it's near a power source and has a clear view of the area you want to monitor. Avoid corners if possible.
Good advice! Also, consider the height. Placing it too high might restrict the camera's field of view.
I recently installed my Ring camera and it was super easy! I followed the app instructions, and everything connected smoothly. Just remember to charge the camera fully before mounting it. Got great footage of my front yard now!
How does the Ring camera compare to other brands when it comes to motion detection? Is it reliable?
The Ring camera is generally known for its reliable motion detection, but it can vary based on location and settings. Some users have reported better results with other brands, depending on their needs.
I’m confused about the connection process. Do I need to keep my phone close to the camera when connecting it to Wi-Fi?
Yes, it's best to keep your phone near the camera during the setup process for a stable connection. Once connected, you can move the camera to its final location.