
 Carmen J. Moore

Are you looking to enhance the security of your home or business with a wireless security camera system? Lorex wireless security cameras, such as the LHB926T1 model, offer advanced features and easy installation for peace of mind.
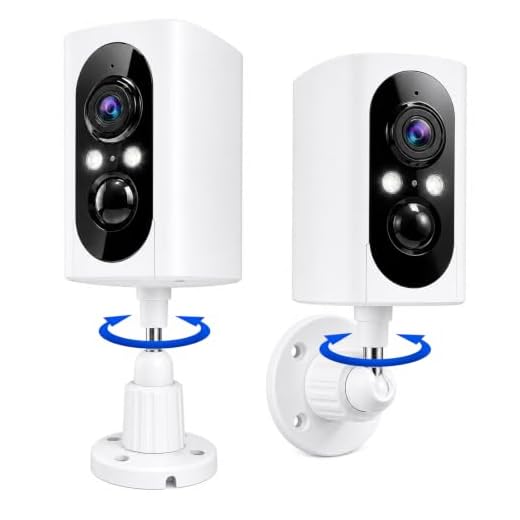
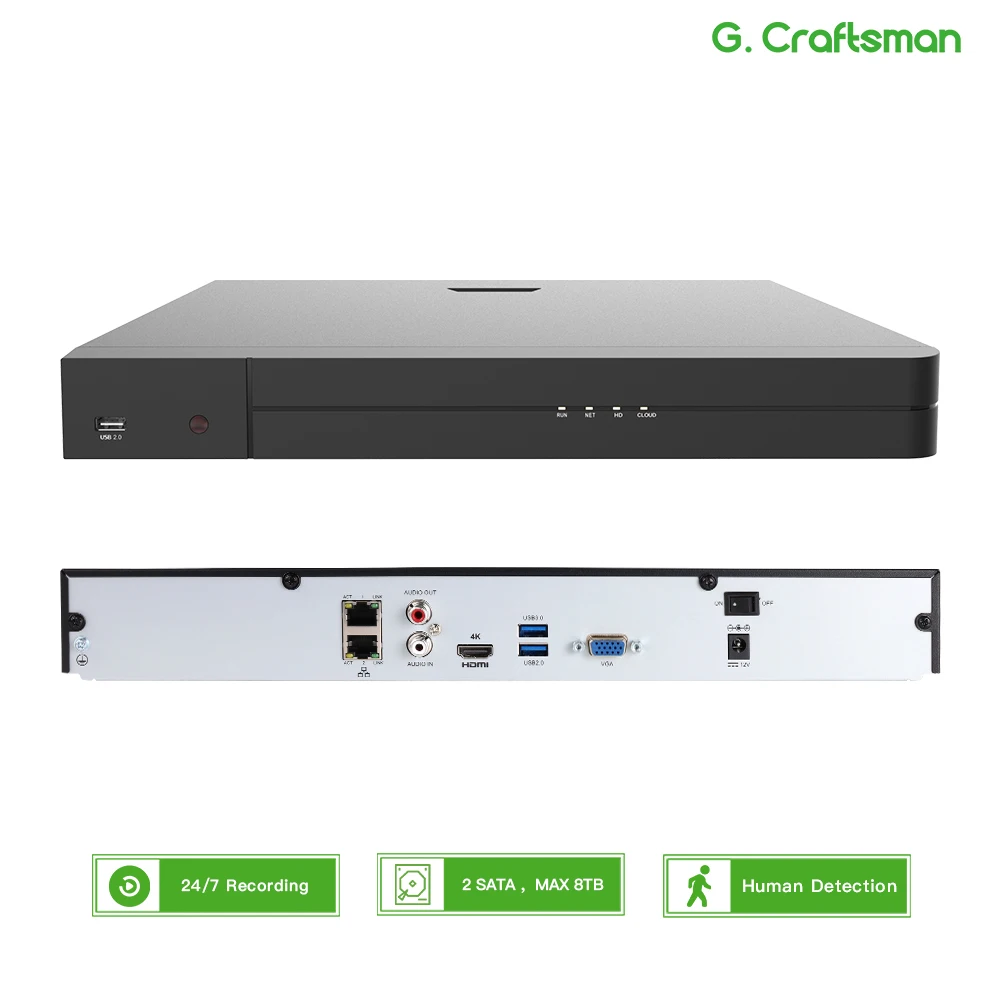
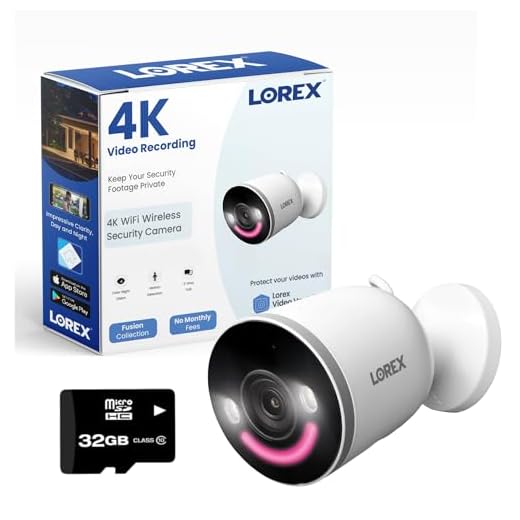
In this guide, we will walk you through the step-by-step process of installing a Lorex wireless security camera LHB926T1 to ensure your property is protected. With its high-definition video quality and remote viewing capabilities, this camera system is a valuable addition to any security setup.
Whether you are a DIY enthusiast or a first-time user, setting up the Lorex LHB926T1 wireless security camera is straightforward and requires minimal tools. Follow our instructions carefully to have your camera up and running in no time.
Step-by-Step Guide to Installing Lorex Wireless Security Camera LHB926T1
Installing a Lorex wireless security camera system like the LHB926T1 is a straightforward process that can help enhance your home or business security. Follow these steps to install your Lorex wireless security camera:
Step 1: Unboxing and Preparation
Start by unboxing your Lorex LHB926T1 wireless security camera system and checking all the components. Make sure you have all the necessary parts, including the camera, mounting brackets, power adapter, and cables.
Step 2: Camera Placement
Choose an optimal location to mount your Lorex wireless camera. Ensure it has a clear line of sight and covers the desired area for surveillance. Use the mounting bracket to securely install the camera.
Tip: Position the camera at a height that provides a broad view of the area without any obstructions.
Step 3: Power Connection
Connect the power adapter to the Lorex wireless camera and plug it into a power outlet. Make sure the camera receives power and is ready for setup.
Follow the manufacturer’s instructions to complete the setup process, including connecting the camera to your Wi-Fi network and configuring any settings through the Lorex app or software.
Unboxing the Camera System
When you receive your Lorex wireless security camera system LHB926T1, the first step is to unbox the package carefully. Inside the box, you will find the following components:
| 1. Full HD DVR with 1TB hard drive |
| 2. Six wireless 1080p cameras |
| 3. Power adapters for each camera |
| 4. HDMI cable |
| 5. Ethernet cable |
| 6. Mouse for DVR navigation |
| 7. Quick start guides and mounting hardware |
Ensure that all components are included in the package and in good condition before proceeding with the installation process.
Mounting the Cameras
Before mounting the Lorex wireless security cameras, make sure to choose optimal locations that provide a clear view of the areas you want to monitor. Use the mounting templates included in the package to help you position the cameras correctly.
1. Select a suitable mounting location that is within the wireless range of the DVR/NVR.
2. Use the provided screws and anchors to securely mount the camera bracket to the desired surface. Ensure the bracket is stable and can support the weight of the camera.
3. Attach the camera to the bracket and adjust the angle to achieve the desired field of view. Tighten the screws to secure the camera in place.
4. Run the power cable and antenna cable (if applicable) through the mounting surface or conduit to connect to the camera.
5. Ensure all connections are secure and the camera is powered on. Adjust the camera settings using the Lorex app or web interface to optimize the video quality and monitoring capabilities.
Connecting the NVR to the Router
Once you have positioned your Lorex wireless security camera system NVR (Network Video Recorder) in the desired location, follow these steps to connect it to your router:
Step 1: Power On the NVR
Plug the power adapter into the NVR and connect it to a power outlet. Wait for the NVR to power on and initialize.
Step 2: Connect the NVR to the Router
Use an Ethernet cable to connect the LAN port on the back of the NVR to an available LAN port on your router. Make sure the connection is secure.
Once connected, the NVR will establish a network connection with your router. You can now proceed with the setup and configuration of your Lorex wireless security camera system.
Powering Up the System
Before you start installing your Lorex wireless security camera LHB926T1, you need to power up the system. Follow these steps:
- Connect the NVR: Plug the NVR (network video recorder) into a power outlet using the provided power adapter.
- Power on the NVR: Press the power button on the NVR to turn it on. Wait for the system to boot up.
- Connect the Cameras: If the cameras are not pre-paired with the NVR, you will need to pair them now. Follow the instructions in the user manual to pair each camera with the NVR.
- Check the Connections: Make sure all the connections are secure and the cameras are receiving power.
- Access the System: Once the system is powered up, you can access the live feed and settings on the NVR or through the Lorex app on your smartphone or computer.
With the system powered up, you are now ready to proceed with the installation and setup of your Lorex wireless security camera system.
Setting Up the Cameras
Once you have unpacked your Lorex wireless security camera LHB926T1, follow these steps to set up the cameras:
- Choose the location for your camera where it has a clear view of the area you want to monitor.
- Mount the camera on a wall or ceiling using the included mounting hardware.
- Connect the power adapter to the camera and plug it into a power outlet.
- Follow the on-screen instructions on the monitor or mobile app to pair the camera with the system.
- Adjust the camera angle and settings to optimize the viewing angle and image quality.
- Test the camera by monitoring the live feed on your monitor or mobile device to ensure it is working properly.
By following these steps, you can successfully set up your Lorex wireless security camera LHB926T1 and start monitoring your property.
Accessing the Camera Feed
To access the camera feed on your Lorex wireless security camera LHB926T1, you will need to follow these steps:
- Connect to the Internet: Make sure your camera is connected to the Internet either wirelessly or through an Ethernet cable.
- Access the Lorex Secure App: Download and install the Lorex Secure app on your smartphone or tablet from the App Store or Google Play Store.
- Sign In or Create an Account: Sign in to your Lorex Secure account or create a new one if you don’t already have an account.
- Add Your Camera: Follow the on-screen instructions to add your Lorex wireless security camera LHB926T1 to the app. Make sure to enter the correct device ID and password.
- View the Camera Feed: Once your camera is successfully added, you can now access the live camera feed from anywhere using the Lorex Secure app.
Additional Tips:
Make sure your camera is positioned correctly for optimal viewing angles and coverage. You can also set up motion alerts and notifications in the app for added security.

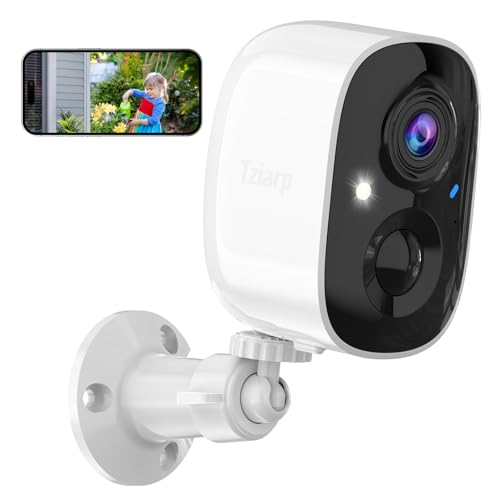


I recently installed the Lorex LHB926T1 and was impressed with the video quality! I mounted mine high up for a better view and connected it to my Wi-Fi effortlessly. A tip: make sure your router is close enough to avoid connection issues. Overall, the setup took me about an hour, and I feel much safer now.
I’ve read mixed reviews about Lorex cameras. Some users experienced connectivity issues. Can anyone clarify if this is a common problem with the LHB926T1?
I didn’t have any connectivity issues, but I made sure my NVR was well-placed and that my Wi-Fi signal was strong. Maybe that made a difference.
What’s the maximum distance I can place the camera from the NVR while still maintaining a good connection?
The maximum distance can vary based on obstructions and interference, but typically, you should aim for under 300 feet for optimal performance. Make sure there are minimal barriers between the camera and NVR for the best signal.
How does the Lorex LHB926T1 compare to other brands like Ring or Arlo? Is it worth the investment?
I’ve used both Ring and Arlo, and for the price, Lorex offers great features especially if you prefer local storage with the DVR option.
I’m thinking of getting the Lorex LHB926T1 but I’m new to security cameras. Is the installation really as easy as it sounds? Are there any specific tools I need?
I found it pretty straightforward! Just a screwdriver and maybe a drill for mounting. The guide was really helpful too.
Has anyone tried mounting the Lorex LHB926T1 on a ceiling? I'm not sure if the angle adjustments are sufficient for a downward view.
I just installed the Lorex LHB926T1 last week and found the process pretty smooth. The step-by-step guide was clear, and I appreciated the mounting templates. However, I had some issues with connecting the NVR to my router; it took a few tries before it finally established a connection. Overall, I'm pleased with the camera's video quality.