
 Carmen J. Moore

Are you looking to enhance the security of your home or business with an Arlo security camera system? One of the key components of setting up your Arlo system is installing the cameras onto the security mounts. This step is crucial to ensure that your cameras are positioned correctly and securely to capture the best footage.

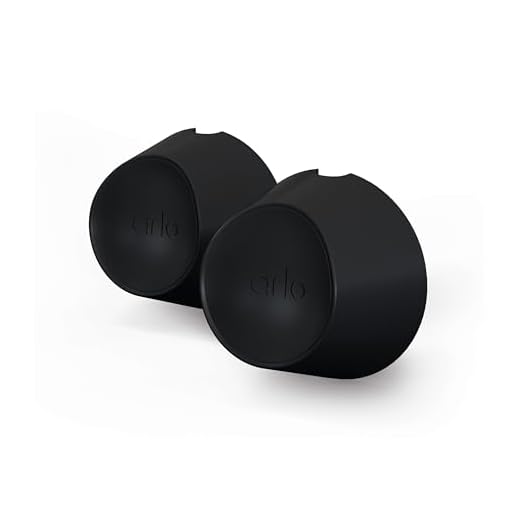
Installing a camera to an Arlo security mount may seem daunting at first, but with the right guidance and tools, it can be a straightforward process. In this article, we will provide you with step-by-step instructions on how to properly install your Arlo camera onto the security mount, so you can enjoy peace of mind knowing that your property is protected.
Prepare Arlo Security Mount
Before installing the camera to the Arlo Security Mount, make sure you have all the necessary tools and components ready. This includes the Arlo Security Mount, the camera, screws, and any additional mounting hardware that may be required.
Next, carefully read the installation instructions provided by Arlo to ensure you understand the process and have a clear idea of how to proceed. It’s important to follow the instructions step by step to ensure a secure and proper installation.
Gather Necessary Tools
Before you start installing the camera to the Arlo security mount, make sure you have all the necessary tools handy. Here is a list of tools you will need:
- Arlo security camera: Ensure you have the camera ready for installation.
- Arlo security mount: Make sure you have the mount designed for your camera model.
- Mounting screws and anchors: Check if you have the appropriate screws and anchors for mounting the camera securely.
- Power adapter and cable: Have the power adapter and cable ready to connect your camera to a power source.
- Drill and screwdriver: These tools are essential for attaching the mount to the desired location.
- Level: Use a level to ensure the camera is mounted straight and aligned correctly.
- Mobile device: You will need a mobile device to set up and configure the camera once it’s installed.
Having these tools prepared will make the installation process smoother and more efficient.
Choose Camera Location
Before installing your camera to the Arlo security mount, it’s important to choose the right location for optimal performance. Consider the following factors:
- Ensure the camera has a clear line of sight to the area you want to monitor.
- Place the camera at a height that provides a good view of the surroundings.
- Avoid pointing the camera directly at bright lights or reflective surfaces to prevent glare.
Tips:
- Mount the camera under an eave or shelter to protect it from the elements.
- Position the camera where it can capture the most activity while maintaining privacy.
Attach Mount to Surface
Before attaching your camera to the Arlo security mount, you need to secure the mount to a surface. Follow these steps to ensure a proper installation:
- Choose a suitable location for mounting your camera. Make sure it provides a clear view of the area you want to monitor.
- Use the included screws and anchors to attach the mount to the desired surface. Make sure the mount is securely fastened to prevent any movement.
Once the mount is securely attached, you can proceed with attaching your Arlo camera to the mount following the manufacturer’s instructions.
Adjust Mount Angle
Once the camera is securely attached to the Arlo security mount, you may need to adjust the angle to ensure the best view of the desired area. Follow these steps to adjust the mount angle:
- Loosen the screws on the camera mounting bracket using the provided Allen key.
- Rotate the camera to the desired angle.
- Tighten the screws to lock the camera in place.
Make sure the camera is positioned at the right angle to capture the best view and maximize the security coverage of your Arlo system.
Insert Camera into Mount
To install your camera into the Arlo security mount, follow these steps:
- Locate the mounting bracket on the camera.
- Align the camera bracket with the mount and slide it into place.
- Ensure the camera is securely attached to the mount.
- Adjust the angle of the camera as needed for optimal coverage.
Secure Camera in Place
Once you have attached the camera to the Arlo security mount, make sure it is securely in place to ensure proper functionality and security. Follow these steps to secure the camera:
- Tighten the screws on the mount to secure the camera in place.
- Adjust the angle of the camera to point it in the desired direction.
- Ensure the camera is facing the area you want to monitor for optimal security coverage.
- Double-check the mount and camera to make sure they are securely attached and stable.
- Test the camera by monitoring the live feed on your device to confirm it is positioned correctly.
Connect Camera to Power Source
Before installing your camera to the Arlo security mount, you need to connect it to a power source to ensure it is powered on and ready for setup.
Steps to Connect Camera to Power Source:
- Locate the power adapter that came with your camera.
- Insert the power adapter into the power port on the camera.
- Plug the power adapter into a power outlet.
- Wait for the camera to power on and initialize.
Once the camera is connected to the power source, you can proceed with installing it onto the Arlo security mount for optimal security monitoring.
Configure Camera Settings
After installing your camera to the Arlo security mount, it’s important to configure the camera settings to ensure optimal performance. Follow these steps to adjust the camera settings:
- Open the Arlo app on your smartphone or tablet.
- Select the camera you want to configure.
- Go to the camera settings menu.
- Adjust the settings such as motion detection sensitivity, video quality, recording mode, and notifications.
- Save your settings and test the camera to make sure it’s capturing footage correctly.
Additional Tips:
- Regularly check and update the camera firmware for the latest features and improvements.
- Consider setting up a schedule for when the camera should be active to conserve battery life.
Test Camera Functionality
After installing the camera to the Arlo security mount, it is important to test the camera functionality to ensure it is working correctly. Follow these steps to test the camera:
- Power on the camera by connecting it to a power source.
- Check the camera’s LED indicators to see if it is properly powered on.
- Access the camera’s settings through the Arlo app or web portal.
- Verify that the camera is connected to your Wi-Fi network and the Arlo base station.
- Test the camera by recording a video or taking a snapshot.
- Check the quality of the video and ensure that the camera captures clear images.
- Test the camera’s motion detection and night vision capabilities.
- Adjust the camera’s settings as needed to optimize its performance.


I just finished installing my Arlo camera using this guide. The step about using a level really helped to ensure it was straight. I found that attaching the mount first and then adjusting the angle after made it much easier. Just a tip for others—make sure to test the camera's Wi-Fi connection before finalizing the position!
Great to hear the guide was helpful! Testing the Wi-Fi connection beforehand is definitely a smart move.
I'm planning to install my Arlo camera this weekend. Does anyone have tips on choosing the best height and angle for optimal coverage?
I mounted mine about 8 feet high, and it works great! Make sure you can see the entire area you want to monitor.
Can someone clarify if I need to update the camera's firmware right after setup? Is it necessary for basic functionality?
Updating the firmware is recommended for the best performance and access to the latest features, but the camera should function with its initial settings.