
 Carmen J. Moore
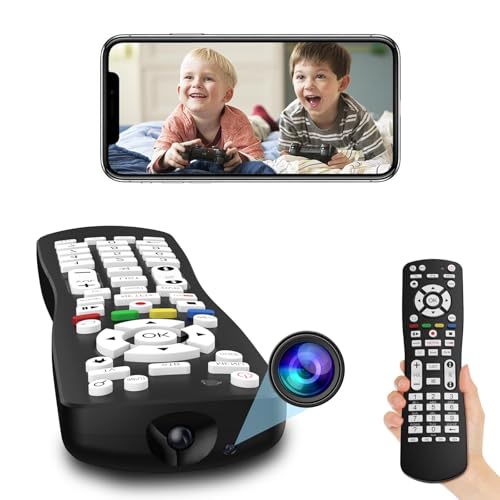
Security cameras are an essential tool for monitoring and protecting your property. By connecting a security camera to your computer, you can easily view live footage, record video, and even receive alerts when motion is detected. In this guide, we’ll walk you through the steps to hook up a security camera to your computer.
First, you’ll need to choose a security camera that is compatible with your computer. There are a variety of options available, including wired and wireless cameras. Make sure to select a camera that meets your specific needs and budget.


Next, you’ll need to install the necessary software on your computer to connect to the security camera. Many cameras come with their own software that you can install, or you may need to download software from the camera manufacturer’s website.
Setting up your security camera
Setting up your security camera involves a few key steps to ensure proper installation and functionality. Follow these steps to connect your camera to your computer:
| 1. | Choose a suitable location for your security camera with a clear view of the area you want to monitor. |
| 2. | Mount the camera securely using the provided mounting hardware. |
| 3. | Connect the camera to a power source using the included power adapter. |
| 4. | Connect the camera to your computer using the appropriate cables or wireless connection. |
| 5. | Install any necessary software or drivers for the camera on your computer. |
| 6. | Configure the camera settings and adjust the viewing angle as needed. |
| 7. | Test the camera to ensure it is working properly and capturing the desired footage. |
By following these steps, you can successfully set up your security camera and start monitoring your property or premises with ease.
Choosing the right camera for your needs
When selecting a security camera to connect to your computer, it’s important to consider your specific needs and requirements. Here are some factors to keep in mind:
- Resolution: Choose a camera with a high resolution for clear and detailed footage.
- Field of view: Consider the field of view offered by the camera to ensure it covers the desired area.
- Indoor or outdoor use: Determine if you need a camera suitable for indoor monitoring or outdoor surveillance.
- Wireless or wired: Decide whether you prefer a wireless camera for easy installation or a wired camera for a more stable connection.
- Night vision: If you need to monitor in low-light conditions, opt for a camera with night vision capabilities.
By considering these factors, you can choose the right security camera that meets your specific needs and seamlessly integrates with your computer setup.
Installing the necessary software
Before connecting your security camera to your computer, you will need to install the required software. Follow these steps:
Step 1: Download the software
Visit the manufacturer’s website or the support page for your security camera model and download the appropriate software for your computer operating system (Windows, Mac, etc.).
Step 2: Install the software
Once the software is downloaded, double-click the installation file and follow the on-screen instructions to install it on your computer. Make sure to read any prompts carefully and select the necessary options.
Connecting your camera to the computer
Once you have chosen the security camera for your setup, it’s time to connect it to your computer. Follow these steps to ensure a successful connection:
- Choose the right cable: Depending on your camera and computer, you may need a USB, Ethernet, or HDMI cable to establish a connection.
- Install necessary software: Some cameras require specific software to be installed on your computer. Make sure to follow the manufacturer’s instructions for software installation.
- Connect the camera: Plug one end of the cable into the camera and the other end into the appropriate port on your computer.
- Configure the camera: Once the camera is connected, you may need to adjust settings or install drivers to ensure proper functionality.
- Test the connection: Verify that the camera is recognized by your computer and test its functionality by recording or viewing footage.
By following these steps, you can easily hook up your security camera to your computer and start monitoring your space with ease.
Configuring camera settings
Once you have connected your security camera to your computer, you will need to configure the camera settings to ensure optimal performance. Most security cameras come with software that allows you to adjust settings such as resolution, frame rate, and motion detection sensitivity.
Access the camera’s software by opening the program on your computer and logging in with the camera’s credentials. From there, you can navigate to the settings menu and make adjustments as needed. It’s important to experiment with different settings to find the configuration that works best for your needs.
Key settings to consider adjusting include:
- Resolution: Higher resolution provides clearer images but may require more storage space.
- Frame rate: A higher frame rate results in smoother video, but it may also require more bandwidth.
- Motion detection: Adjust the sensitivity of the motion detection feature to avoid false alarms.
After configuring the camera settings, be sure to save your changes and test the camera to ensure everything is working correctly.
Adjusting the viewing angle
Once you have connected your security camera to your computer, it is important to adjust the viewing angle for optimal surveillance coverage. Follow these steps to ensure you have the best view:
1. Position the camera
Place the camera in the desired location, ensuring it is securely mounted and pointed in the direction you want to monitor. Make sure there are no obstructions blocking the camera’s view.
2. Test the angle
Access the camera’s live feed on your computer and test the viewing angle. Adjust the camera’s position as needed to capture the desired area and ensure clear visibility.
Setting up motion detection
One important feature of many security cameras is motion detection, which allows the camera to start recording when it detects movement. Here’s how you can set up motion detection on your security camera:
- Log in to the camera’s web interface using your computer.
- Navigate to the settings or configuration section.
- Look for the motion detection option and enable it.
- Adjust the sensitivity level to your preference.
- Set up the areas you want the camera to monitor for motion.
- Save your settings and test the motion detection feature.
By setting up motion detection, you can ensure that your security camera only records when there is activity, saving storage space and making it easier to review footage when needed.
Monitoring your camera feed
Once you have successfully connected your security camera to your computer, it’s time to start monitoring the camera feed. You can use the software provided by the camera manufacturer or a third-party surveillance software to view the live feed from your camera.
Make sure to set up motion detection alerts or scheduled recording to ensure that you capture any suspicious activity. You can also access the camera feed remotely from your smartphone or tablet by using the camera’s app or a web browser.
It’s important to regularly check the camera feed to ensure that your property is secure and to quickly respond to any security threats.
Accessing the camera remotely
If you want to access your security camera remotely from your computer, you will need to set up remote viewing capabilities. Here are the steps you can follow:
- Ensure that your security camera system supports remote viewing and has the necessary software or app.
- Set up port forwarding on your router to allow external access to your camera system. Consult your router’s manual for instructions on how to do this.
- Obtain your camera system’s IP address and port number for remote access.
- Install the required software or app on your computer and enter the camera system’s IP address and port number to establish a remote connection.
- Follow the on-screen instructions to log in and view the camera feed remotely from your computer.


I disagree with the suggestion that wired cameras are always better. I have a wireless setup, and it’s been just as reliable as any wired system I’ve used before. Plus, it was much easier to install!
You raise a valid point! Wireless cameras can offer flexibility and ease of installation, but it's always important to consider the specific needs of your setup.
I recently hooked up a security camera using the steps outlined here. I opted for a wireless camera and it was pretty easy to set up. Just make sure to have the software downloaded before you start. The only issue I ran into was finding the right spot for the camera to avoid glare from the sun. Overall, it’s been a great addition for monitoring my front porch!
What kind of security cameras are best for outdoor use? I'm looking for something that can withstand the weather but also has good night vision capabilities.
Could you explain more about how to set up port forwarding? It sounds complicated!