
 Carmen J. Moore

Grounding a security camera is an essential step in ensuring its proper functioning and protecting it from electrical surges. Grounding helps to provide a path for excess electrical current to safely dissipate, reducing the risk of damage to the camera and other equipment.
Why is grounding important? Grounding a security camera helps to prevent electrical shocks, interference, and damage to the camera caused by power surges or lightning strikes. It also ensures that the camera operates efficiently and reliably by providing a stable electrical reference point.
Proper grounding involves connecting the camera’s ground wire to a grounding point, such as a grounding rod or a metal water pipe. This helps to divert any excess electrical current away from the camera and into the ground, protecting the camera and other devices connected to the same electrical system.
Step-by-Step Guide to Ground Wire a Security Camera
Grounding a security camera is crucial for ensuring proper functioning and preventing electrical hazards. Follow these steps to effectively ground wire your security camera:
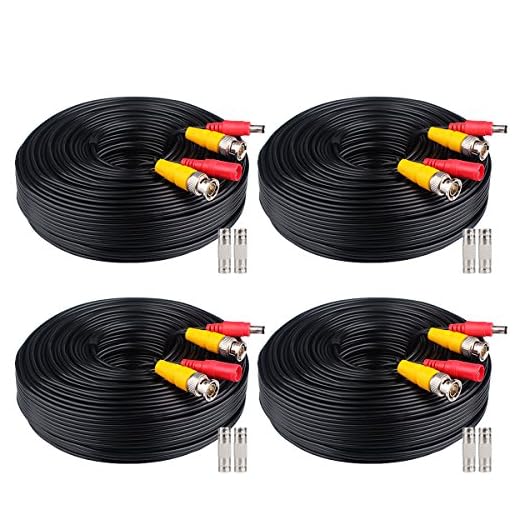


Step 1: Identify the ground wire on your security camera. It is usually a green or bare wire.
Step 2: Locate a suitable grounding point near the camera installation site. This could be a metal conduit, a grounding rod, or an existing electrical ground.
Step 3: Strip the end of the ground wire to expose the copper conductor.
Step 4: Connect the ground wire to the grounding point using a grounding clamp or screw. Make sure the connection is secure and tight.
Step 5: Test the ground connection using a multimeter to ensure that there is continuity and no resistance.
Step 6: Secure any excess wire and cover the connection with electrical tape or a waterproof housing to protect it from the elements.
By following these steps, you can effectively ground wire your security camera and ensure its safe and reliable operation.
Understanding the Importance of Grounding
Grounding is a critical aspect of installing a security camera system. It involves connecting the camera to a grounding point, usually by using a grounding wire. Grounding helps to protect the camera and other electronic equipment from electrical surges and interference.
By grounding the camera, you create a path for excess electrical current to safely dissipate into the ground, reducing the risk of damage to the camera and ensuring proper functioning. Without proper grounding, the camera may be vulnerable to power surges, static electricity, and other electrical disturbances that could potentially cause malfunctions or even permanent damage.
When installing a security camera, always follow the manufacturer’s guidelines for grounding to ensure the safety and reliability of the system. Proper grounding not only protects your equipment but also helps to maintain the quality of the video feed and overall performance of the camera.
Gather the Necessary Tools and Materials
Before you start grounding the wire for your security camera, make sure you have all the required tools and materials handy. Here is a list of items you will need:
- Security Camera: Make sure you have the security camera you want to install.
- Wire Strippers: To strip the insulation from the wire.
- Grounding Wire: A suitable grounding wire for your camera installation.
- Crimping Tool: To crimp the grounding wire securely.
- Electrical Tape: To insulate the connections.
- Drill and Bits: To create holes for mounting the camera and grounding wire.
- Screwdriver: To secure the camera in place.
- Mounting Hardware: Any necessary hardware to install the camera.
Having these tools and materials ready will help you complete the grounding process efficiently and effectively.
Locate the Grounding Point
Before you start connecting the ground wire for your security camera, you need to locate a suitable grounding point. This should be a metal surface or structure that is connected directly to the building’s grounding system. Common grounding points include metal electrical conduits, metal water pipes, or a designated grounding rod.
Make sure that the grounding point you choose is clean and free from any paint, rust, or other insulating materials that could interfere with the grounding process. It’s important to ensure a solid electrical connection between the ground wire and the grounding point to effectively ground your security camera.
Prepare the Grounding Wire
Before you start grounding the security camera, make sure you have a suitable grounding wire. The grounding wire should be made of copper or another conductive material and have a sufficient gauge to handle the electrical current. It’s important to use a high-quality grounding wire to ensure a secure and reliable connection.
Measure the length of the grounding wire needed to reach the grounding point, which is typically a metal rod driven into the ground. Cut the wire to the appropriate length, leaving some extra length for flexibility. Strip the ends of the wire to expose the bare copper for a solid connection.
Once you have the grounding wire prepared, you are ready to connect it to the security camera system for proper grounding.
Connect the Grounding Wire to the Camera
Once you have identified the grounding wire on your security camera, you will need to connect it to the camera itself. Follow these steps to properly connect the grounding wire:
- Locate the grounding terminal on the camera. This is typically a metal screw or terminal marked with the symbol for ground.
- Strip the end of the grounding wire to expose a small section of bare wire.
- Insert the bare wire end of the grounding wire into the grounding terminal on the camera.
- Tighten the screw or secure the wire in place to ensure a solid connection.
It is important to properly ground your security camera to prevent electrical shock and ensure the safety and effectiveness of your camera system. Once the grounding wire is securely connected, you can proceed with installing and setting up your security camera system.
Secure the Connection
Once you have properly grounded the wire and connected it to the security camera, it is important to secure the connection to prevent any interference or tampering. You can use electrical tape or waterproof connectors to seal the connection and protect it from the elements.
Make sure the connection is tight and secure to ensure a reliable power supply to the camera. Check the connection regularly to make sure it remains intact and undamaged.
Test the Grounding
After you have connected the ground wire to the appropriate terminals on both the camera and the power supply, it is important to test the grounding to ensure that it is working correctly. You can use a multimeter to check for continuity between the ground wire and a known ground source, such as a metal conduit or a grounding rod.
Tip: Make sure to turn off the power before testing the grounding to avoid any potential electrical hazards.
If the multimeter shows continuity, it means that the ground wire is properly connected and providing a path for electrical currents to dissipate safely. If there is no continuity, double-check the connections and make sure that the ground wire is securely attached to both the camera and the power supply.
Properly Seal the Connection
Once the ground wire is securely attached to the security camera, it is important to properly seal the connection to protect it from water, moisture, and other environmental factors. This can be done using waterproof tape or silicone sealant. Make sure to wrap the connection tightly with waterproof tape or apply a generous amount of silicone sealant to create a watertight seal.
| Step 1: | Wrap the connection with waterproof tape, ensuring it is tightly sealed. |
| Step 2: | If using silicone sealant, apply it around the connection and smooth it out for a secure seal. |
| Step 3: | Allow the sealant to dry completely before exposing the camera to the elements. |
Final Checks and Troubleshooting
Before completing the installation of your security camera, it is important to perform some final checks and troubleshooting steps to ensure everything is working correctly:
1. Check the Power Supply
Make sure that the power supply to the security camera is stable and providing the correct voltage. Use a multimeter to measure the voltage at the camera’s power source to verify it meets the required specifications.
2. Test the Camera Feed
Connect a monitor or a smartphone to the security camera and check the live feed to ensure the camera is capturing and transmitting images correctly. Adjust the camera angle if needed to get the desired view.
If you encounter any issues during these final checks, double-check the wiring connections, power source, and camera settings. If the problem persists, consult the camera’s user manual or contact the manufacturer for further troubleshooting steps.


What happens if I don’t ground my security camera? Will it really affect its performance?
I think not grounding can lead to issues like video interference or even damage from power surges. I’ve heard it’s pretty risky.
Can you clarify what 'grounding wire' to use? Is any copper wire okay, or does it need to be a specific gauge?
It's best to use a copper grounding wire that is at least 14 gauge or thicker to ensure it can handle electrical currents effectively.
I recently installed a security camera and followed these steps. It was pretty straightforward, but I had a tough time finding a suitable grounding point. Eventually, I used a metal water pipe and it worked fine. Just make sure everything’s clean before connecting!