


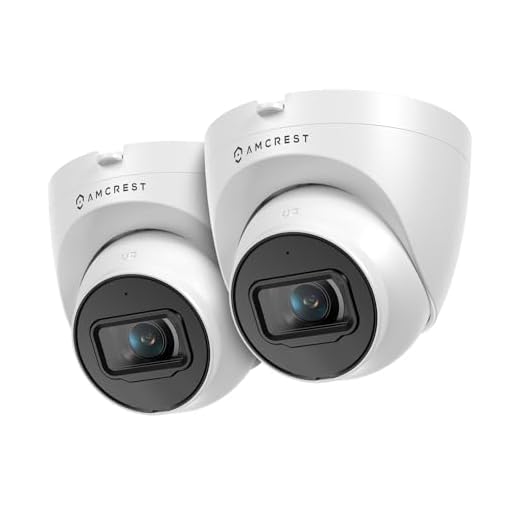
Amcrest cameras are known for their high-quality video surveillance capabilities, but what if you want to repurpose them as dummy security cameras? Whether you’re looking to deter potential intruders or simply want to save on the cost of buying new dummy cameras, converting your existing Amcrest cameras can be a cost-effective solution.
In this article, we’ll walk you through the process of converting your Amcrest cameras to dummy security cameras. By following these simple steps, you’ll be able to give the appearance of a fully functional security system without the need for a complex installation or expensive equipment.

From disabling the live feed to adding realistic-looking cables and mounting your cameras in strategic locations, we’ll cover everything you need to know to successfully convert your Amcrest cameras to dummy security cameras. Let’s get started!
Step-by-step Guide on Converting Amcrest Cameras to Dummy Security
Converting your Amcrest cameras to dummy security can be a cost-effective way to enhance the security of your property without incurring additional expenses. Follow these steps to convert your Amcrest cameras to dummy security:
Step 1: Remove the Power Source
Start by disconnecting the power source from your Amcrest cameras to ensure they are not operational during the conversion process.
Step 2: Detach the Cameras
Remove the cameras from their mounting brackets or housings. This step will make the cameras appear non-functional and deter potential intruders.
By following these simple steps, you can successfully convert your Amcrest cameras to dummy security, adding an extra layer of protection to your property.
Gather necessary tools and materials
Before you can convert your Amcrest cameras to dummy security, you will need to gather the following tools and materials:
- Amcrest cameras
- Black spray paint or black electrical tape
- Drill and drill bits
- Screws or adhesive mounting strips
- Mounting bracket or stand
- Optional: fake security camera decals
Power off the Amcrest camera
Before converting your Amcrest camera to a dummy security device, you will need to power it off to ensure safety and prevent any accidental activation. Follow these steps to power off your Amcrest camera:
- Locate the power source or adapter that is connected to your Amcrest camera.
- Unplug the power adapter from the electrical outlet or power source.
- If your Amcrest camera is battery-powered, remove the batteries from the camera.
- Wait a few seconds to ensure that the camera is completely powered off.
By powering off your Amcrest camera, you can safely proceed with converting it into a dummy security device without any risk of accidental activation or damage to the camera.
Remove the camera from its mounting location
To convert your Amcrest camera to a dummy security device, the first step is to remove the camera from its mounting location. This can typically be done by unscrewing the camera from its bracket or base. Make sure to disconnect any power or Ethernet cables connected to the camera before attempting to remove it.
Disconnect any cables attached to the camera
Before converting your Amcrest camera to a dummy security camera, the first step is to disconnect any cables attached to the camera. This includes power cables, Ethernet cables, and any other connections that may be present.
Make sure the camera is completely powered off and disconnected from any network or power source before proceeding with the conversion process.
Cover the lens of the camera with a dummy lens
To convert your Amcrest camera to a dummy security camera, one simple method is to cover the lens of the camera with a dummy lens. You can easily find dummy camera lenses online or at local security stores. These dummy lenses are designed to look like real camera lenses but are non-functional.
Simply attach the dummy lens over the lens of your Amcrest camera to make it appear as if the camera is in use. This can deter potential intruders or unwanted visitors from entering your property, as they will believe they are being monitored by a functioning security camera.
Securely mount the dummy camera in the original location
Once you have converted your Amcrest camera to a dummy security camera, it’s time to securely mount it in the original location. This step is crucial to maintain the appearance of a functioning security system and deter potential intruders.
Make sure to mount the dummy camera in a visible and strategic location, where it can be easily spotted by anyone approaching your property. Use the same mounting hardware that was used for the original camera to ensure a realistic look.
Check the positioning and angle of the dummy camera to mimic the original setup as closely as possible. This will help maintain the illusion of a fully operational security system and enhance the deterrent effect.
Install warning stickers to deter potential intruders
Another effective way to convert your Amcrest cameras into dummy security cameras is to install warning stickers in visible locations around your property. These stickers should display messages such as “Warning: 24-Hour Video Surveillance” or “Property Protected by Security Cameras.” The presence of these stickers can deter potential intruders who may believe that your property is under constant surveillance. Make sure to place the stickers in prominent locations, such as near entry points or on windows, to maximize their effectiveness.
Test the dummy camera to ensure it looks realistic
Before installing the converted Amcrest camera as a dummy security device, it’s important to test it to ensure it looks realistic and can effectively deter potential intruders. Here are a few steps to follow:
- Placement: Position the dummy camera in a strategic location where it is visible and can be mistaken for a real security camera.
- Visual Inspection: Take a close look at the dummy camera to ensure it resembles a functioning surveillance camera. Check for any obvious signs that it is fake.
- Angle Adjustment: Make sure the camera is angled correctly to cover the desired area and mimic the positioning of real security cameras.
- LED Lights: If your dummy camera has LED lights, test them to see if they blink or light up, adding to its authenticity.
- Monitoring: Monitor the area where the dummy camera is placed to see if it deters any suspicious activity or intruders.
By testing the dummy camera thoroughly, you can ensure it serves its purpose as a deterrent while maintaining a realistic appearance.


