Security cameras are an essential part of any modern security system, providing surveillance and monitoring capabilities to keep your property safe. One of the most reliable ways to connect security cameras to your network is through an Ethernet cable. This method ensures a stable and secure connection, allowing you to access live video feeds and recordings remotely.
In this article, we’ll guide you through the process of connecting your security cameras to an Ethernet cable step by step. Whether you’re setting up a new system or upgrading an existing one, understanding how to properly connect your cameras is crucial for optimal performance.
By following our instructions and best practices, you can ensure that your security cameras are connected to your network efficiently and securely, providing you with peace of mind knowing that your property is protected.
Step-by-step guide on connecting security cameras to an ethernet cable
Connecting security cameras to an ethernet cable is a straightforward process that ensures a reliable and stable connection. Follow these steps to connect your security cameras:
Step 1: Gather necessary tools
Before you begin, make sure you have the following tools ready:

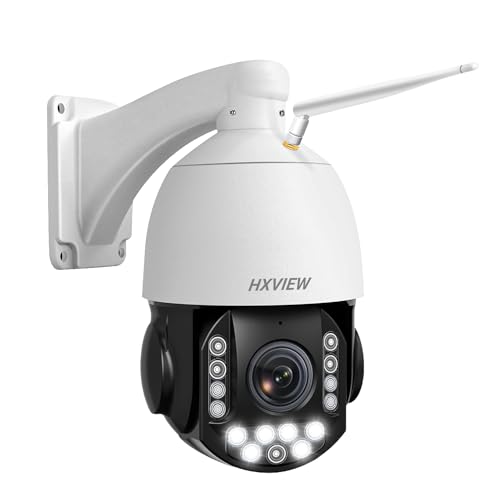
| Security camera |
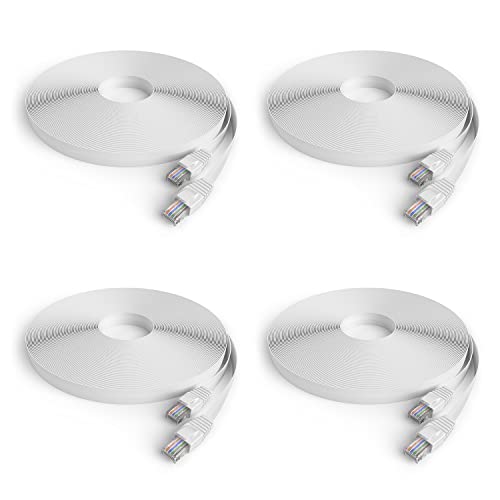
| Ethernet cable |
| Router with available ethernet ports |
Step 2: Connect the ethernet cable
Locate the ethernet port on your security camera and plug one end of the ethernet cable into the port. Then, connect the other end of the cable to an available ethernet port on your router.
Step 3: Configure the camera
Once the camera is connected to the ethernet cable, follow the manufacturer’s instructions to set up and configure the camera for network access. This may involve assigning an IP address, creating a username and password, and adjusting other settings.
By following these steps, you can successfully connect your security cameras to an ethernet cable and ensure seamless monitoring and surveillance.
Locate the ethernet port on your security camera
Before you can connect your security camera to an ethernet cable, you need to locate the ethernet port on the camera. The ethernet port is usually located on the back or bottom of the camera. It looks like a small, rectangular opening that is the same size and shape as the ethernet cable connector.
Once you have located the ethernet port, you can proceed to connect the ethernet cable to the camera. Make sure the ethernet cable is securely plugged into the port to ensure a stable connection for your security camera.

Obtain a suitable ethernet cable
Before you can connect your security cameras to an ethernet cable, you need to make sure you have the right type of cable. Ethernet cables come in different categories, such as Cat5e, Cat6, or Cat6a, each with varying speeds and capabilities. For most security camera installations, a Cat5e cable should be sufficient, providing speeds of up to 1 Gbps over distances of up to 100 meters.
Make sure to select a cable that is long enough to reach from your security camera to your router or switch, with some extra length for flexibility. You can purchase ethernet cables at electronics stores or online retailers, ensuring you get a high-quality cable for reliable performance.
Connect one end of the cable to the camera
First, locate the Ethernet port on the security camera. It is usually located on the back or bottom of the camera.
Take one end of the Ethernet cable and insert it into the Ethernet port on the camera. Make sure it is securely connected.
Once the cable is connected, you can proceed to the next step in setting up your security camera system.
Find the ethernet port on your router
Before you can connect your security cameras to an ethernet cable, you need to locate the ethernet port on your router. The ethernet port is usually located on the back of the router and looks like a small rectangular opening where you can plug in an ethernet cable.
Once you have found the ethernet port on your router, make sure it is not already in use by another device. If it is available, you can proceed to connect your security cameras to the ethernet cable by plugging one end of the cable into the camera and the other end into the ethernet port on your router.
Plug the other end of the cable into the router
Once you have connected the ethernet cable to your security camera, take the other end of the cable and plug it into one of the available ports on your router. Make sure to securely insert the cable to ensure a stable connection.
Power on your security camera
Before connecting your security camera to an ethernet cable, make sure to power it on. Most security cameras come with a power adapter that you can plug into a power outlet. Once the camera is powered on, you can proceed with connecting it to the ethernet cable.
Check the network settings of your camera
Before connecting your security camera to an ethernet cable, you need to ensure that the network settings of the camera are compatible with your network. This includes checking the IP address, subnet mask, gateway, and DNS settings of the camera. You can usually access these settings through the camera’s web interface or configuration software.
Make sure the camera’s IP address is within the same range as your network and that it doesn’t conflict with any other devices on the network. The subnet mask should match that of your network, and the gateway and DNS settings should be set to the appropriate values provided by your network administrator or internet service provider.
By verifying and adjusting the network settings of your camera, you can ensure a successful connection to the ethernet cable and seamless integration into your network security system.
Configure the IP address of the camera
Once you have connected your security camera to the ethernet cable, you will need to configure its IP address. This step is crucial for the camera to communicate over the network.
Step 1: Access the camera’s interface
First, find out the default IP address of your camera. This information is usually provided in the user manual or can be found on the manufacturer’s website. Enter the IP address in your web browser to access the camera’s interface.
Step 2: Set a static IP address
Within the camera’s interface, navigate to the network settings and choose to set a static IP address. Enter a unique IP address that is within the same subnet as your network. Make sure to also set the subnet mask and gateway address accordingly.

Test the connection between the camera and the router
After connecting the security camera to the ethernet cable and the router, it is important to test the connection to ensure everything is working properly.
Step 1: Check the indicator lights on the camera and the router to see if they are blinking or lit up, indicating a successful connection.
Step 2: Open the camera’s software or app on your computer or mobile device to see if the camera is recognized and streaming live footage.
Step 3: Try accessing the camera’s settings or configuration page through a web browser by entering the camera’s IP address to verify the connection.
Step 4: If you encounter any issues, double-check the ethernet cable connections and make sure the camera is properly powered on.

By following these steps, you can ensure that the security camera is successfully connected to the ethernet cable and the router, providing you with reliable surveillance footage.
Monitor the camera feed over the network
Once you have connected your security cameras to an ethernet cable, you can easily monitor the camera feed over the network. Here are the steps to do so:
Step 1: Access the camera’s IP address
Find the IP address of your security camera by checking the camera’s settings or using a network scanning tool. Note down the IP address for future reference.
Step 2: Use a web browser to access the camera feed
Open a web browser on a computer connected to the same network as the security camera. Enter the camera’s IP address in the browser’s address bar and press Enter. You should now see the live camera feed on your screen.