
 Carmen J. Moore
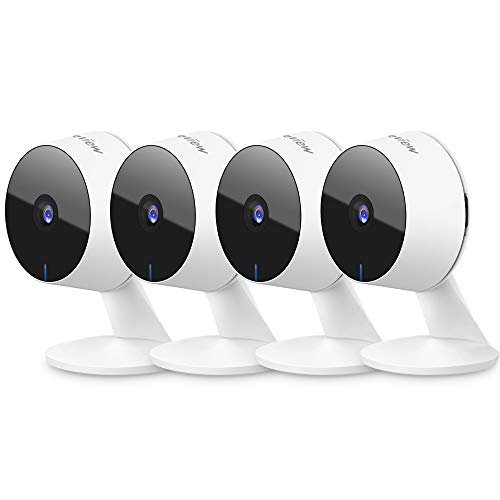
Setting up a home security camera system is a great way to keep your property safe and secure. However, in order to access your camera feed remotely and receive alerts, you need to connect your camera to the internet.
Connecting your home security camera to the internet may seem daunting at first, but with the right steps, it can be a straightforward process. In this article, we’ll walk you through the steps to connect your camera to the internet so you can monitor your home from anywhere.


From choosing the right camera to configuring your network settings, we’ll cover everything you need to know to ensure a smooth and secure connection. Let’s get started!
Step-by-Step Guide to Connect Home Security Camera to Internet
Connecting your home security camera to the internet is essential for remote monitoring and surveillance. Follow these simple steps to set up your camera:
Step 1: Choose a Suitable Location
Find a strategic location for your security camera where it has a clear view of the area you want to monitor.
Step 2: Power On the Camera
Plug in the camera and ensure it has power. Follow the manufacturer’s instructions for setup.
Step 3: Connect to Wi-Fi
Access the camera’s settings and connect it to your home Wi-Fi network. Enter the network name and password as required.
Step 4: Configure Camera Settings
Access the camera’s interface through a web browser or mobile app. Set up motion detection, alerts, and other preferences.
By following these steps, you can easily connect your home security camera to the internet and start monitoring your property remotely.
Choose a Suitable Security Camera
When selecting a security camera for your home, there are several factors to consider to ensure you choose the most suitable option for your needs:
- Indoor or Outdoor: Determine whether you need an indoor camera to monitor the inside of your home or an outdoor camera to secure the perimeter.
- Resolution: Look for cameras with high resolution (1080p or higher) to capture clear and detailed footage.
- Night Vision: Opt for cameras with infrared night vision capabilities for around-the-clock monitoring.
- Field of View: Consider the field of view of the camera to ensure it covers the desired area effectively.
- Power Source: Decide whether you prefer wired cameras that require a power source or wireless cameras with rechargeable batteries.
By taking these factors into account, you can choose a security camera that meets your specific requirements and provides reliable surveillance for your home.
Install the Camera Properly
Before connecting your home security camera to the internet, make sure to install it properly. Follow the manufacturer’s instructions carefully to mount the camera securely in the desired location. Ensure that the camera is placed high enough to capture a wide view of the area you want to monitor.
Additionally, check for any obstructions that may block the camera’s view or interfere with its functionality. Make sure the camera is positioned to avoid glare from sunlight or other light sources that could affect the image quality.
Once the camera is installed correctly, you can proceed with connecting it to your home network and the internet to access its live feed remotely.
Connect Camera to Power Source
Before you can connect your home security camera to the internet, you need to ensure that it is powered on. Follow these steps to connect your camera to a power source:
- Locate the power adapter that came with your camera.
- Plug one end of the power adapter into the camera’s power input port.
- Plug the other end of the power adapter into a power outlet.
- Make sure the camera’s power indicator light turns on, indicating that it is receiving power.
- Wait for the camera to fully power up before proceeding with the internet connection setup.
Configure Camera Settings
Once your home security camera is connected to the internet, you will need to configure its settings to ensure optimal performance and security. Here are the steps to configure your camera:
1. Access the camera’s settings: Log in to the camera’s admin panel using the IP address provided in the user manual. Enter the default username and password to access the settings.
2. Set up network settings: Configure the camera to connect to your home Wi-Fi network. Enter the SSID and password of your network to establish a connection.
3. Enable encryption: Enable encryption settings such as WPA2 to secure the camera’s connection to the internet and prevent unauthorized access.
4. Configure motion detection: Set up motion detection settings to receive alerts on your smartphone or email when the camera detects movement in its field of view.
5. Adjust video quality: Customize the video quality settings based on your internet connection speed and storage capacity to optimize performance.
6. Update firmware: Check for firmware updates regularly to ensure your camera has the latest security patches and features.
Connect Camera to Wi-Fi Network
Connecting your home security camera to your Wi-Fi network is essential for remote monitoring and access. Follow these steps to ensure a secure and stable connection:
Step 1: Prepare your Camera
Make sure your camera is powered on and within range of your Wi-Fi network. Check the camera’s manual for specific instructions on how to connect it to Wi-Fi.
Step 2: Access Camera Settings
Use the camera’s mobile app or web interface to access the settings menu. Look for the Wi-Fi or network settings option.
Step 3: Connect to Wi-Fi
Scan for available Wi-Fi networks and select your home network from the list. Enter the Wi-Fi password when prompted.
Once the camera is successfully connected to your Wi-Fi network, you can access it remotely and view live footage from anywhere with an internet connection.
Test Camera Connectivity
Once you have connected your home security camera to the internet, it is important to test the connectivity to ensure that everything is working properly. Follow these steps to test the camera’s connection:
- Check the camera’s status lights to see if it is connected to the internet.
- Access the camera’s settings through the manufacturer’s app or web interface.
- Verify the network settings, including the IP address and gateway, are correct.
- Attempt to view a live feed from the camera to confirm the connection.
Additional Tips:
- If the camera is not connecting, try restarting the camera and your router.
- Ensure that the Wi-Fi signal strength is strong enough for the camera to connect reliably.
Monitor Camera Remotely
Once you have successfully connected your home security camera to the internet, you can monitor it remotely from anywhere using a smartphone, tablet, or computer. Here are the steps to access your camera feed:
Step 1: Install the App
Download and install the companion app for your security camera on your device. Make sure to follow the instructions provided by the manufacturer to set up the app correctly.
Step 2: Log In
Open the app and log in using the credentials you created during the initial setup process. This will allow you to access your camera’s live feed and settings remotely.
With the app installed and logged in, you can now monitor your home security camera from anywhere with an internet connection, giving you peace of mind and added security for your home.


I recently installed a security camera following these steps. I found that placing it high made a huge difference in visibility. Also, the motion detection alerts were super helpful. I used an app to monitor it, and it worked seamlessly. Just make sure your Wi-Fi signal is strong where you install it.
I’m thinking about setting up a security camera but I’m unsure about whether to go with a wired or wireless option. What are the main pros and cons of each?
I had a wireless camera and it was great for flexibility, but I noticed battery life can be an issue. A wired one might save you that hassle.
Can you clarify what you mean by enabling encryption like WPA2? Is that something I need to do manually?