
 Carmen J. Moore

Akaso WiFi security cameras are a popular choice for home surveillance due to their ease of use and reliability. If you’ve recently purchased an Akaso camera and are looking to connect it to your WiFi network, you’re in the right place.


Connecting your Akaso camera to WiFi is a simple process that can be done in just a few steps. By following the instructions provided by Akaso, you can have your camera up and running on your network in no time.
Whether you’re looking to monitor your home while you’re away or keep an eye on your pets, connecting your Akaso camera to WiFi will give you peace of mind knowing that you can check in from anywhere.
Step-by-Step Guide to Connecting Akaso WiFi Security Camera to WiFi
Connecting your Akaso WiFi security camera to your WiFi network is essential for remote monitoring and access. Follow these steps to establish a secure and stable connection:
- Power on your Akaso WiFi security camera and ensure it is in setup mode.
- Open the Akaso app on your smartphone or tablet.
- Tap on the camera icon to add a new device.
- Select “WiFi Configuration” and follow the on-screen instructions.
- Choose your WiFi network from the available list and enter the password.
- Wait for the camera to connect to the WiFi network successfully.
- Once connected, you can access your camera remotely through the app.
By following these simple steps, you can easily connect your Akaso WiFi security camera to your WiFi network and enjoy seamless monitoring and surveillance.
Check Camera Compatibility with Your WiFi Network
Before attempting to connect your Akaso WiFi security camera to your WiFi network, it’s important to ensure that the camera is compatible with your network. Check the specifications of the camera to see if it supports the same WiFi frequency (2.4GHz or 5GHz) as your network.
If your WiFi network uses a different frequency than the camera supports, you may encounter connectivity issues. In this case, you may need to adjust your network settings or consider using a WiFi extender to bridge the connection between the camera and your network.
Power on the Akaso WiFi Security Camera
Before you can connect your Akaso WiFi Security Camera to WiFi, you need to power it on. Follow these steps to power on your camera:
- Locate the power button on the camera. It is usually located on the side or the back of the camera.
- Press and hold the power button for a few seconds until the camera powers on. You may see a light or indicator to show that the camera is on.
- Wait for the camera to fully boot up. This may take a few moments.
Once your Akaso WiFi Security Camera is powered on, you can proceed to connect it to your WiFi network following the manufacturer’s instructions.
Access the Camera’s Settings Menu
Once your Akaso WiFi security camera is connected to your WiFi network, you can access the camera’s settings menu to configure various options. To access the settings menu, open the Akaso app on your smartphone or tablet and log in with your account credentials.
Once logged in, select the camera you want to configure from the list of connected devices. You should see an option to access the camera’s settings menu, which will allow you to adjust settings such as motion detection sensitivity, recording schedules, and notification preferences.
Make sure to save any changes you make to the settings before exiting the menu. You can always revisit the settings menu later to make further adjustments as needed.
Select the WiFi Network to Connect to
Once your Akaso WiFi security camera is powered on and in the setup mode, you need to connect it to your home WiFi network. Follow these steps:
- Open the Akaso app on your smartphone or tablet.
- Go to the WiFi settings section within the app.
- Scan for available WiFi networks and select your home network from the list.
- Enter the password for your WiFi network when prompted.
- Wait for the camera to establish a connection with your WiFi network.
Once the connection is successful, you can proceed with the setup process for your Akaso WiFi security camera.
Enter the WiFi Password
After selecting your WiFi network, you will be prompted to enter the WiFi password. Make sure you type in the correct password for your network to establish a secure connection between your Akaso WiFi security camera and your WiFi network. Double-check the password for any typos before proceeding.
Complete the Connection Process and Test the Camera
Once you have successfully connected your Akaso WiFi security camera to your WiFi network, it is important to complete the setup process and test the camera to ensure it is functioning correctly. Here are the steps to follow:
- Open the Akaso app on your smartphone or tablet.
- Log in to your Akaso account or create a new one if you haven’t already.
- Locate the camera that you just connected to your WiFi network in the app.
- Follow the on-screen instructions to complete the setup process for the camera.
- Once the setup is complete, test the camera by viewing the live feed on your device.
- Ensure that the camera is capturing clear footage and that all features are working as expected.
- If you encounter any issues, troubleshoot according to the user manual or contact Akaso customer support for assistance.
By completing the connection process and testing the camera, you can ensure that your Akaso WiFi security camera is properly set up and ready to use for monitoring your home or property.

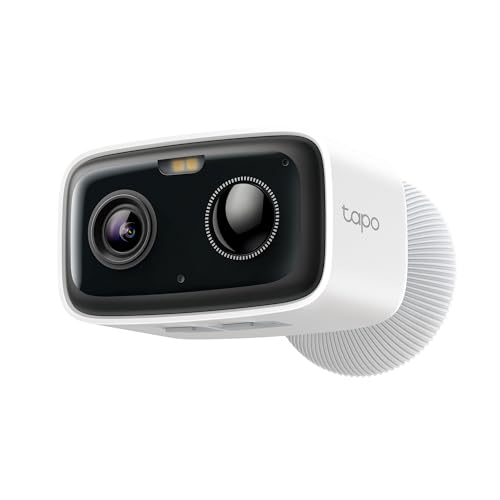

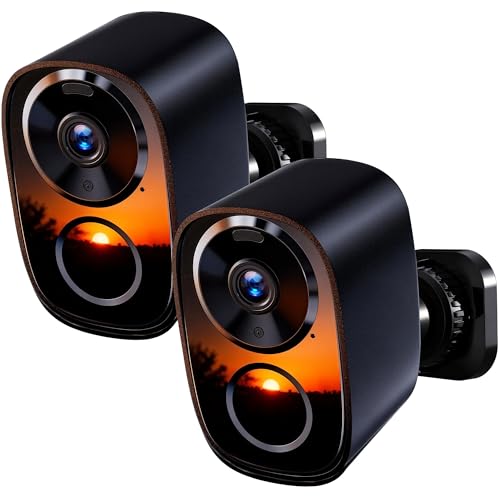



I recently connected my Akaso camera to my WiFi, and I found the setup quite straightforward. Just followed the app instructions step by step. One tip, though: ensure your phone is connected to the same WiFi network while setting it up. It made a big difference for me. The live feed quality is pretty good too, especially in daytime. But the night vision is a bit grainy. Still, for the price, it’s a solid choice!
I just bought an Akaso camera and I'm having trouble connecting it to my WiFi. Can anyone share tips on what to do if the setup mode isn’t working?
I had the same issue! Make sure your camera is powered on and the light is blinking. Sometimes, resetting the camera helps too.