Wireless security cameras have become increasingly popular due to their convenience and flexibility. With these cameras, you can keep an eye on your home or business from anywhere using your smartphone or computer. Streaming live footage from wireless security cameras is a great way to monitor your property in real-time and ensure its safety.
Setting up the streaming feature on your wireless security cameras is relatively easy and can be done with just a few simple steps. By connecting your cameras to your home Wi-Fi network and installing the necessary software, you can start streaming live video in no time. This allows you to check in on your property whenever you want, whether you’re at work, on vacation, or just relaxing at home.
Streaming from wireless security cameras also provides peace of mind, as you can receive instant alerts and notifications if any unusual activity is detected. Whether it’s a motion sensor being triggered or a sound alarm going off, you’ll be immediately informed so you can take appropriate action. With the ability to stream live footage, you can always stay one step ahead and ensure the safety of your property.
How to Stream Wireless Security Cameras
Streaming your wireless security cameras allows you to monitor your home or business remotely. Here are the steps to stream your wireless security cameras:
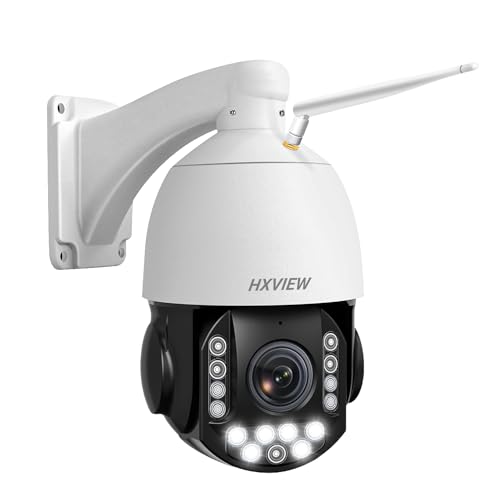
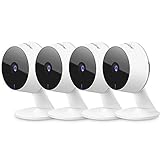
Step 1: Choose a Compatible Camera
Make sure you have a wireless security camera that is compatible with streaming. Check the camera’s specifications and features to ensure it supports streaming functionality.

Step 2: Set Up the Camera
Install and set up your wireless security camera according to the manufacturer’s instructions. Ensure that the camera is connected to your Wi-Fi network and positioned to capture the desired area.
Step 3: Install the Camera’s App
Download and install the camera’s app on your smartphone or tablet. Follow the app’s setup instructions to connect the camera to the app and your device.
Step 4: Configure Streaming Settings
Access the camera’s settings through the app and configure the streaming settings. Enable the streaming feature and adjust the quality and resolution settings as needed.

By following these steps, you can easily stream your wireless security cameras and keep an eye on your property from anywhere with an internet connection.
Choosing the Right Camera
When selecting a wireless security camera for streaming, there are several important factors to consider. Here are some key points to keep in mind:
Resolution
Make sure to choose a camera with high resolution for clear and detailed footage. A higher resolution camera will provide better image quality, allowing you to see more details in the video stream.
Field of View
Consider the field of view offered by the camera. A wider field of view will cover more area, reducing the number of cameras needed for surveillance. Look for cameras with adjustable angles to customize the coverage.
Setting Up Your Camera System
Setting up your wireless security camera system is a straightforward process that typically involves the following steps:
1. Choose the Right Location
Before installing your cameras, carefully consider the best locations to ensure optimal coverage of your property. Make sure the cameras are placed high enough to avoid tampering but low enough to capture clear images.
2. Install the Cameras
Mount the cameras securely using the provided mounting hardware. Ensure they are pointed in the desired direction and that there are no obstructions blocking the view. Connect the cameras to a power source and test their functionality.
| Tip: Use a Wi-Fi analyzer to check signal strength at each camera location. |
By following these steps, you can set up your wireless security camera system efficiently and effectively to enhance the security of your property.
Connecting to Your Network
Before you can start streaming your wireless security cameras, you’ll need to connect them to your network. This process may vary depending on the brand and model of your cameras, but generally involves following these steps:
- Power on the camera: Make sure your camera is plugged in and turned on.
- Access camera settings: Use the manufacturer’s app or software to access the camera settings.
- Connect to Wi-Fi: Look for the Wi-Fi network on your camera settings and enter your network credentials.
- Verify connection: Once connected, you should see a notification or indicator that the camera is connected to your network.
Once your wireless security cameras are connected to your network, you can start streaming and monitoring your property remotely.

Accessing Your Camera Feed
Once you have set up your wireless security cameras and configured them to connect to your network, you can access the camera feed using the camera’s IP address. You can typically find the IP address of your camera by checking the camera’s settings or using a network scanning tool.
To access the camera feed, open a web browser on a device connected to the same network as the camera and enter the camera’s IP address in the address bar. You may be prompted to enter a username and password to log in to the camera’s interface.
Once logged in, you should be able to view the live feed from your camera, adjust settings, and access any recorded footage. Some cameras may also have dedicated mobile apps or software for easier access to the camera feed on your smartphone or computer.
Securing Your Camera System
When setting up your wireless security cameras, it’s important to take steps to secure your camera system to prevent unauthorized access and protect your privacy. Here are some tips:
1. Change default passwords: Make sure to change the default passwords on your cameras and any associated apps or software to unique, strong passwords to prevent hackers from gaining access.

2. Update firmware: Regularly check for firmware updates for your cameras and install them to ensure that your system has the latest security patches and bug fixes.
3. Secure your network: Use strong encryption, such as WPA2, for your Wi-Fi network and set up a guest network for your cameras to isolate them from your main network.
4. Use encryption: Enable encryption for your camera feeds and data to protect them from being intercepted by unauthorized parties.
5. Enable two-factor authentication: Add an extra layer of security by enabling two-factor authentication for accessing your camera system, requiring both a password and a verification code.
6. Disable remote access: If you don’t need remote access to your cameras, disable this feature to reduce the risk of unauthorized access.
By following these steps, you can help ensure that your wireless security camera system is secure and your privacy is protected.
Troubleshooting Common Issues
Streaming wireless security cameras can sometimes present challenges. Here are some common issues you may encounter and how to troubleshoot them:
1. Connection Problems
If you are having trouble connecting to your wireless security camera, check your Wi-Fi signal strength and make sure the camera is within range of your router. You may also want to reset the camera and reconfigure the connection settings.
2. Video Quality
If the video quality is poor or choppy, check your internet connection speed and bandwidth. Make sure there are no other devices hogging the bandwidth and consider upgrading your internet plan if necessary.