
 Carmen J. Moore
Are you tired of always being the one behind the camera and missing out on group photos? Well, fear not! Your iPhone comes equipped with a handy timer feature that allows you to set a delay before the photo is taken, giving you enough time to jump in and strike a pose.
Using the timer for the camera on your iPhone is incredibly easy and can be a lifesaver in many situations. Whether you’re taking a selfie, capturing a group shot, or trying to get the perfect sunset photo, the timer feature can help you get the shot you want without the need for a third-party app.
In this article, we’ll walk you through the simple steps to use the timer for the camera on your iPhone, so you never miss a photo opportunity again. So grab your iPhone, follow our guide, and start capturing memories with ease!

Setting Timer for Camera on iPhone
If you want to take a group photo or a selfie with your iPhone’s camera but don’t have anyone to take the picture for you, you can use the timer function to capture the perfect shot. Here’s how you can set a timer for the camera on your iPhone:
- Open the Camera app on your iPhone.
- Tap on the timer icon, usually located in the top menu bar of the camera interface.
- Choose the timer duration you want (e.g., 3 seconds, 5 seconds, 10 seconds).
- Position your iPhone, frame the shot, and press the shutter button.
- The timer will start counting down, giving you time to get into position before the photo is taken.
Using the timer function on your iPhone’s camera can help you take better photos without needing someone else to assist you. Experiment with different timer durations to find the one that works best for your photography needs.
Choosing Timer Duration for Photos on iPhone
When using the timer for your iPhone camera, it’s important to select the right duration to ensure you capture the perfect shot. Here are some tips on choosing the timer duration for photos on your iPhone:
1. Consider the Scene
Take into account the complexity of the scene you want to capture. If you’re shooting a simple portrait, a shorter timer duration like 3 or 5 seconds may be sufficient. However, for group shots or landscapes that require more setup, opt for a longer timer duration like 10 or 15 seconds.
2. Test Different Durations
Experiment with different timer durations to see which one works best for your specific photography needs. Try taking a few test shots with varying timer settings to find the perfect balance between giving yourself enough time to pose and preventing camera shake.
- Shorter durations (3-5 seconds): Ideal for quick selfies or simple shots where you don’t need much time to prepare.
- Medium durations (7-10 seconds): Suitable for group photos or scenes that require a bit more setup and coordination.
- Longer durations (12-15 seconds): Great for landscapes or creative shots that involve more complex compositions.
By adjusting the timer duration on your iPhone camera, you can enhance your photography skills and capture stunning images with ease.
Benefits of Using Timer for Camera on iPhone
Using the timer function on your iPhone camera can provide several benefits. Here are some advantages of utilizing the timer feature:
- Hands-Free Operation: With the timer, you can set up your iPhone on a stable surface and take group photos or selfies without needing to hold the device.
- Reduce Camera Shake: By using the timer, you can avoid camera shake that often occurs when pressing the shutter button. This results in sharper and clearer images.
- Perfect Timing: The timer allows you to capture moments with precision timing, ensuring that you are ready for the shot when the camera takes the picture.
- Self-Portraits: Selfies become much easier with the timer function as you can position yourself in the frame and then let the camera take the shot automatically.
- Creative Possibilities: Using the timer opens up creative opportunities for experimenting with different poses, angles, and compositions without rushing to press the shutter button.
Using Timer for Selfies on iPhone Camera
Selfies have become a popular way to capture moments and share them with friends and family. The iPhone camera offers a convenient timer feature that allows you to take selfies without having to press the shutter button. Here’s how you can use the timer for selfies on your iPhone camera:
Step 1: Open the Camera App
Launch the Camera app on your iPhone and switch to the front-facing camera to take a selfie.
Step 2: Set the Timer
Tap on the timer icon located at the top of the camera interface. You can choose between a 3-second or 10-second timer. Select the desired timer option.
Now, position your iPhone at the desired angle for the selfie and press the shutter button. The camera will start the countdown, giving you enough time to strike a pose before taking the photo.
Tips for Getting the Best Results with Timer on iPhone Camera
Using the timer feature on your iPhone camera can help you capture perfect shots without the need for a selfie stick or someone else to take the photo. To make the most of this feature, here are some tips:
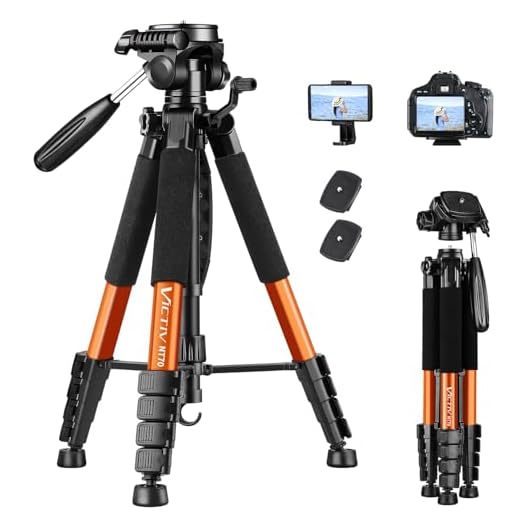
1. Stable Setup: Place your iPhone on a stable surface or use a tripod to avoid shaky photos.
2. Lighting: Make sure the lighting is optimal to enhance the quality of your photos.
3. Composition: Set up your shot carefully, considering the framing and subject placement.
4. Timer Settings: Adjust the timer duration according to your needs, allowing you enough time to get into position.
5. Multiple Shots: Take advantage of the timer feature to capture multiple shots and choose the best one.
6. Experiment: Don’t be afraid to experiment with different timer settings and angles to find your unique style.
By following these tips, you can make the most of the timer feature on your iPhone camera and capture stunning photos with ease.


