
 Carmen J. Moore

Do you have an iPhone 7 with a cracked or scratched rear camera glass? Replacing the rear camera glass on your iPhone 7 can be a bit tricky, but with the right tools and careful technique, you can do it yourself.
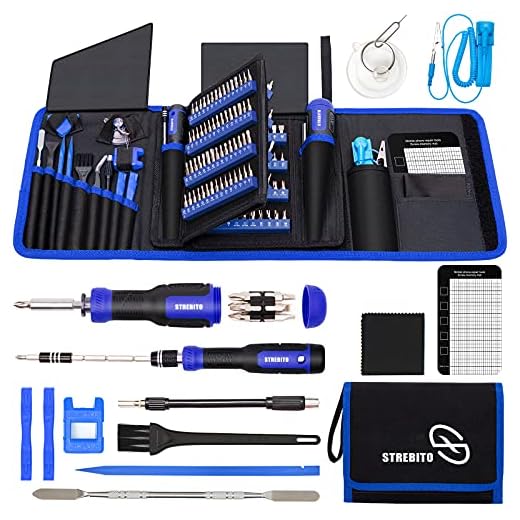


In this guide, we will walk you through the steps to safely remove the rear camera glass on your iPhone 7.
Before you begin, make sure you have the necessary tools: a small suction cup, a pentalobe screwdriver, a hairdryer or heat gun, a plastic spudger, and a replacement rear camera glass.
Step-by-Step Guide to Replacing iPhone 7 Rear Camera Glass
If you have a cracked or scratched rear camera glass on your iPhone 7, you can replace it yourself with the right tools and technique. Follow these steps to safely remove and replace the rear camera glass:
Tools Required:
- Replacement rear camera glass
- Heat gun or hairdryer
- Suction cup
- Plastic spudger or opening tool
- Tweezers
- Cloth or cleaning tool
Step-by-Step Instructions:
| Step 1: | Power off your iPhone 7 and remove the SIM card tray. |
| Step 2: | Use the heat gun or hairdryer to warm up the area around the rear camera glass. Be careful not to overheat the device. |
| Step 3: | Apply the suction cup near the rear camera glass and gently lift it to create a small gap. |
| Step 4: | Insert the plastic spudger or opening tool into the gap and carefully pry the rear camera glass out of its place. |
| Step 5: | Once the glass is removed, clean the area thoroughly and remove any adhesive residue. |
| Step 6: | Place the new rear camera glass in position and press it down firmly to secure it in place. |
| Step 7: | Reinsert the SIM card tray, power on your iPhone 7, and test the rear camera to ensure it’s working properly. |
By following these steps carefully, you can easily replace the rear camera glass on your iPhone 7 and restore its functionality and aesthetics.
Gather Necessary Tools and Materials
Before you begin removing the rear camera glass on your iPhone 7, make sure you have all the necessary tools and materials ready. Here is a list of what you will need:
- Phillips screwdriver
- Prying tool or plastic opening tool
- Replacement rear camera glass
- Clean cloth
- Adhesive remover (optional)
Having these tools and materials prepared will make the process of removing the rear camera glass easier and more efficient.
Prepare the Work Area
Before you begin the process of removing the rear camera glass on your iPhone 7, it’s important to prepare your work area to ensure a smooth and successful repair. Here are some steps to follow:
Gather Necessary Tools
Make sure you have all the tools you will need for the job, including a small Phillips screwdriver, a plastic spudger tool, a suction cup, and a heat gun or hairdryer.
Clean and Organize
Clear a clean, well-lit workspace to perform the repair. Organize your tools and ensure you have enough space to work comfortably without any distractions.
| Tip: | It’s a good idea to lay down a soft cloth or towel to protect the surface of your work area and prevent any small parts from rolling away. |
Remove the Broken Glass
To remove the broken glass from the iPhone 7 rear camera, follow these steps:
Step 1: Gather the necessary tools
Make sure you have the right tools for the job. You will need a small Phillips screwdriver, a heat gun or hairdryer, a suction cup, and a plastic spudger.
Step 2: Heat the glass
Use the heat gun or hairdryer to apply heat to the broken glass. This will soften the adhesive and make it easier to remove the glass.
| Caution: | Be careful not to overheat the glass, as it can damage the camera components. |
Once the glass is heated, use the suction cup to pull the broken glass away from the camera.
Clean the Camera Lens Area
Before installing the new rear camera glass, make sure to thoroughly clean the camera lens area to ensure optimal picture quality. Use a microfiber cloth or lens cleaning wipe to gently remove any dust, fingerprints, or smudges from the lens surface. Avoid using harsh chemicals or abrasive materials that could scratch or damage the lens.
Tip: For stubborn debris, you can lightly dampen the cloth with a small amount of lens cleaning solution or isopropyl alcohol. Be sure to dry the lens thoroughly before installing the new camera glass.
Apply Adhesive to the New Glass
Before attaching the new rear camera glass to your iPhone 7, it’s important to apply adhesive to ensure a secure fit. You can use adhesive strips or liquid adhesive for this step.
Adhesive Strips:
If you are using adhesive strips, carefully peel off the backing and apply them along the edges of the new glass. Make sure the strips cover the entire perimeter to provide a strong bond.
Liquid Adhesive:
If you prefer using liquid adhesive, apply a thin, even layer along the edges of the new glass. Be precise to avoid excess adhesive seeping into the camera lens or other components.
Once the adhesive is applied, carefully position the new glass over the rear camera lens and gently press it down to ensure a secure attachment. Allow the adhesive to cure according to the manufacturer’s instructions before using your iPhone 7.
Attach the New Glass to the Camera
Once you have removed the old glass, it’s time to attach the new glass to the camera. Make sure the camera lens is clean and free of any debris before proceeding.
Step 1: Carefully place the new glass over the camera lens, ensuring it lines up correctly.
Step 2: Gently press down on the edges of the glass to secure it in place. Be careful not to apply too much pressure to avoid damaging the camera lens.
Step 3: Once the new glass is securely attached, double-check to ensure it is aligned properly and sits flush against the camera lens.
Step 4: Clean the new glass with a microfiber cloth to remove any fingerprints or smudges, then you’re all set!
Test the Camera Functionality
Before reassembling your iPhone 7 rear camera, it’s important to test the functionality of the camera to ensure everything is working properly. Follow these steps to test the camera:
- Turn on your iPhone 7 and open the camera app.
- Switch between the front and rear cameras to check if both are functioning correctly.
- Take a few test photos and videos to see if the camera captures clear images and records without any issues.
- Test the zoom functionality by zooming in and out to check for any distortion or blurriness.
- Check the focus by tapping on different objects in the frame to ensure the camera focuses correctly.
If you encounter any issues during the testing process, it may indicate a problem with the camera assembly or connections. In this case, you may need to troubleshoot further or seek professional help.


What tools do I really need for this repair? Can I use substitutes for the heat gun and suction cup?
I tried this on my iPhone 7 and it was more challenging than I expected! The glass popped out easily after heating, but I struggled with aligning the new glass properly. It took a few tries to get it right. Just a tip: make sure your workspace is well-lit and clean. It really helps!
Thanks for the tip! I’ll definitely make sure my workspace is clean to avoid any issues.
Is it necessary to use adhesive when installing the new glass? What happens if I skip that step?
Using adhesive is important to secure the glass properly. Skipping it may lead to the glass popping off or not sealing correctly, which could affect camera functionality.
I don’t think it’s a good idea to do this myself. I tried replacing the screen on my old phone and ended up damaging it more. Sometimes it’s better to let a professional handle these repairs!
I get your point, but I think if you're careful and follow the steps, it's definitely doable!