
 Carmen J. Moore

Night mode on the iPhone camera is a fantastic feature that allows you to capture stunning photos in low-light conditions. Whether you’re trying to photograph a city skyline at dusk or capture the stars in the night sky, night mode can help you achieve the perfect shot.

But how exactly do you put your iPhone camera on night mode? In this guide, we’ll walk you through the steps to enable night mode on your iPhone camera and how to make the most of this powerful feature.
How to activate night mode
To activate night mode on your iPhone camera, follow these steps:
1. Open the Camera app on your iPhone.
2. Look for the moon icon in the top left corner of the screen.
3. Tap on the moon icon to activate night mode.
4. You will see the night mode icon turn yellow when it is activated.
5. You are now ready to take photos in low light conditions with improved quality.
Step 1: Open the camera app
To activate night mode on your iPhone camera, start by opening the camera app on your device. You can do this by tapping on the camera icon on your home screen or swiping left from the lock screen. Once the camera app is open, you are ready to proceed to the next step.
Step 2: Tap on the Night mode icon
Once you’ve accessed the camera app on your iPhone, look for the Night mode icon. It typically appears as a moon or stars symbol, indicating that the feature is available for use.
Tap on the Night mode icon to activate it. You may need to adjust the intensity or duration of the Night mode depending on your lighting conditions and preferences.
Step 3: Adjust exposure and focus
After setting your iPhone camera to Night mode and choosing the appropriate timer, it’s time to adjust the exposure and focus to capture the best low-light shot.
1. Tap on the screen where you want to focus and expose the image. This will ensure that the camera adjusts the lighting and sharpness to that specific area.
2. If you want to manually adjust the exposure, swipe up or down on the screen to increase or decrease the exposure level. This can help you brighten or darken the image as needed.
3. To lock the exposure and focus settings, press and hold on the screen until you see the AE/AF Lock confirmation. This will prevent the camera from readjusting the settings when you move the device.
4. Experiment with different exposure and focus settings to find the perfect balance for your night mode shot.
| Tip: | Try tapping on different areas of the screen to see how the exposure and focus change, and find the best composition for your low-light photo. |
Step 4: Use a tripod for stability
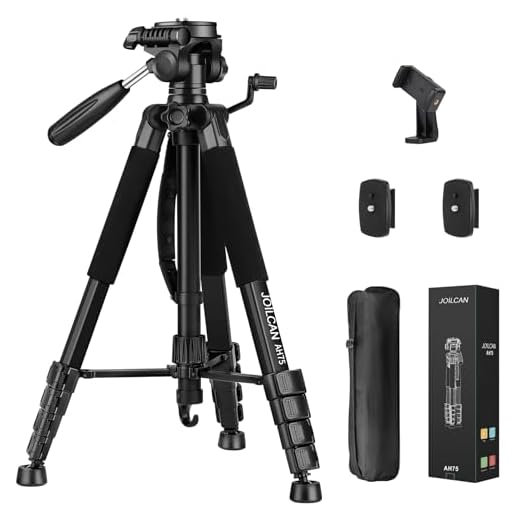
For the best results when using Night Mode on your iPhone camera, it is recommended to use a tripod for stability. This will help eliminate any potential camera shake and ensure that your photos come out sharp and clear. A tripod will also allow you to keep your phone steady for longer exposures, especially in low-light conditions. If you don’t have a tripod, you can try propping your phone against a stable surface to achieve a similar effect.
Step 5: Capture stunning low-light photos
Once you have set your iPhone camera to night mode and adjusted the exposure, you are ready to capture stunning low-light photos. Here are some tips to make the most of this mode:
- Stabilize your iPhone: To avoid blurry photos, make sure your iPhone is stable by using a tripod or resting it on a stable surface.
- Experiment with composition: Try different angles and positions to find the best composition for your low-light photo.
- Use the timer: To further reduce camera shake, use the timer function on your iPhone to delay the shot after you press the shutter button.
- Adjust focus: Tap on the subject of your photo to adjust the focus and ensure sharpness in low-light conditions.
- Review and edit: After capturing the photo, review it to make sure it meets your expectations. You can use editing tools to enhance the image further.
Step 6: Share your night mode shots
Once you’ve captured some stunning shots using Night mode on your iPhone, it’s time to share them with the world. You can easily share your photos on social media platforms like Instagram, Facebook, or Twitter to showcase your photography skills and the amazing capabilities of your iPhone camera. Consider adding relevant hashtags to reach a wider audience and get your photos noticed. Don’t forget to tag Apple or use the #ShotoniPhone hashtag to potentially get featured on Apple’s official platforms. Sharing your night mode shots is a great way to inspire others and connect with fellow photography enthusiasts.


I noticed you mentioned adjusting the exposure by swiping up or down. Is that something you can do while the camera is in night mode, or do you have to switch it off first?
I tried using night mode at a concert last weekend. It worked really well! Just remember to keep your phone steady. I didn't use a tripod and some photos were a bit shaky, but overall, I was impressed with the quality.
Thanks for sharing your experience! It can definitely take some practice to get the settings right, and using a tripod can help improve stability in low-light situations.
How do I know if my iPhone supports night mode?
I disagree with the idea that a tripod is always necessary. I’ve taken some amazing night shots just holding my phone steady. It just takes a bit of practice!
While using a tripod can help improve clarity, it's true that with steady hands and practice, many people can capture great shots without one. Thanks for sharing your perspective!