
 Carmen J. Moore

Are you tired of your iPhone photos looking grainy and lacking clarity? Grainy photos can be a common issue, especially in low-light situations or when using older iPhone models. However, there are several tips and tricks you can use to improve the quality of your iPhone camera and reduce graininess in your photos.
One of the first things you can do to make your iPhone camera less grainy is to ensure that you have good lighting. Natural light is usually the best option for taking clear and crisp photos, so try to shoot your photos in well-lit environments. If you’re indoors, position yourself near a window or use artificial lighting to brighten up the scene.
Another tip to reduce graininess in your iPhone photos is to adjust the exposure settings. You can manually adjust the exposure by tapping on the screen to focus on a specific area and then sliding your finger up or down to adjust the exposure level. Finding the right balance of light and shadow can help to minimize graininess in your photos.
Tips for reducing graininess in iPhone camera photos
Graininess in iPhone camera photos can be frustrating, but there are several tips and tricks you can use to reduce it and improve the quality of your images. Here are some helpful suggestions:

1. Proper lighting
One of the main reasons for grainy photos is low light conditions. Make sure you have adequate lighting when taking photos with your iPhone to reduce graininess. Natural light is often the best option, so try to shoot outdoors or near a window for better results.
2. Use the right settings
Adjusting the settings on your iPhone camera can also help reduce graininess. Experiment with different settings such as exposure, ISO, and white balance to find the best combination for your specific shooting conditions. Lowering the ISO and using a lower exposure can often result in clearer photos with less grain.
| ISO | Exposure | White Balance |
|---|---|---|
| Lower | Shorter | Auto |
Adjusting exposure and ISO settings
One way to reduce graininess in your iPhone photos is to adjust the exposure and ISO settings on your camera. Exposure refers to the amount of light that reaches the camera sensor, while ISO determines the sensitivity of the sensor to light.
By adjusting the exposure settings, you can control how much light enters the camera, which can help reduce graininess in low-light situations. Increasing the ISO setting can also make your camera more sensitive to light, but be careful not to set it too high as this can introduce more noise in your photos.
Using natural light for better photo quality
When taking photos with your iPhone, one of the best ways to improve the quality and reduce graininess is to utilize natural light. Natural light is softer and more flattering than artificial light, resulting in better-looking photos.
Here are a few tips for using natural light effectively:
- Shoot during the golden hours: The hour after sunrise and the hour before sunset are known as the golden hours, and the light during these times is warm and soft, making it ideal for photography.
- Avoid harsh midday sun: Direct sunlight can create harsh shadows and blown-out highlights in your photos. Try to shoot in shaded areas or during softer lighting conditions.
- Use windows or doors: If you’re indoors, position your subject near a window or door to let in natural light. This can help create a more even and flattering light on your subject.
- Experiment with different angles: Move around your subject to find the best angle where the natural light is most flattering. Sometimes a slight shift in position can make a big difference in the quality of your photos.
Cleaning the camera lens for clear images
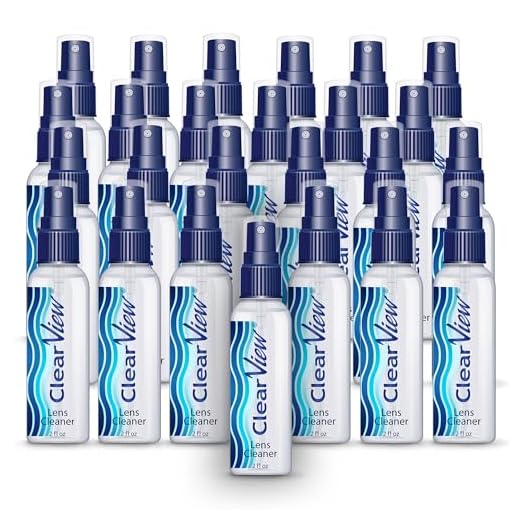
One of the most common reasons for grainy photos on your iPhone is a dirty camera lens. Dust, fingerprints, and smudges can all impact the clarity of your images. To ensure your photos are crisp and clear, it’s important to regularly clean your iPhone camera lens.
Steps to clean your camera lens:
- Use a microfiber cloth: Gently wipe the camera lens with a clean microfiber cloth to remove any dust or dirt. Avoid using harsh chemicals or abrasive materials that could scratch the lens.
- Use a lens cleaning solution: If there are stubborn smudges or fingerprints on the lens, you can use a specialized lens cleaning solution. Apply a small amount to the cloth and gently clean the lens in circular motions.
By keeping your iPhone camera lens clean, you can ensure that your photos are sharp and free from graininess. Regular maintenance of your camera lens will help you capture stunning images with your iPhone.
Avoiding digital zoom for sharper photos
One common mistake that can lead to grainy photos on an iPhone is using the digital zoom feature. Digital zoom works by cropping and enlarging a portion of the image, which can result in loss of image quality and increased noise. To avoid this, try to get closer to your subject physically instead of relying on digital zoom. This will help maintain the sharpness and clarity of your photos.
Editing photos with noise reduction tools
One effective way to reduce the graininess of photos taken with an iPhone camera is to use noise reduction tools during the editing process. There are several apps available that offer noise reduction features, such as Adobe Lightroom, Snapseed, and TouchRetouch. These tools can help smooth out the grainy texture of an image and improve overall image quality.
When using a noise reduction tool, it’s important to adjust the settings carefully to find the right balance between reducing noise and maintaining image sharpness. Experiment with different levels of noise reduction until you achieve the desired result. Additionally, be mindful not to overdo it, as excessive noise reduction can lead to a loss of detail in the image.
Overall, using noise reduction tools in photo editing can significantly improve the quality of iPhone photos and help reduce graininess for a clearer, more professional-looking result.



What are some good noise reduction apps for iPhone?
I've noticed a huge difference since I started cleaning my lens regularly. I used to think the graininess was just a camera issue, but it was mostly dirt!
Cleaning your lens can make a big impact on photo quality. Regular maintenance is key!
Does adjusting ISO settings really help with graininess? How low should I set it?
Yes, lowering your ISO can definitely help reduce graininess, especially in low-light situations. Aim for ISO 100-400 when possible.
Shooting in natural light is a game changer! It makes my photos look so much better.
I disagree about avoiding digital zoom entirely. Sometimes it can still be useful if you're really far away from your subject and can't move closer.
While digital zoom can be convenient, keep in mind that it often sacrifices quality. It's usually better to get closer if you can.
I tried both Snapseed and Adobe Lightroom for noise reduction. Snapseed is user-friendly but Lightroom gives more detailed control. If you're serious about editing, I recommend Lightroom.