
 Carmen J. Moore

Protecting your iPhone’s camera lens is crucial to ensure that your photos and videos remain clear and sharp. However, there may come a time when you need to remove the camera lens protector for cleaning or replacement. Here is a step-by-step guide on how to safely remove the camera lens protector from your iPhone:
Step 1: Prepare Your Workspace
Find a clean and well-lit area to work on your iPhone. Make sure your hands are clean to prevent any smudges or dirt from transferring to the camera lens.
Step 2: Locate the Camera Lens Protector
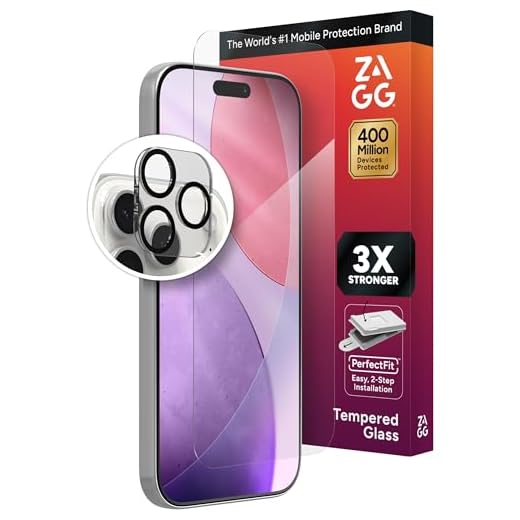


Identify the camera lens protector on your iPhone. It is usually a small, transparent piece of plastic or glass covering the camera lens on the back of your device.
Step 3: Gently Pry the Protector
Using a soft, non-metallic tool such as a plastic opening tool or a fingernail, gently pry the edges of the camera lens protector. Be careful not to apply too much pressure to avoid scratching the camera lens.
How to Remove iPhone Camera Lens Protector
Removing the camera lens protector from your iPhone is a delicate process that requires some caution to avoid damaging the lens. Follow these steps to safely remove the protector:
- Start by powering off your iPhone to prevent any accidental damage to the device.
- Use a microfiber cloth to clean the camera lens and surrounding area to ensure there is no dust or debris that could scratch the lens during removal.
- Gently apply some heat to the camera lens protector using a hairdryer on low heat or a heat gun on the lowest setting. Be careful not to overheat the protector or the lens.
- Once the adhesive on the protector has softened, use a thin, flat tool like a plastic pry tool or a credit card to carefully lift one edge of the protector.
- Slowly peel off the protector using the tool, making sure not to apply too much pressure to avoid damaging the lens underneath.
- If the protector is stubborn and does not come off easily, apply more heat and continue to lift it slowly until it is completely removed.
- After removing the protector, use a clean microfiber cloth to wipe off any remaining adhesive residue from the lens.
- Inspect the camera lens for any scratches or damage that may have occurred during the removal process. If necessary, clean the lens again and consider applying a new protector.
Following these steps carefully will help you safely remove the camera lens protector from your iPhone without causing any harm to the device’s camera. Remember to take your time and be gentle to ensure a successful removal process.
Step-by-Step Guide
To remove the iPhone camera lens protector, follow these simple steps:
- Prepare Your Tools: Gather a microfiber cloth, adhesive remover (optional), and a small suction cup.
- Clean the Lens: Use the microfiber cloth to clean the camera lens and surrounding area to remove any dirt or debris.
- Apply Adhesive Remover (Optional): If the protector is glued on, apply a small amount of adhesive remover around the edges to help loosen it.
- Use the Suction Cup: Place the suction cup on the lens protector and gently pull it away from the lens. Be careful not to apply too much force to avoid damaging the lens.
- Remove Any Residue: If there is any adhesive residue left on the lens, use a clean microfiber cloth to gently wipe it away.
- Inspect the Lens: After removing the protector, inspect the lens to ensure it is clean and undamaged.
Important:
Be gentle when removing the lens protector to avoid scratching or damaging the camera lens.
Tools You Will Need
Before removing the iPhone camera lens protector, make sure you have the following tools handy:
- Microfiber cloth: To clean the lens and surrounding area before and after removal.
- Tweezers: To carefully lift and remove the protector without damaging the lens.
- Adhesive remover: Optional, in case the protector is glued on and requires a solvent to dissolve the adhesive.
- Blower or canned air: To blow away any dust or debris that may have accumulated under the protector.
Precautions to Take
Before attempting to remove the iPhone camera lens protector, be sure to follow these precautions:
- Turn off your iPhone to prevent any accidental damage.
- Work in a well-lit area to clearly see what you are doing.
- Use a gentle touch and avoid applying excessive force to avoid scratching the lens or damaging the device.
- If the protector is stubborn, consider using a hairdryer on low heat to soften the adhesive for easier removal.
- Be patient and take your time to avoid rushing the process and causing damage.
Alternative Methods
If the methods described above do not work for you, there are a few alternative approaches you can try:
1. Heat Method: Use a hairdryer on low heat to warm up the adhesive around the camera lens protector. This can make it easier to remove without causing damage to your phone.
2. Dental Floss: Slide a piece of dental floss between the camera lens protector and the phone, moving it back and forth to loosen the adhesive. Be gentle to avoid scratching the lens or the phone.
3. Adhesive Remover: If the protector is stubbornly stuck, you can try using a specialized adhesive remover to dissolve the glue. Be sure to follow the instructions carefully to avoid damaging your phone.
Remember to proceed with caution when trying these alternative methods to avoid damaging your phone’s camera lens or the phone itself.
Final Thoughts
Removing the camera lens protector from your iPhone may seem like a daunting task, but with the right tools and techniques, it can be done quickly and easily. Remember to take your time and be gentle to avoid damaging the lens or the phone itself.
If you’re unsure about removing the protector yourself, consider seeking help from a professional or visiting an Apple store for assistance. Once the protector is removed, you can enjoy clear and unobstructed photos and videos with your iPhone’s camera.


Great article! I just removed my lens protector without any issues. Following the steps made it really easy!
Is it really necessary to use adhesive remover? I’ve always avoided those products fearing they might damage the lens.
Using adhesive remover is optional, and it can be helpful if the protector is very stubborn. However, it’s important to choose a product that is safe for electronics to avoid any potential damage.
How do I know if the camera lens protector is actually stuck or just easy to remove? I don’t want to damage the lens.
I recently removed my camera lens protector using the heat method mentioned in the article. It worked surprisingly well! I used a hairdryer on low for about 30 seconds, and it loosened the adhesive enough for me to lift it off with a plastic tool. Just make sure you don’t overheat it, or you might damage the lens.
Thanks for the tip! I’ve been hesitant to try heat, but it sounds like a good option.
I disagree with the part about using dental floss. I tried it once and ended up scratching my lens. I think it’s better to stick to the plastic tools as suggested.