
 Carmen J. Moore

Are you tired of the hassle of transferring photos from your camera to your computer? With the advancement of technology, there are now easier and faster ways to send pictures instantly from your camera to your computer. Whether you are a professional photographer or just someone who loves capturing moments, this guide will help you streamline the process and save you time.
One of the most convenient methods to transfer photos instantly is through wireless technology. Many cameras now come equipped with Wi-Fi or Bluetooth connectivity, allowing you to send pictures directly to your computer without the need for cables or memory cards. This method is not only faster but also eliminates the risk of losing or damaging your photos during the transfer process.


Another option is to use a USB cable to connect your camera to your computer. This method is simple and reliable, ensuring that your photos are safely transferred without any loss of quality. By following a few easy steps, you can quickly send pictures from your camera to your computer and enjoy your photos on a larger screen.
Step-by-Step Guide on Sending Pictures from Camera to Computer
Step 1: Connect your camera to your computer using a USB cable.
Step 2: Turn on your camera and set it to transfer mode.
Step 3: Open the file explorer on your computer.
Step 4: Locate your camera in the list of connected devices.
Step 5: Open the folder containing your pictures on the camera.
Step 6: Select the pictures you want to transfer to your computer.
Step 7: Copy the selected pictures and paste them into a folder on your computer.
Step 8: Wait for the transfer to complete, then safely eject your camera from the computer.
Step 9: Open the folder on your computer to view and access the transferred pictures.
Step 10: You have successfully sent pictures from your camera to your computer!
Connect Your Camera and Computer
To send a picture instantly from your camera to your computer, you need to first connect the two devices. Follow these steps to establish a connection:
Step 1: Use the proper cable
Check the type of cable that your camera requires to connect to a computer. Common options include USB, HDMI, or Wi-Fi. Make sure you have the necessary cable on hand.
Step 2: Connect the cable
Once you have the correct cable, connect one end to your camera and the other end to a USB port on your computer. Ensure that the connection is secure and that both devices recognize each other.
Transfer Images Using USB Cable
One of the quickest and most reliable ways to transfer images from your camera to your computer is by using a USB cable. Here’s how you can do it:
Step 1: Connect one end of the USB cable to your camera and the other end to a USB port on your computer.
Step 2: Turn on your camera and set it to the appropriate mode for transferring images.
Step 3: Your computer should recognize the camera as a removable storage device. Open the file explorer on your computer and locate the camera’s storage folder.
Step 4: Select the images you want to transfer and copy them to a folder on your computer.
Step 5: Once the transfer is complete, safely eject the camera from your computer and unplug the USB cable.
Note: Make sure to properly eject the camera from your computer to avoid data loss or corruption.
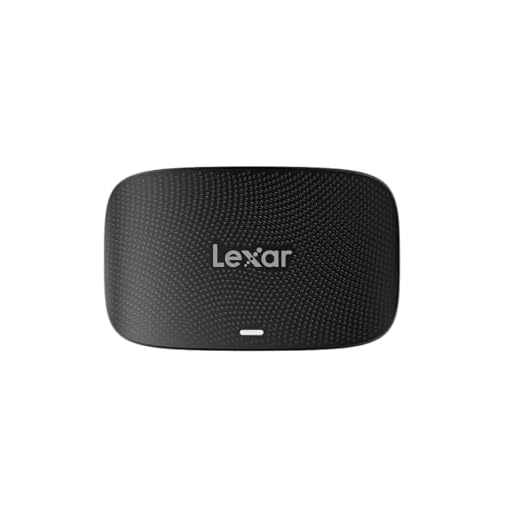
Use a Memory Card Reader
If your camera uses a memory card to store photos, you can transfer pictures to your computer using a memory card reader. Here’s how:
- Remove the memory card from your camera.
- Insert the memory card into the memory card reader.
- Connect the memory card reader to your computer using a USB cable.
- Your computer will recognize the memory card as a removable storage device.
- Open the folder containing the photos on the memory card.
- Select the photos you want to transfer and copy them to a folder on your computer.
- You can now access the photos on your computer and share them as needed.
Sync Photos Wirelessly
If you want to send photos instantly from your camera to your computer without any cables, you can use wireless syncing options. Many modern cameras come equipped with built-in Wi-Fi or Bluetooth capabilities, allowing you to connect your camera to your computer wirelessly.
Here are some steps to sync your photos wirelessly:
| 1. | Enable Wi-Fi or Bluetooth on your camera and computer. |
| 2. | Pair your camera with your computer using the provided instructions. |
| 3. | Select the photos you want to transfer on your camera. |
| 4. | Initiate the transfer process on your camera and follow the prompts to send the photos to your computer wirelessly. |
Once the transfer is complete, you can access your photos on your computer and save them to your desired location.
Install Camera Software
Before you can send a picture instantly from your camera to your computer, you need to install the appropriate camera software on your computer. Most cameras come with a CD or DVD that contains the necessary software for connecting your camera to your computer. Insert the CD or DVD into your computer’s drive and follow the on-screen instructions to install the software.
If you don’t have the CD or DVD that came with your camera, you can usually download the software from the manufacturer’s website. Simply visit the website, locate the support or downloads section, and search for your camera model. Once you find the software, download and install it on your computer.
Organize Your Picture Files
Organizing your picture files is essential to keep track of your photos and easily find them when needed. Here are some tips to help you stay organized:
- Create folders: Sort your pictures into folders based on categories such as date, event, or location.
- Use descriptive file names: Rename your picture files with descriptive names that reflect the content of the image.
- Add tags or keywords: Tag your pictures with keywords to make them searchable and easily filterable.
- Delete duplicates: Regularly go through your picture files and delete any duplicates to save space and avoid clutter.
- Backup your files: Make sure to regularly backup your picture files to prevent loss in case of computer failure.
Backup and Store Your Images
Once you’ve transferred your pictures from your camera to your computer, it’s important to back them up to ensure you don’t lose them. You can create a backup on an external hard drive, a cloud storage service, or a USB flash drive. Storing your images in multiple locations will protect them from accidental deletion or hardware failure.
External hard drive: Copy your images to an external hard drive, which provides a physical backup that you can keep in a safe place.
Cloud storage: Upload your images to a cloud storage service like Google Drive, Dropbox, or iCloud. This provides a convenient way to access your images from any device with an internet connection.
USB flash drive: Transfer your images to a USB flash drive for a portable backup solution. This is useful for sharing images with others or for storing a copy of your images off-site.
By backing up and storing your images, you can ensure that your precious memories are safe and easily accessible whenever you need them.




Don’t forget to back up your photos after transferring! I lost a lot of memories once because I didn’t have a backup.
I've used both the USB cable and a memory card reader. I find the memory card reader faster since I can just plug it into my computer without needing to power on the camera. However, the USB method feels safer because I know it's a direct connection. Anyone else have a preference?
I disagree that USB is slower; I've always found it faster and easier than wireless methods. Plus, I don't have to deal with connectivity issues.
I have a camera with Wi-Fi capabilities but I'm not sure how to connect it to my computer. Can you clarify the steps for wireless syncing?
To sync wirelessly, first enable Wi-Fi on both your camera and computer. Then, pair them according to the camera's instructions. Once paired, select the photos on your camera and initiate the transfer process.
What if my camera doesn't have Wi-Fi? Can I still transfer photos easily?
Don’t forget to backup your photos after transferring! I learned that the hard way.
I've been using a USB cable to transfer my photos, and it works perfectly for me. I find it super reliable and don't have to worry about losing my pictures during transfer. Just a tip: make sure to use a good quality cable!
Can you explain more about how to pair my camera with my computer for wireless transfer? I have a newer model, but the instructions weren't clear. Do I need to install any specific software first?
To pair your camera with your computer for wireless transfer, enable Wi-Fi or Bluetooth on both devices. Then, check your camera for a 'pairing' option in the settings. It's often helpful to consult the manual for specific instructions. Most modern cameras will not need additional software, but if yours does, it should come with a CD or have downloadable software from the manufacturer's website.