
 Carmen J. Moore

If you’re an avid GoPro user, you know how important it is to have stable footage for your videos. Shaky footage can be distracting and take away from the overall quality of your content. One way to achieve smooth and professional-looking videos is by using a camera stabilizer.

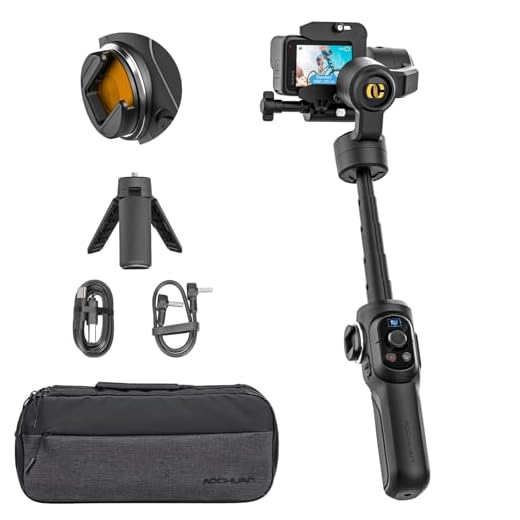

Buying a commercial camera stabilizer can be expensive, but with a little bit of creativity and some basic materials, you can make your own DIY GoPro camera stabilizer at a fraction of the cost. In this article, we’ll walk you through the steps to create your own stabilizer that will help you capture steady and cinematic shots with your GoPro.
Whether you’re shooting action sports, vlogging, or just capturing everyday moments, a camera stabilizer can make a world of difference in the quality of your videos. So, grab your tools and let’s get started on building your very own GoPro camera stabilizer!
Step-by-Step Guide to Building
Follow these steps to build your own GoPro camera stabilizer:
| 1. | Gather the necessary materials: PVC pipes, connectors, a gimbal, screws, nuts, bolts, washers, and a handle. |
| 2. | Measure and cut the PVC pipes to the desired lengths for the stabilizer frame. |
| 3. | Assemble the frame using the connectors and secure them with screws, nuts, bolts, and washers. |
| 4. | Attach the gimbal to the frame using screws and make sure it is securely fixed in place. |
| 5. | Connect the handle to the stabilizer frame to provide a comfortable grip. |
| 6. | Test the stabilizer with your GoPro camera to ensure smooth and stable footage. |
Necessary Tools and Materials
To create a DIY GoPro camera stabilizer, you will need the following tools and materials:
- PVC Pipes: You will need PVC pipes of various lengths to create the frame of the stabilizer.
- PVC Connectors: These connectors will help you assemble the PVC pipes together to form the stabilizer.
- GoPro Mount: A mount specifically designed for a GoPro camera to attach it to the stabilizer.
- Counterweights: Small weights that can be attached to the stabilizer to balance the weight of the camera.
- Tools: You will need basic tools such as a saw, drill, and measuring tape to cut and assemble the PVC pipes.
- Padding: Foam or rubber padding to cushion the camera and prevent it from getting scratched.
- Camera Strap: A strap to secure the camera to the stabilizer while filming.
Choosing the Right Design
When selecting a design for your DIY GoPro camera stabilizer, it’s essential to consider your specific needs and shooting style. There are various designs available, each with its own advantages and disadvantages. Here are some key factors to consider when choosing the right design:
1. Gimbal vs. Mechanical Stabilizer
One of the main decisions to make is whether you want to go with a gimbal-based stabilizer or a mechanical stabilizer. A gimbal stabilizer offers more advanced stabilization features and smoother movements, but it can be more expensive and complex to build. On the other hand, a mechanical stabilizer is simpler and more affordable, but may not provide as precise stabilization.
2. Size and Weight
Consider the size and weight of the stabilizer design, as you’ll need to carry it around while filming. A bulky and heavy stabilizer may be cumbersome to use, especially for long periods. Opt for a design that strikes a balance between stability and portability.
| Design Type | Pros | Cons |
|---|---|---|
| Gimbal Stabilizer | Advanced stabilization features, smooth movements | Expensive, complex to build |
| Mechanical Stabilizer | Simple, affordable | Less precise stabilization |
Assembling the Frame
Once you have all the necessary materials and tools ready, you can start assembling the frame for your GoPro camera stabilizer. Follow these steps:
- Take the PVC pipes and connectors and lay them out in front of you.
- Start by connecting the T-joints to the ends of the longer PVC pipes to create the base of the frame.
- Attach the shorter PVC pipes to the T-joints to form the top part of the frame.
- Secure the pipes and joints tightly to ensure stability.
- Attach the handle to the frame using the remaining connectors.
- Double-check all connections to make sure everything is secure and stable.
Once the frame is assembled, you can move on to attaching the GoPro camera and the stabilizing mechanism to complete your DIY GoPro camera stabilizer.
Attaching the GoPro Mount
Once you have assembled the stabilizer, it’s time to attach the GoPro mount. Follow these steps:
- Locate the mounting plate on the stabilizer where the GoPro will attach.
- Secure the GoPro mount to the plate using the provided screws and hardware.
- Make sure the mount is securely attached and tighten any screws to prevent movement.
- Double-check that the GoPro is properly secured to the mount before use.
With the GoPro mount properly attached, your stabilizer is now ready for use with your GoPro camera!
Adding Counterweights for Stability
One of the key components of a GoPro camera stabilizer is the counterweight system. Counterweights help balance the weight distribution of the stabilizer, resulting in smoother shots. To add counterweights to your stabilizer, you can use small weights such as metal washers or coins.
Step 1: Attach a mounting plate or bracket to the bottom of your stabilizer to hold the counterweights.
Step 2: Determine the amount of weight needed by testing the stabilizer with your GoPro camera attached. Add or remove counterweights until the stabilizer is properly balanced.
Step 3: Secure the counterweights to the mounting plate or bracket using strong adhesive or screws.
Step 4: Once the counterweights are attached, test the stabilizer again to ensure that the weight distribution is correct and the shots are stable.
By adding counterweights to your GoPro camera stabilizer, you can improve its stability and performance, resulting in better quality footage.
Testing and Adjusting the Stabilizer
Once you have assembled your DIY GoPro camera stabilizer, it’s time to test and adjust it to ensure smooth and stable footage. Here are some steps to help you with this process:
- Attach your GoPro camera to the stabilizer using the mounting plate.
- Power on the camera and turn on the stabilizer.
- Hold the stabilizer with one hand and use the other hand to control the camera.
- Walk around while recording to test the stability of the footage.
- If the footage is shaky or tilted, adjust the balance of the stabilizer by moving the weights or adjusting the screws.
- Continue testing and making adjustments until you achieve smooth and stable footage.
Tips for Smooth Operation
1. Balance the stabilizer properly to ensure smooth movements and stable footage.
2. Use a light touch when operating the stabilizer to avoid jerky movements.
3. Practice different movements and angles to get a feel for how the stabilizer responds.
4. Keep your body movements smooth and controlled to maintain stability.
5. Use the joystick or controls on the stabilizer to adjust the tilt, pan, and roll for smooth shots.
6. Avoid sudden changes in direction or speed to prevent the footage from looking shaky.
Showcasing Your Stabilized Footage
Once you have successfully stabilized your GoPro footage using the homemade stabilizer, it’s time to showcase your work. You can create stunning videos with smooth and professional-looking shots that will impress your audience. Whether you’re capturing action sports, travel adventures, or everyday moments, the stabilized footage will elevate the quality of your content.
Consider adding music, transitions, and effects to enhance the visual appeal of your videos. Experiment with different angles and perspectives to create dynamic and engaging shots. Share your stabilized footage on social media platforms, video-sharing websites, or with friends and family to showcase your creativity and skills.




I actually built a DIY GoPro stabilizer last month using a similar method. I went with a gimbal design, and it worked surprisingly well! Just make sure to balance everything correctly with those counterweights. It took a few tries to get it right, but the difference in footage quality was worth it. Highly recommend testing it out in various settings to see what adjustments are needed.
I love the idea of making a stabilizer! It's such a cost-effective solution, and I'm excited to try capturing smoother videos with my GoPro now.
Do you have any tips for how to add counterweights effectively? I want to avoid overcomplicating it.
What specific PVC pipe sizes do you recommend for building the stabilizer? I want to make sure I get the right lengths from the start.
I disagree with the idea that mechanical stabilizers are always simpler and better for beginners. I built one and found that while they are easier to assemble, they can still result in shaky footage if not balanced properly. I think a basic gimbal can actually be more forgiving if you spend a little extra time setting it up.