
 Carmen J. Moore

Connecting your USB digital camera to your computer opens up a world of possibilities for managing and sharing your photos. Whether you’re looking to transfer images, edit photos, or simply view your pictures on a larger screen, connecting your camera via USB is a convenient way to access your digital memories.
But how exactly do you view your USB digital camera on your computer? In this guide, we’ll walk you through the steps to connect your camera, access the files, and view your photos with ease.
Connecting the camera to your computer
To view your USB digital camera on your computer, follow these steps:


- Turn off your digital camera.
- Locate the USB port on your camera, usually found on the side or back.
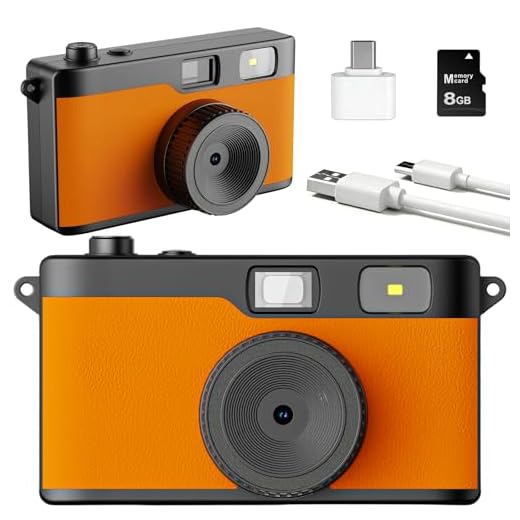
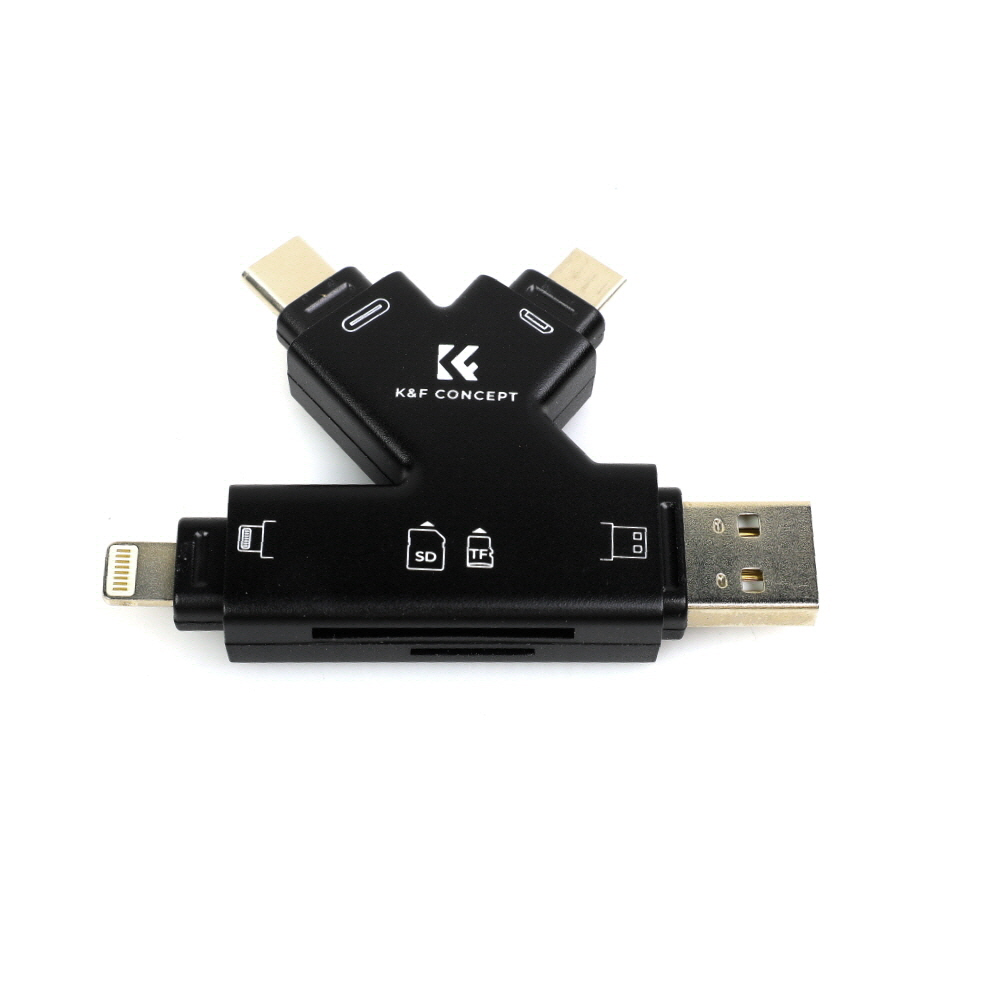
- Connect one end of the USB cable to your camera and the other end to a USB port on your computer.
- Turn on your digital camera.
- Your computer should recognize the camera as a new device and install any necessary drivers.
- Once the drivers are installed, you can access your camera’s files through your computer’s file explorer.
Now you can view, transfer, and manage your digital camera’s photos and videos on your computer.
Checking camera compatibility with operating system
Before connecting your USB digital camera to your computer, it’s important to ensure that the camera is compatible with your operating system. Different cameras may require specific drivers or software to be installed on your computer in order to be recognized and function properly.
To check compatibility, refer to the user manual or manufacturer’s website for information on supported operating systems. Make sure your computer meets the minimum requirements for the camera to work seamlessly. If necessary, download and install any required drivers or software before connecting the camera.
Once you have confirmed compatibility and installed any necessary drivers, you can connect your USB digital camera to your computer and begin viewing and transferring your photos.
Installing necessary drivers
Before you can view your USB digital camera on your computer, you may need to install the necessary drivers. Most digital cameras come with a CD or instructions on where to download the required drivers. Follow the instructions provided by the manufacturer to install the drivers on your computer. Once the drivers are installed, you should be able to connect your digital camera to your computer via USB and view the photos stored on it.

Accessing camera storage via File Explorer
To view the contents of your USB digital camera, you can access the camera storage using File Explorer on your computer. Follow these steps:
- Connect your USB digital camera to your computer using the USB cable.
- Open File Explorer on your computer.
- Locate the connected camera under the “This PC” or “My Computer” section.
- Double-click on the camera icon to open it and view the folders and files stored on the camera.
- You can now browse through the folders and files on your camera, including images and videos captured with the camera.
By accessing the camera storage via File Explorer, you can easily manage, transfer, or back up the files stored on your USB digital camera.
Using camera software for viewing images
Many USB digital cameras come with their own software that allows you to view and manage your photos on your computer. Here’s how you can use the camera software to view images:
Step 1: Install the software
Start by installing the camera software that came with your USB digital camera. Follow the installation instructions provided by the manufacturer.
Step 2: Connect your camera
Connect your USB digital camera to your computer using the USB cable. Make sure the camera is turned on and set to the appropriate mode for transferring images.
Once connected, open the camera software on your computer. The software should automatically detect your camera and display the available images.
You can then browse through the images, view them in full-screen mode, and even organize them into folders or albums using the software.
Some camera software also allows you to edit your images, adjust settings, and even share them directly to social media platforms.
Using the camera software provides a convenient and efficient way to view and manage your photos from your USB digital camera on your computer.
Transferring photos to your computer
Once you have connected your USB digital camera to your computer, follow these steps to transfer your photos:

- Open the file explorer on your computer.
- Locate the USB digital camera device in the list of connected devices.
- Double-click on the camera icon to open it and view the contents.
- Select the photos you want to transfer to your computer by clicking and dragging them to a folder on your desktop or another location.
- Wait for the transfer process to complete. Depending on the number and size of photos, this may take some time.
Once the transfer is complete, you can disconnect your USB digital camera from the computer. Your photos will now be stored on your computer for easy viewing and editing.
Organizing and managing your photos
Once you have transferred your photos from your USB digital camera to your computer, it’s important to organize and manage them effectively. Here are some tips to help you keep your photo collection in order:
1. Create folders: Organize your photos into folders based on date, event, or subject matter. This will make it easier to locate specific photos later on.
2. Use descriptive file names: Rename your photos with descriptive file names that reflect the content of the image. This will help you quickly identify what each photo is about.
3. Backup your photos: Make sure to regularly back up your photo collection to an external hard drive or cloud storage to prevent data loss in case of a computer failure.
4. Delete duplicates: Periodically go through your photo collection and delete any duplicate or unnecessary photos to free up storage space.
5. Edit and enhance: Consider using photo editing software to enhance your photos, adjust lighting, crop images, or add filters to make them look even better.
By following these tips, you can keep your photo collection organized, easy to navigate, and looking its best.
Editing and enhancing your digital images
Once you have transferred your photos from your USB digital camera to your computer, you may want to edit and enhance them to make them look even better. Here are some tips on how to do that:
1. Choose the right editing software
There are many software options available for editing digital images, from basic programs like Microsoft Paint to more advanced ones like Adobe Photoshop. Choose a software that suits your skill level and needs.
2. Crop and resize your images
Cropping can help you remove unwanted elements from your photos, while resizing can help you adjust the dimensions of the image for different purposes, such as printing or sharing online.
- Use the crop tool to select the area you want to keep in the image.
- Use the resize tool to adjust the dimensions of the image according to your needs.
By cropping and resizing your images, you can improve their composition and make them more visually appealing.
Backing up your digital camera photos
Backing up your digital camera photos is crucial to ensure that you don’t lose your precious memories. Here are some tips on how to back up your photos:
| 1. Transfer photos to your computer: | Connect your digital camera to your computer using a USB cable and transfer the photos to a folder on your computer. |
| 2. Use cloud storage: | Consider uploading your photos to a cloud storage service like Google Drive, Dropbox, or iCloud for safekeeping. |
| 3. External hard drive: | Invest in an external hard drive and regularly back up your photos to it to keep a physical copy. |
| 4. Burn photos to a CD or DVD: | If you prefer physical copies, you can burn your photos to a CD or DVD for storage. |
| 5. Organize and label: | Make sure to organize your photos in folders and label them properly for easy retrieval. |
FAQ
How can I view photos from my USB digital camera?
To view photos from your USB digital camera, connect the camera to your computer using a USB cable. Once connected, your computer should detect the camera as a removable storage device. You can then open the folder containing the photos on your camera and view them using your computer’s file explorer.
Is it possible to view live feed from a USB digital camera on my computer?
Yes, it is possible to view live feed from a USB digital camera on your computer. You can use software like VLC media player or Windows Camera app to access the live feed from your camera. Make sure the camera is properly connected to your computer and recognized as a webcam device.

Can I view and transfer videos from my USB digital camera to my computer?
Yes, you can view and transfer videos from your USB digital camera to your computer. Connect the camera to your computer using a USB cable, then access the camera’s storage to locate the videos. You can then copy the videos to your computer for viewing, editing, or sharing.



I followed the steps in the article to connect my camera, but I don’t see the camera icon in File Explorer. What should I do?
It might not be turning on properly. Try checking if the camera is charged and make sure it’s in the right mode for transferring images.
If the camera is on and still not recognized, ensure that the USB cable is securely connected. Also, check for any required drivers and try a different USB port.
I've connected my camera before, and it always seems to take a while for my computer to recognize it. Is that normal?
Yes, it can take some time, especially if drivers need to be installed. Ensure your USB cable is working and try different USB ports if issues persist.
Good question! Do I need to install drivers for my USB camera on Windows 10?
Most USB cameras are plug-and-play with Windows 10, but some may require specific drivers. Check your camera's manual or the manufacturer's website for details.