
 Carmen J. Moore

Are you looking to enhance your Facebook Live streams with high-quality video and audio? Using a digital camera can take your broadcasts to the next level. With the right setup and equipment, you can create professional-looking live videos that engage your audience and leave a lasting impression.
In this guide, we’ll walk you through the steps to set up and use a digital camera for Facebook Live. From choosing the right camera to optimizing your settings, we’ll cover everything you need to know to elevate your live streaming experience.
Getting started with digital camera
Before you start using your digital camera for Facebook Live, it’s important to familiarize yourself with the camera and its settings.
1. Charge your camera
Make sure your camera is fully charged before you start using it for Facebook Live. This will ensure that you have enough power to broadcast for an extended period of time.

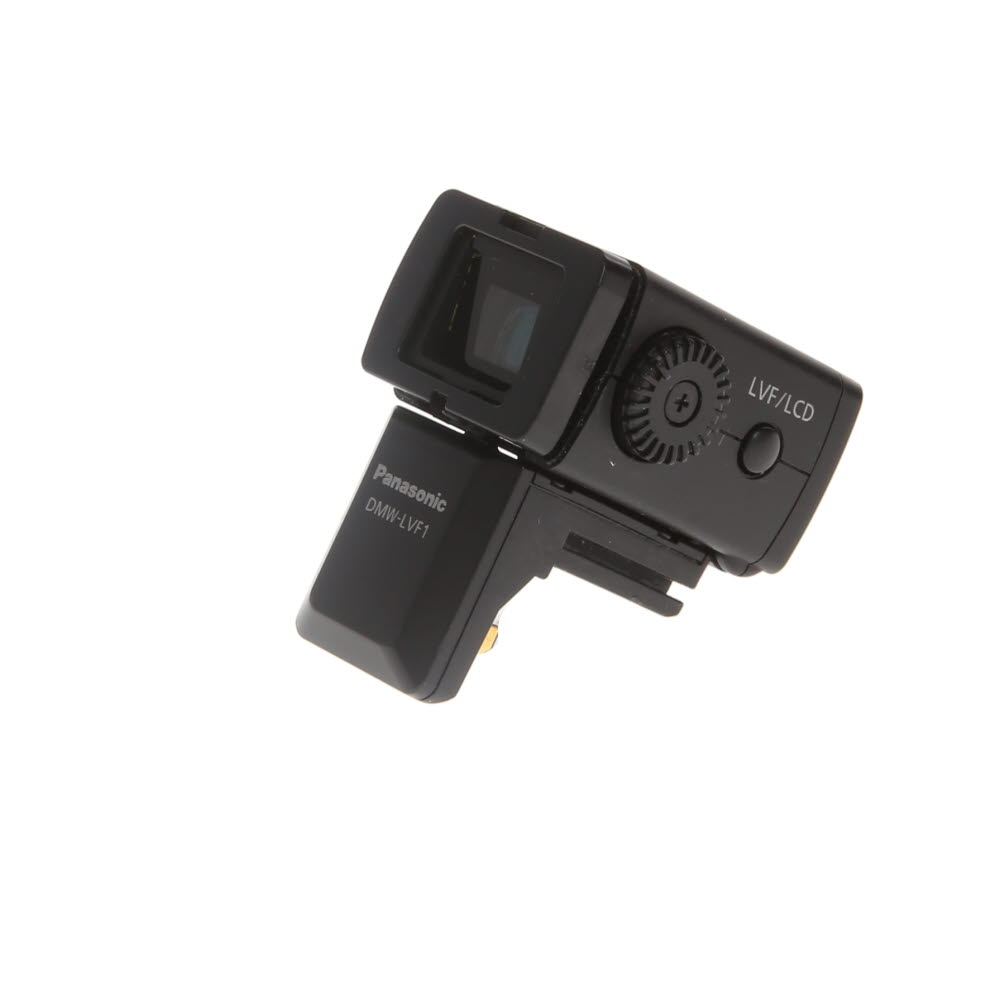


2. Set up your camera
Adjust the camera settings such as resolution, frame rate, and audio input to optimize your Facebook Live stream. Test the camera to ensure it is functioning properly before going live.
Setting up your camera
Before you start your Facebook Live broadcast, it’s important to set up your digital camera properly to ensure a smooth and high-quality stream. Here are some steps to help you get your camera ready:
- Make sure your camera is fully charged or connected to a power source to avoid running out of battery during the live broadcast.
- Adjust the camera settings such as resolution, frame rate, and focus to achieve the desired video quality.
- Position the camera at eye level or slightly above for a more flattering angle.
- Check the lighting in your filming location and make necessary adjustments to ensure good visibility.
- Connect your camera to your computer or smartphone using the appropriate cables or wireless connection.
By following these steps, you can set up your camera effectively for a successful Facebook Live broadcast.
Adjusting Camera Settings
Before starting your Facebook Live broadcast, it’s important to adjust the settings on your digital camera for the best possible video quality. Here are some key settings to consider:
Resolution: Set your camera to the highest resolution available for the clearest image.

Frame rate: Choose a frame rate that works well for live streaming, such as 30fps or 60fps, to ensure smooth motion.
Exposure: Adjust the exposure settings to ensure your video is not too bright or too dark.
White balance: Make sure the white balance is set correctly to avoid color casts in your video.
Focus: Set the focus manually or use auto-focus to keep your subject sharp.
By adjusting these camera settings before going live on Facebook, you can ensure that your broadcast looks professional and engaging.
Connecting camera to your computer
To use your digital camera for Facebook Live, you first need to connect it to your computer. Follow these steps:
Step 1: Ensure that your digital camera is fully charged and turned on.
Step 2: Connect your camera to your computer using a USB cable. Make sure the cable is securely plugged into both the camera and the computer.
Step 3: Once connected, your computer should recognize the camera as a storage device. You may need to install any necessary drivers or software that came with your camera.
Step 4: Open your preferred broadcasting software (e.g., OBS Studio, XSplit) and select your camera as the video source.

Step 5: Configure the camera settings in the broadcasting software to ensure optimal video quality.
Step 6: You are now ready to start your Facebook Live broadcast using your digital camera!
Installing necessary software
Before you can start using your digital camera for Facebook Live, you will need to install the necessary software on your computer. Most digital cameras come with their own software that allows you to connect the camera to your computer and control it remotely. Make sure to install this software according to the instructions provided by the manufacturer.
In addition to the camera software, you will also need streaming software to broadcast your live video on Facebook. Popular options include OBS Studio, Streamlabs OBS, and XSplit. Download and install the streaming software of your choice and follow the setup instructions to configure it for Facebook Live streaming.
Preparing for Facebook Live Broadcast
Before going live on Facebook, make sure you have a strong internet connection to avoid any interruptions during your broadcast. Check your camera settings to ensure the best video quality and adjust the lighting for optimal visibility. Prepare your content and have a clear outline of what you want to share with your audience.
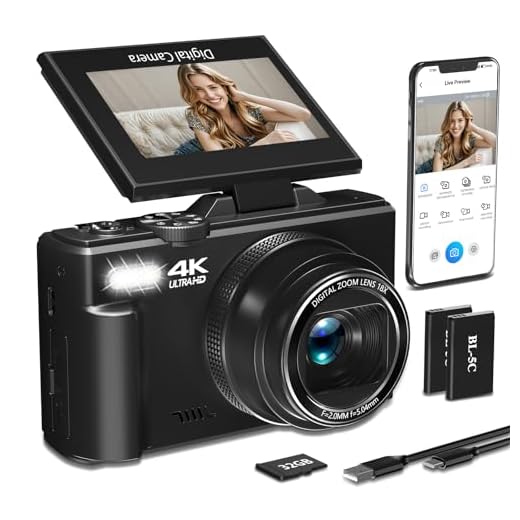
It’s also important to engage with your viewers during the broadcast, so be prepared to respond to comments and questions in real-time. Test your equipment and make sure everything is working properly before starting the live stream. Lastly, promote your broadcast ahead of time to attract more viewers and increase engagement.
Testing camera and audio
Before starting your Facebook Live broadcast, it’s important to test your camera and audio to ensure everything is working properly. Here are some steps to follow:
Camera Testing:
1. Check the camera angle: Make sure your camera is positioned correctly and captures the desired frame. Adjust the angle and distance as needed.
2. Test the video quality: Take a test video to see how clear the image is and adjust the settings if necessary.
Audio Testing:
1. Check the microphone: Test the microphone to ensure it’s picking up your voice clearly. Consider using an external microphone for better sound quality.

2. Test audio levels: Speak at a normal volume and check the audio levels to ensure they are not too high or too low. Adjust the levels if needed.
Starting your Facebook live session
Before you start your Facebook live session with your digital camera, make sure you have a stable internet connection and your camera is fully charged. Follow these steps to start your live session:
Step 1: Log in to your Facebook account
Open the Facebook app on your smartphone or go to the Facebook website on your computer. Log in to your account using your username and password.
Step 2: Start a new post
Click on the “Create Post” button on your Facebook feed. Select the option to “Go Live” to start your live video session.
| Tip: Write a catchy description for your live session to attract viewers. |
Once you are ready, click on the “Start Live Video” button to begin streaming from your digital camera to your Facebook audience.

Interacting with your audience
Engaging with your audience is crucial during a Facebook Live session. Here are some tips on how to interact effectively:
1. Respond to comments
Keep an eye on the comments section and respond to questions, feedback, and shoutouts from your viewers. Acknowledging your audience will make them feel valued and engaged.
2. Ask for input
Encourage interaction by asking your viewers for their opinions, suggestions, or ideas. This will create a sense of community and involvement, making the live session more interactive and enjoyable.
| 3. Use polls or quizzes | Engage your audience by conducting polls or quizzes during the live session. This will not only make the broadcast more interactive but also provide valuable insights into your viewers’ preferences and interests. |
FAQ
How can I use a digital camera for Facebook Live?
To use a digital camera for Facebook Live, you will need a camera that can connect to your computer or smartphone. You can connect your camera to your computer using a USB cable or use a capture card to connect it to your smartphone. Once connected, you can use software like OBS or XSplit to stream the video from your camera to Facebook Live.
Do I need any special equipment to use a digital camera for Facebook Live?
Yes, you will need a digital camera that can connect to your computer or smartphone, a stable internet connection, and software like OBS or XSplit to stream the video to Facebook Live. You may also need additional equipment like a capture card if your camera does not have built-in streaming capabilities.
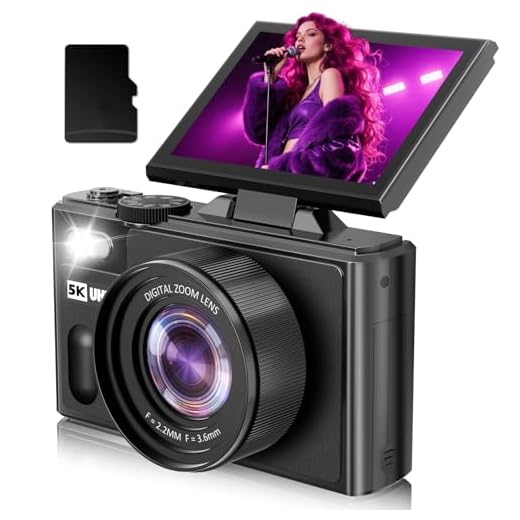
Can I use a digital camera for Facebook Live on my mobile phone?
Yes, you can use a digital camera for Facebook Live on your mobile phone by connecting the camera to your phone using a capture card. This will allow you to use the higher-quality video from your digital camera for your Facebook Live broadcasts.
What are the benefits of using a digital camera for Facebook Live?
Using a digital camera for Facebook Live can improve the quality of your videos with better resolution, color accuracy, and overall image quality. It can also give you more control over your video settings and allow you to create a more professional-looking livestream.
Is it difficult to set up a digital camera for Facebook Live?
Setting up a digital camera for Facebook Live may require some technical knowledge, especially if you need to use additional equipment like a capture card. However, there are many tutorials available online that can guide you through the process step by step. With patience and practice, you can quickly set up your digital camera for Facebook Live streaming.



How do I connect my camera to my computer? Is it just a USB cable?
Yes, you can connect your camera to your computer using a USB cable. Ensure your camera is recognized as a video source in your streaming software.
I recently tried live streaming with my digital camera. I found that using an external mic improved my audio quality a lot compared to the built-in mic.
Don’t forget to promote your live session in advance! It really helps to attract more viewers.
What type of digital camera is best for Facebook Live? Any recommendations?
I disagree with the idea that you need the highest resolution for Facebook Live. Sometimes, a lower resolution with a stable connection looks better than a higher resolution that buffers.
What are some good streaming software options for beginners? I’m a bit overwhelmed.
OBS Studio is user-friendly and free. Streamlabs OBS is also a good choice for beginners with its intuitive interface.