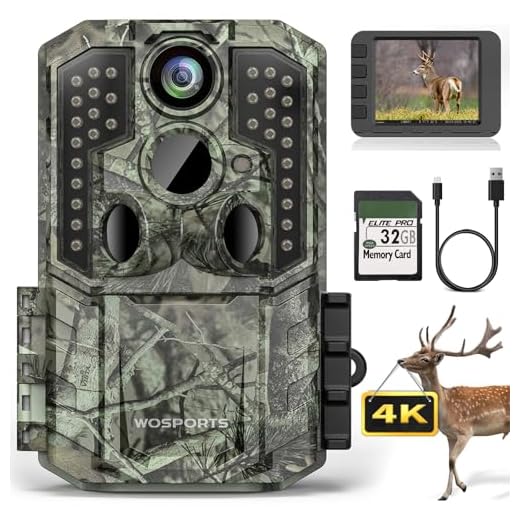
A digital trail camera is a valuable tool for capturing wildlife activity in remote locations. Whether you’re a nature enthusiast, a hunter, or a researcher, these cameras can provide valuable insights into the behavior of animals in their natural habitat.
But using a digital trail camera effectively requires some knowledge and skills. In this guide, we’ll walk you through the basics of setting up and using a digital trail camera to maximize its potential and get the best results.
From choosing the right location to adjusting the settings and analyzing the captured footage, we’ll cover everything you need to know to make the most of your digital trail camera and enhance your wildlife photography or research experience.
Setting up your trail camera
Properly setting up your trail camera is crucial to getting the best results. Follow these steps to ensure your camera is ready to capture amazing wildlife photos:
| 1. | Choose the right location: Select a spot where wildlife is likely to pass by, such as near a watering hole or a game trail. |
| 2. | Mount the camera securely: Use straps or mounts to attach the camera to a tree or post, making sure it is stable and at the right height. |
| 3. | Adjust camera settings: Set the date and time, choose the desired photo or video resolution, and adjust sensitivity and trigger settings. |
| 4. | Test the camera: Before leaving, test the camera to ensure it is working properly and capturing images as expected. |
| 5. | Check the camera regularly: Visit the camera periodically to change batteries, swap memory cards, and review the images captured. |
Choosing the right location
When setting up your digital trail camera, it is crucial to choose the right location to maximize its effectiveness. Here are some tips to help you select the best spot:
- Scout the area: Before placing the camera, spend some time scouting the area to identify high-traffic animal trails, feeding areas, or watering holes.
- Position for optimal coverage: Place the camera in a location that offers a wide field of view to capture as much activity as possible.
- Avoid direct sunlight: Position the camera in a way that avoids direct sunlight to prevent overexposure in your photos.
- Secure mounting: Ensure the camera is securely mounted to a tree or post to prevent it from being knocked over by animals or weather conditions.
By carefully selecting the right location for your digital trail camera, you can increase the chances of capturing amazing wildlife photos and videos.
Understanding Camera Settings
When using a digital trail camera, it is important to understand the various camera settings to get the best results. Here are some key settings you should be familiar with:
| Setting | Description |
|---|---|
| Resolution | Choose the resolution of the images the camera will capture. Higher resolution images will be clearer but may take up more storage space. |
| Trigger Speed | Adjust the trigger speed to determine how quickly the camera will take a photo or start recording when motion is detected. |
| Flash Range | Determine the distance the camera’s flash can reach to capture images in low-light conditions. |
Customizing Settings
Depending on your specific needs and the environment where the camera is placed, you may need to customize settings such as sensitivity, time lapse, and video length for optimal performance.
Reviewing and analyzing images
After capturing images with your digital trail camera, it’s important to review and analyze them to gather valuable insights about the wildlife in your area. Here are some tips on how to effectively review and analyze the images:
- Transfer the images to your computer or mobile device for easier viewing.
- Organize the images by date, time, and location to track animal movements.
- Use image editing software to enhance image quality and zoom in on details.
- Identify different animal species and behaviors captured in the images.
- Keep a log or journal to record interesting findings and patterns observed in the images.
- Share the images with other wildlife enthusiasts or researchers to collaborate and learn more about the wildlife in your area.
Protecting your camera from theft
Trail cameras can be valuable tools for capturing wildlife photos, but they are also prime targets for theft. Here are some tips to help protect your camera:
- Choose a secure location: Place your camera high up and out of reach or camouflage it well to make it less noticeable to potential thieves.
- Use a lock: Invest in a lockbox or security cable to secure your camera to a tree or other sturdy object.
- Keep it hidden: Avoid placing your camera in obvious locations where it can be easily spotted and stolen.
- Use GPS tracking: Some trail cameras come with GPS tracking features that can help you locate your camera if it is stolen.
Tips for Maximizing Battery Life
1. Use lithium batteries: Lithium batteries last longer than alkaline batteries, especially in cold weather conditions.
2. Turn off unnecessary features: Disable functions like audio recording or infrared flash when not needed to conserve battery power.
3. Optimize settings: Adjust the camera settings for optimal performance while minimizing battery drain. Set a longer delay between captures and reduce the number of photos taken per trigger.
FAQ
What are the benefits of using a digital trail camera?
Using a digital trail camera has several benefits. It allows you to monitor wildlife and capture photos and videos of animals in their natural habitat without disturbing them. You can also use it for security purposes to monitor your property or keep an eye on your hunting grounds. Additionally, digital trail cameras offer features like time-lapse mode, infrared technology for night vision, and high-resolution images.
How do you set up a digital trail camera?
To set up a digital trail camera, first choose a suitable location where you want to monitor wildlife activity. Mount the camera securely on a tree or post using the provided straps or mounting bracket. Make sure the camera is facing the area you want to capture. Insert batteries or connect to a power source, insert a memory card, and set up the camera settings according to your preferences. Test the camera to ensure it is working correctly before leaving it unattended.
What features should I look for when choosing a digital trail camera?
When choosing a digital trail camera, consider features like resolution (megapixels), trigger speed, detection range, battery life, night vision capabilities, storage capacity, and wireless connectivity options. Higher resolution cameras will provide clearer images, while fast trigger speeds and long detection ranges are important for capturing wildlife in motion. Battery life is crucial for extended use, and night vision is essential for capturing images in low light conditions.
Can digital trail cameras be used for home security?
Yes, digital trail cameras can be used for home security. You can set up a trail camera near your property to monitor any suspicious activity or wildlife movement. Some trail cameras have built-in motion sensors that can trigger recording when they detect movement, making them ideal for security purposes. Additionally, you can connect some trail cameras to your smartphone or computer to receive real-time alerts and view live footage remotely.