
 Carmen J. Moore

Transferring photos from your digital camera to your computer is a simple process that can be done in a few easy steps.
First, you will need to connect your digital camera to your computer using a USB cable.
Once the camera is connected, your computer should automatically detect the device and prompt you to import the photos.




Follow the on-screen instructions to select the photos you want to transfer and choose a destination folder on your computer.
After the transfer is complete, you can access your photos on your computer and organize them as needed.
Step-by-Step Guide to Transfer Photos
To transfer photos from your digital camera to your computer, follow these simple steps:
- Connect the USB cable from your digital camera to your computer.
- Turn on your digital camera and set it to the appropriate mode for transferring photos.
- Your computer should recognize the camera as a storage device. If not, install the necessary drivers.
- Open the file explorer on your computer to access the camera’s storage.
- Locate the folder containing your photos on the camera.
- Select the photos you want to transfer and copy them to a folder on your computer.
- Once the transfer is complete, safely disconnect your camera from the computer.
Following these steps will allow you to easily transfer photos from your digital camera to your computer for safekeeping or further editing.
Preparing Your Digital Camera
Before you can upload photos from your digital camera to your computer, you need to make sure your camera is ready for the process. Follow these steps to prepare your digital camera:

1. Check the Battery
Ensure that your camera has enough battery power to complete the upload process. Connect your camera to a power source if needed or replace the batteries with fresh ones.
2. Insert Memory Card
Make sure you have a memory card inserted in your camera that has enough storage space to save the photos you want to upload. If the memory card is full, transfer the existing photos to your computer before proceeding.
Tip: It’s a good practice to format your memory card before starting a new photo session to avoid any potential issues during the upload process.
Connecting Your Camera to Computer
Before you can upload photos from your digital camera to your computer, you need to connect the two devices. Here’s how:
1. USB Cable
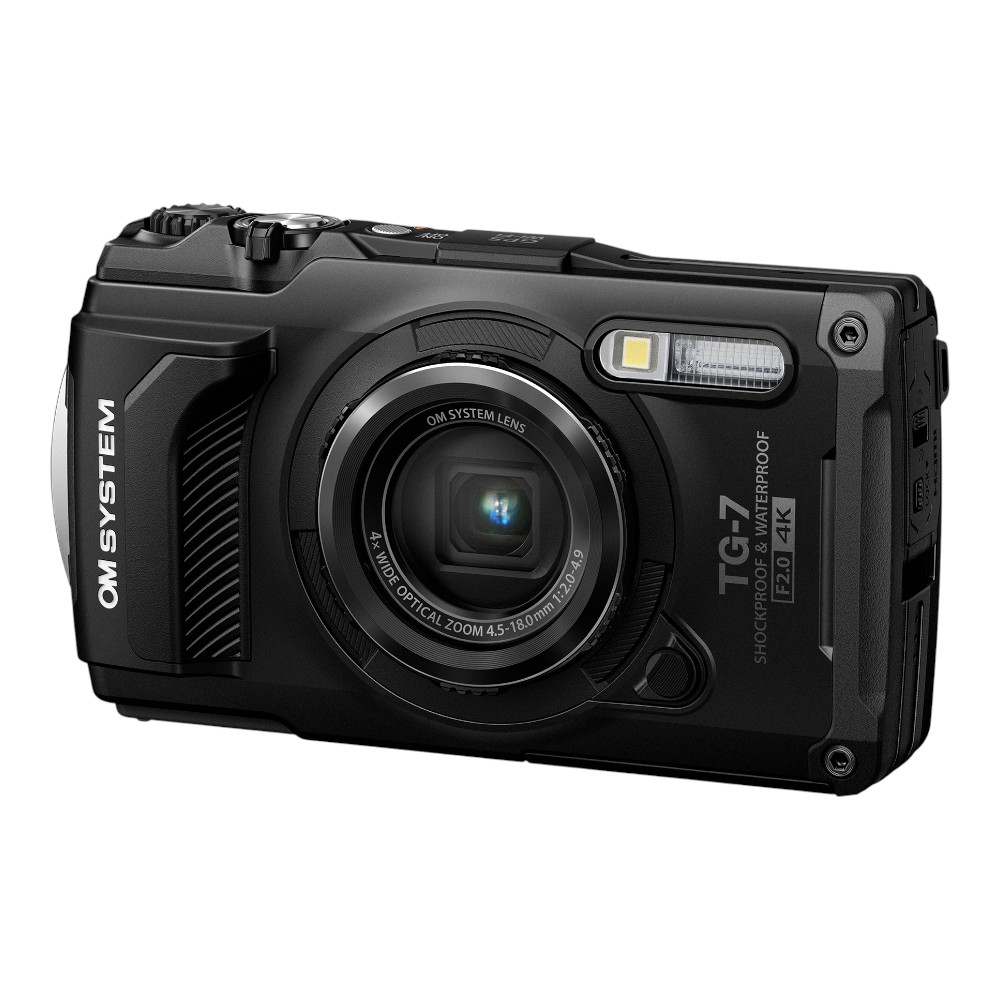
Most digital cameras come with a USB cable that allows you to connect your camera to your computer. Simply plug one end of the cable into the camera and the other end into a USB port on your computer.
2. Memory Card Reader
If your camera uses a memory card to store photos, you can remove the memory card from the camera and insert it into a memory card reader on your computer. This is another way to transfer photos from your camera to your computer.
Choosing Transfer Method
When uploading photos from a digital camera to your computer, you have several transfer methods to choose from. The most common methods include using a USB cable, a memory card reader, or wireless transfer options.
USB Cable: This method involves connecting your camera directly to your computer using a USB cable. Make sure your camera is powered on and set to the correct mode for transferring photos. Once connected, your computer should recognize the camera as a storage device, allowing you to access and transfer your photos.
Memory Card Reader: If your computer doesn’t have a built-in card reader, you can use an external memory card reader to transfer photos from your camera’s memory card to your computer. Simply insert the memory card into the card reader and plug it into a USB port on your computer.
Tip: Using a memory card reader can be a faster and more convenient way to transfer photos, especially if you have multiple memory cards or cameras.
Using USB Cable
To upload photos from your digital camera to your computer using a USB cable, follow these steps:
Step 1: Connect the USB Cable
Locate the USB port on your camera and the corresponding port on your computer. Connect one end of the USB cable to your camera and the other end to your computer.
Step 2: Turn on the Camera
Turn on your camera and set it to the appropriate mode for transferring photos via USB. Your computer should recognize the camera as a removable device.
Once the camera is recognized, you can access the stored photos on your camera through your computer’s file explorer. Simply copy and paste the photos to a folder on your computer to save them.
Using Memory Card Reader
If your digital camera uses a memory card to store photos, you can easily transfer them to your computer using a memory card reader. Here’s how:
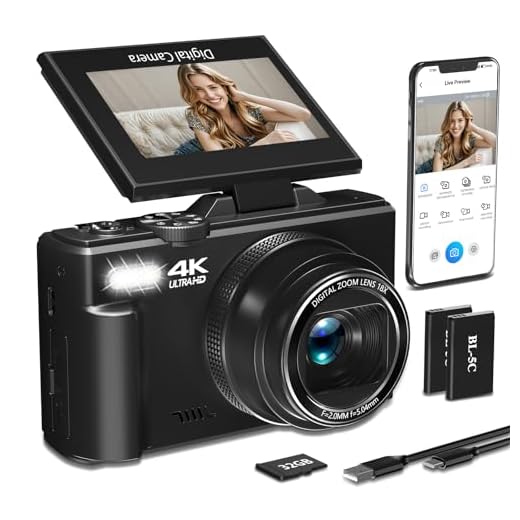
- Remove the memory card from your camera.
- Locate the memory card reader slot on your computer or use an external memory card reader.
- Insert the memory card into the card reader.
- Wait for your computer to recognize the memory card.
- Open the memory card folder to access your photos.
- Select the photos you want to transfer and copy them to a folder on your computer.
- Eject the memory card from the card reader and safely remove it from your computer.
Now you have successfully uploaded photos from your digital camera to your computer using a memory card reader.
Transferring Photos Wirelessly
If your digital camera supports Wi-Fi or Bluetooth connectivity, you can transfer photos wirelessly from the camera to your computer. Follow these steps to transfer photos wirelessly:
- Turn on the Wi-Fi or Bluetooth feature on your camera.
- Enable Wi-Fi or Bluetooth on your computer.
- Connect your camera to the computer using the wireless connection option.
- Access the camera’s storage on your computer and copy the photos to your desired folder.
This wireless method eliminates the need for cables and makes it easy to transfer photos quickly and conveniently.
Selecting Destination Folder
Once your digital camera is connected to your computer, you will need to select a destination folder where you want to save the photos. This is the location on your computer where the photos will be stored.
You can choose an existing folder on your computer or create a new folder specifically for your photos. It is recommended to create a separate folder for each photo session to keep your photos organized.

When selecting a destination folder, make sure you have enough storage space on your computer to accommodate the photos. You can also rename the folder to something descriptive to easily identify the photos stored inside.
Organizing Your Photos
Once you have uploaded your photos from your digital camera to your computer, it’s important to organize them properly. One way to do this is by creating folders to categorize your photos. You can create folders based on the date the photos were taken, the event they are from, or any other criteria that make sense to you.
Another way to organize your photos is by using photo management software. There are many programs available that can help you easily organize and sort your photos. These programs often have features like tagging, rating, and keyword search to make it easier to find specific photos when you need them.
Organizing your photos will not only make it easier to find and share them, but it will also help you preserve your memories for years to come. Take the time to create a system that works for you and make a habit of organizing your photos regularly to keep them well-organized.
Safely Ejecting Your Camera
After transferring your photos to your computer, it is important to safely eject your digital camera from the computer. Failure to do so can result in data corruption or damage to your camera.

To safely eject your camera, locate the “Safely Remove Hardware” icon in your computer’s taskbar. Click on this icon and select the option to safely eject your camera from the list of connected devices.
Wait for the computer to confirm that it is safe to remove the camera before physically disconnecting it from the USB port. This extra step ensures that all data has been transferred properly and that your camera is not at risk of damage.
FAQ
How can I transfer photos from my digital camera to my computer?
You can transfer photos from your digital camera to your computer by using a USB cable. Simply connect one end of the cable to your camera and the other end to a USB port on your computer. Your computer should recognize the camera as a removable storage device, allowing you to access and copy the photos to your computer.
Is there a way to upload photos from a digital camera without using a USB cable?
Yes, you can also upload photos from a digital camera to your computer using a memory card reader. Remove the memory card from your camera and insert it into the card reader, then connect the card reader to a USB port on your computer. You can then access the photos on the memory card and transfer them to your computer.
What software do I need to upload photos from my digital camera to my computer?
You typically do not need any special software to upload photos from your digital camera to your computer. Most computers will recognize the camera as a storage device and allow you to access the photos directly. However, if you want to edit or organize your photos, you may use photo management software like Adobe Lightroom or Picasa.

Can I upload photos wirelessly from my digital camera to my computer?
Yes, some digital cameras have built-in Wi-Fi capabilities that allow you to transfer photos wirelessly to your computer or other devices. You will need to set up a Wi-Fi connection between your camera and computer and follow the instructions provided by the camera manufacturer to transfer the photos.


How do I know if my camera is set to the right mode for transferring photos? My camera has multiple modes and I'm unsure which one to use.
I recently tried transferring photos using a USB cable, and it was pretty straightforward. My computer automatically recognized the camera, and I just followed the prompts. The only issue was that I needed to charge my camera first since it was almost dead. Overall, I recommend checking the battery before starting!
Using a memory card reader is much faster for me, especially when I have multiple cards. Just my two cents!