
 Carmen J. Moore

Are you a photography enthusiast looking to take your studio photography to the next level? One crucial aspect of studio photography is syncing your digital camera to studio flash for optimal lighting and image quality. Proper synchronization ensures that your camera captures the exact moment the flash fires, resulting in well-exposed and sharp images.
In this guide, we will walk you through the process of syncing your digital camera to studio flash, covering important settings, equipment, and techniques to help you achieve professional-looking studio shots.

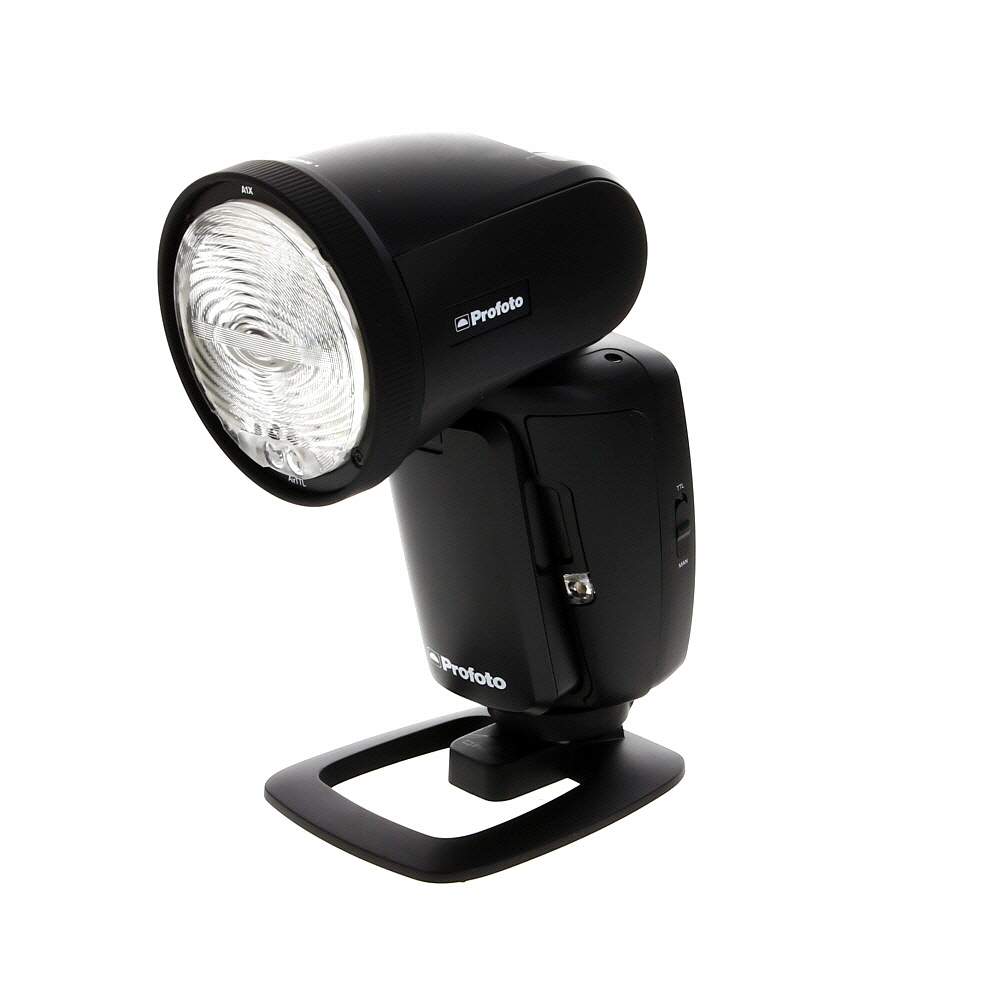


Guide to Syncing Digital Camera with Studio Flash
When using a digital camera in a studio setting, it is important to properly sync it with studio flash equipment to achieve optimal lighting and exposure. Here is a step-by-step guide to help you sync your digital camera with studio flash:
Step 1: Check Camera and Flash Compatibility
Before attempting to sync your digital camera with studio flash equipment, make sure that your camera and flash unit are compatible. Check the camera’s manual to determine the sync options available and ensure that your flash unit supports the same sync method.
Step 2: Connect the Sync Cable
Once you have verified compatibility, connect the sync cable from the flash unit to the camera. Most digital cameras have a designated sync port where you can plug in the cable. Make sure the connection is secure to avoid any syncing issues.
| Tip: | Some newer digital cameras offer wireless sync options, allowing you to sync the camera with the studio flash wirelessly. Check if your camera supports this feature for added convenience. |
|---|
By following these steps and ensuring proper compatibility and connection, you can effectively sync your digital camera with studio flash equipment for professional studio photography.
Understanding Your Camera’s Settings
Before you sync your digital camera to studio flash, it’s important to understand your camera’s settings. Different cameras have different settings that can affect the way the flash interacts with the camera. Here are a few key settings to pay attention to:

1. Flash Mode
Make sure your camera’s flash mode is set to “manual” or “external flash” mode. This will allow you to control the flash output manually, which is essential for syncing with a studio flash.
2. Shutter Speed
When using a studio flash, it’s important to set your camera’s shutter speed to the flash sync speed. This is usually around 1/200th of a second, but check your camera’s manual for the exact speed. Setting the shutter speed too high can result in part of the image being darkened by the shutter curtain.
Choosing the Right Flash Trigger
When it comes to synching your digital camera to studio flash, choosing the right flash trigger is crucial. A flash trigger is a device that wirelessly communicates between your camera and the studio flash, triggering the flash to fire at the right moment. Here are some factors to consider when choosing a flash trigger:
Compatibility
Make sure the flash trigger you choose is compatible with both your camera and studio flash. Check the compatibility list provided by the manufacturer to ensure smooth operation.
Range
Consider the range of the flash trigger. A longer range allows you more flexibility in positioning your camera and flash. Choose a flash trigger with a range that suits your shooting needs.
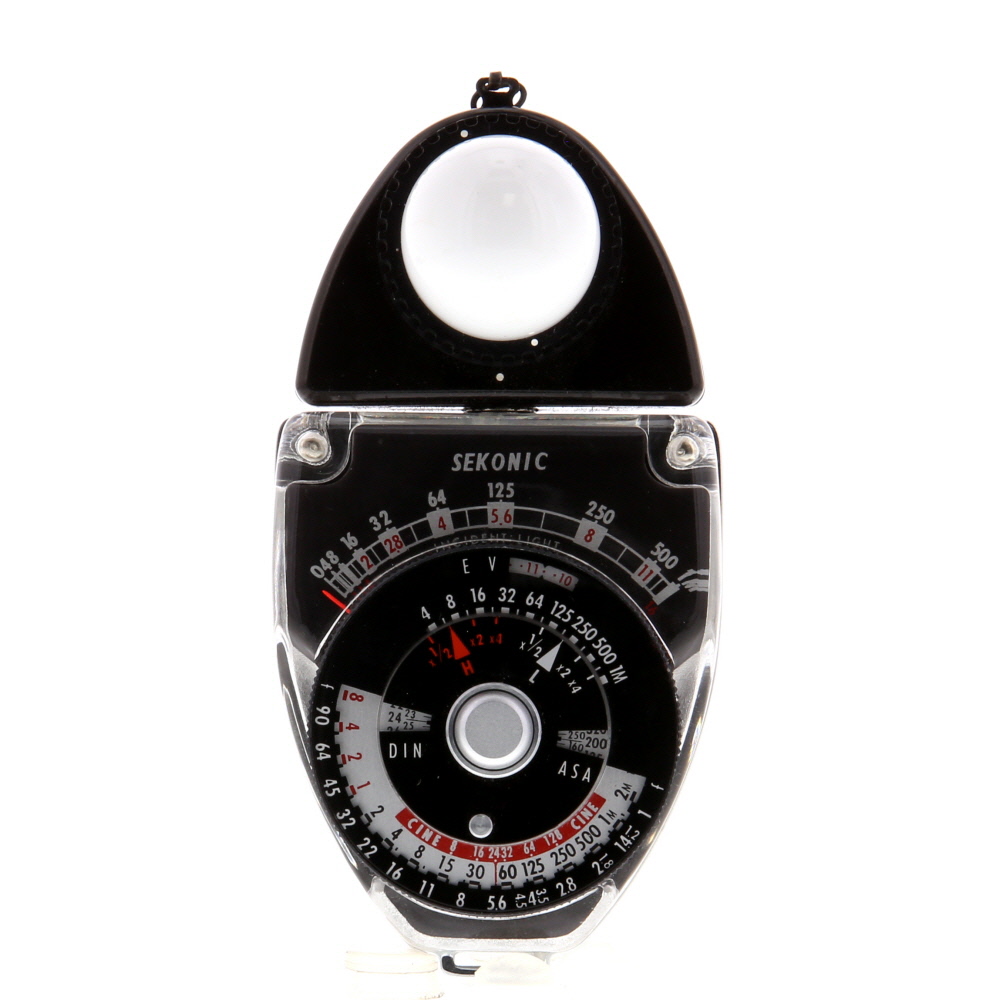
- Check compatibility with your camera and studio flash.
- Consider the range of the flash trigger.
- Look for additional features like TTL support or multi-channel triggering.
By taking these factors into account, you can choose the right flash trigger for your digital camera and studio flash setup, ensuring seamless synchronization and optimal lighting for your photoshoots.
Connecting Your Camera to the Flash
Before you can sync your digital camera with a studio flash, you need to establish a physical connection between the two devices. Here are the steps to connect your camera to the studio flash:
Step 1: Mount the Flash on the Camera
First, attach the studio flash to your camera’s hot shoe mount. Make sure the flash is securely attached and aligned properly with the camera.
Step 2: Set Up the Sync Mode
Next, check the sync mode settings on both your camera and the studio flash. Ensure that they are compatible and set to the same mode (e.g., wireless, optical, or cable sync).
Setting up the Studio Environment
Before you start synching your digital camera to the studio flash, it’s important to set up your studio environment properly. Here are some key steps to follow:

1. Positioning the Studio Flash: Place your studio flash in a strategic location where it can illuminate your subject effectively. Consider the angle and distance to achieve the desired lighting effect.
2. Adjusting Camera Settings: Configure your digital camera settings to match the studio lighting conditions. Set the ISO, aperture, and shutter speed accordingly for optimal exposure.
3. Securing the Camera: Use a tripod or other stable mounting equipment to keep your camera steady during the shoot. This will help prevent blurriness and ensure sharp images.
4. Testing the Setup: Take test shots to evaluate the lighting and camera settings. Make any necessary adjustments to achieve the desired results before proceeding with the actual shoot.
5. Organizing the Studio Space: Keep your studio clean and organized to avoid distractions and facilitate smooth workflow. Clear clutter and arrange equipment for easy access and use.

Adjusting Flash Power and Settings
When synching your digital camera to a studio flash, it’s important to properly adjust the flash power and settings to achieve the desired lighting effect. Here are some key steps to follow:
1. Set the Flash Power
Most studio flashes allow you to adjust the power output to control the intensity of the light. Depending on the distance between the camera and the subject, as well as the desired lighting effect, you may need to increase or decrease the flash power. Experiment with different power levels to find the right balance.
2. Adjust the Flash Settings
In addition to power output, you can also adjust other settings on your studio flash, such as the flash duration, color temperature, and flash mode. Make sure to fine-tune these settings to match the ambient lighting conditions and achieve the desired look for your photos.
| Flash Setting | Adjustment |
|---|---|
| Flash Duration | Shorter duration for freezing motion, longer duration for creative effects |
| Color Temperature | Match the color temperature of the flash to the ambient lighting for natural-looking photos |
| Flash Mode | Choose between manual, TTL, or other modes based on your shooting preferences |
Testing the Synced Setup
Once you have successfully synced your digital camera to the studio flash, it’s important to test the setup to ensure everything is working correctly. Here are a few steps to follow:
1. Check the Connection
Verify that the camera and the studio flash are connected properly and that the settings on both devices are correct. Make sure the sync cable is securely attached and that there are no loose connections.
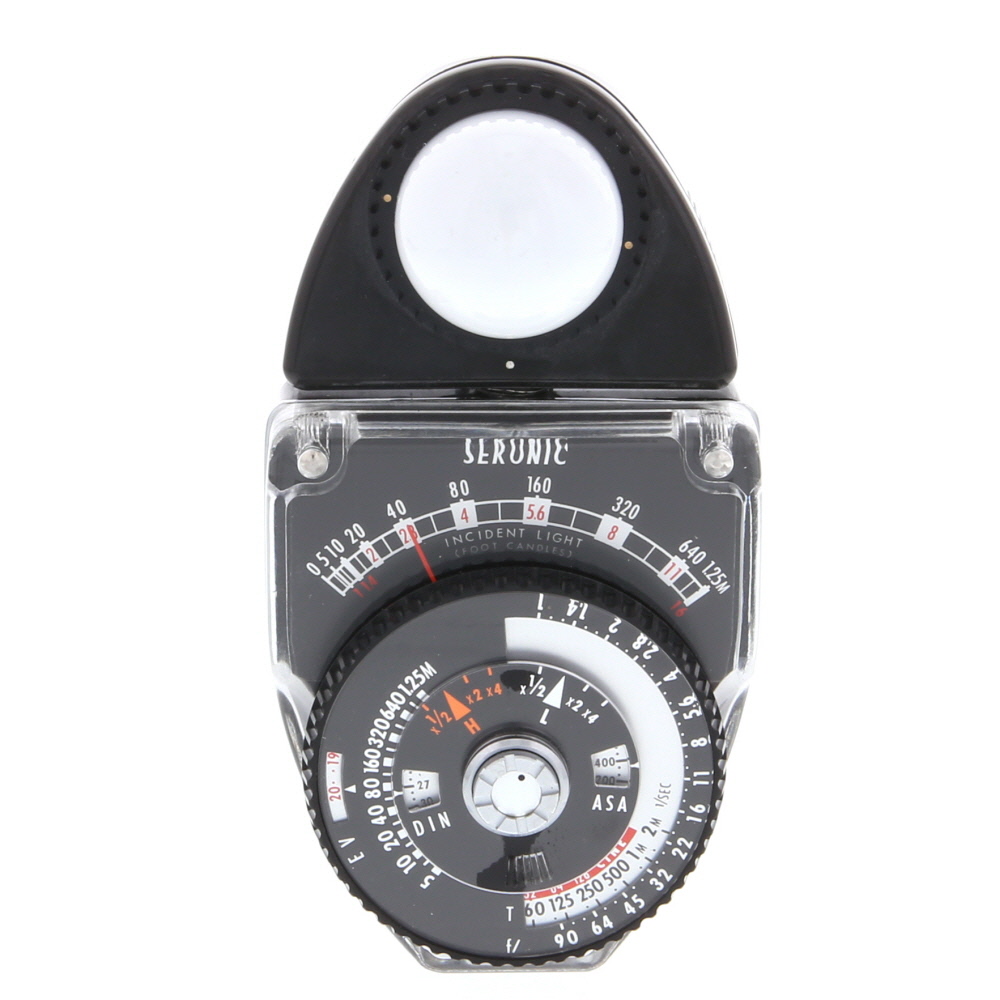
2. Test the Flash
Take a test shot with the synced setup to see if the flash fires at the right time. You can use a simple object as a subject to test the lighting and exposure. Review the image on the camera’s LCD screen to make sure the flash has fired correctly.
By following these steps, you can ensure that your digital camera is properly synced to the studio flash and that you are ready to start capturing stunning images in a controlled lighting environment.
Troubleshooting Common Sync Issues
When syncing your digital camera to studio flash, you may encounter some common issues that can disrupt the process. Here are some troubleshooting tips to help you resolve these problems:
1. Check Cable Connections
Ensure that all cables connecting your camera to the studio flash are securely plugged in and not damaged. Loose or faulty connections can cause sync failure.
2. Verify Settings
Double-check the settings on both your camera and studio flash to make sure they are compatible and set correctly for synchronization. Incorrect settings can lead to sync issues.

- Make sure your camera’s flash sync mode is set to the appropriate option (e.g., first curtain sync, rear curtain sync).
- Check the sync speed of your camera to ensure it matches the studio flash’s capabilities.
By troubleshooting these common sync issues, you can ensure a smooth and successful synchronization process between your digital camera and studio flash.
Advanced Tips for Perfect Syncing
When it comes to syncing your digital camera with studio flash, there are a few advanced tips that can help you achieve perfect results. Here are some key strategies to consider:
1. Use a Sync Cord
One of the most reliable ways to ensure perfect syncing between your camera and studio flash is to use a sync cord. This physical connection eliminates any potential wireless interference and provides a direct link between your camera and flash.
2. Adjust Flash Delay
Some studio flashes have the option to adjust the flash delay, which can help you fine-tune the timing of the flash to ensure it fires exactly when you need it to. Experiment with different delay settings to achieve the perfect sync with your camera.
| Tip | Description |
|---|---|
| 3. Use High-Speed Sync | For situations where you need to sync your camera with a fast shutter speed, consider using high-speed sync mode on your flash. This feature allows you to sync at speeds higher than the camera’s maximum sync speed. |
| 4. Check Compatibility | Make sure that your camera and studio flash are compatible with each other to avoid any syncing issues. Check the specifications of both devices and ensure they are designed to work together seamlessly. |
FAQ
How can I synchronize my digital camera with studio flash?
To sync your digital camera with studio flash, you can use a wireless trigger, a sync cord, or optical slave units. A wireless trigger allows you to remotely trigger the flash, while a sync cord connects your camera directly to the studio flash. Optical slave units are devices that can trigger the flash when they detect a burst of light from another flash. Choose the method that best suits your needs and equipment.

What are some tips for syncing a digital camera to studio flash?
When syncing your digital camera to studio flash, make sure to set your camera to the correct flash sync mode (usually labeled as “X-Sync” or “Flash Sync”). Adjust the flash power to achieve the desired lighting effect and ensure that your camera and flash are on the same channel or frequency if using wireless triggers. Test the synchronization before your actual shoot to avoid any technical issues during the session.


Can you clarify what the 'flash sync speed' is? I've heard different things about what it should be for various cameras.
The flash sync speed is the fastest shutter speed your camera can use while still fully exposing the image when the flash fires. It's usually around 1/200th of a second, but it can vary by camera model. Always check your camera's manual for the exact specification.
What are some good flash triggers for syncing a Canon camera with studio flash? I want to make sure I get one that's really reliable and easy to use.
I've had great success with the Godox X1T triggers. They work well with Canon and have a decent range.
Thanks for the recommendation! Godox triggers are indeed popular for their reliability and ease of use with various systems.
I recently set up my studio flash with my Nikon camera, and I found that adjusting the flash power was key to getting the right exposure. I initially set it too high, which washed out my images. Once I dialed it back, everything came together nicely. It’s all about experimentation, I guess!