
 Carmen J. Moore
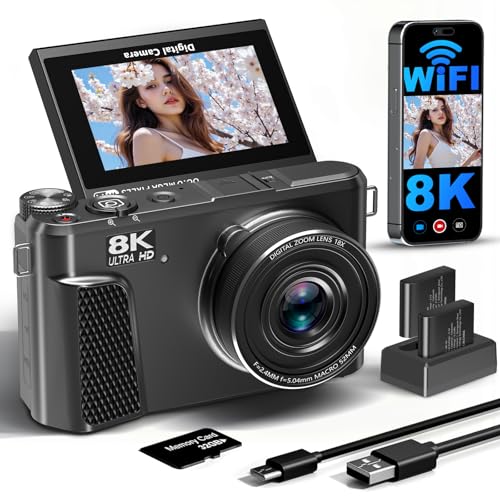
ISO settings on a digital camera play a crucial role in determining the sensitivity of the image sensor to light. Understanding how to properly set the ISO can significantly impact the quality of your photos.
When shooting in low light conditions, a higher ISO setting can help capture more light and reduce the risk of blurry photos. However, using a high ISO can also introduce digital noise, so it’s essential to strike a balance.
To set the ISO on your digital camera, locate the ISO button or menu option. Depending on your camera model, you may be able to adjust the ISO manually or set it to auto mode for the camera to choose the appropriate ISO for the scene.

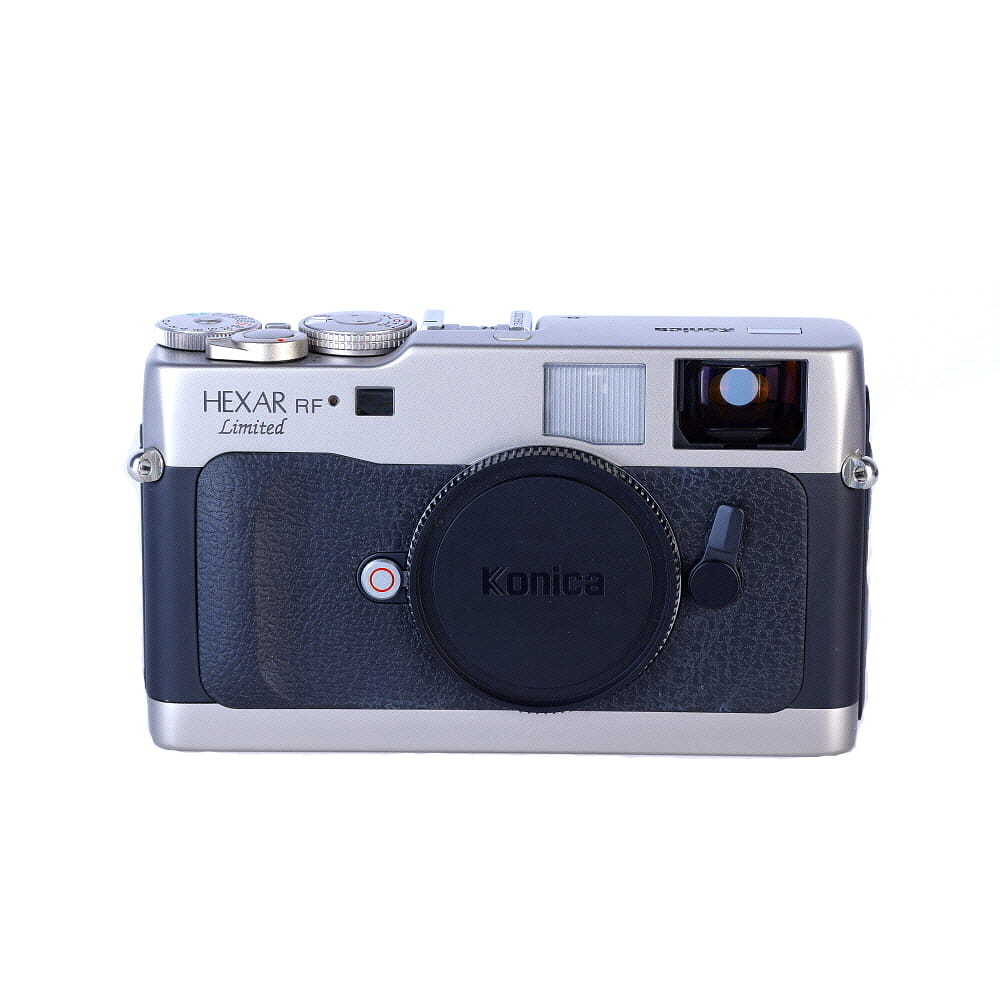


Setting the ISO: A Digital Camera Guide
ISO is one of the key settings on a digital camera that determines the sensitivity of the camera’s sensor to light. Setting the ISO correctly is crucial for achieving the desired exposure and image quality in different lighting conditions.
Auto ISO: Many digital cameras come with an Auto ISO feature that automatically adjusts the ISO based on the lighting conditions. While this can be convenient, manually setting the ISO gives you more control over the exposure.
Manual ISO: To manually set the ISO on your digital camera, locate the ISO setting in the camera menu or settings. You can typically adjust the ISO by selecting a specific value (e.g., ISO 100, ISO 400, ISO 800) or by using a slider to increase or decrease the ISO value.
Choosing the right ISO: The optimal ISO setting depends on the available light and the desired image quality. A lower ISO (e.g., ISO 100) is ideal for bright conditions or when you want to capture images with minimal noise. A higher ISO (e.g., ISO 800 or higher) is suitable for low-light conditions but may introduce more noise to the image.
Experiment and practice: To master setting the ISO on your digital camera, experiment with different ISO settings in various lighting conditions. Practice adjusting the ISO to achieve the desired exposure and image quality for your photos.

Understanding ISO Settings in Photography
ISO, or International Standards Organization, is a crucial setting in photography that determines the sensitivity of your camera’s sensor to light. A higher ISO setting makes the sensor more sensitive to light, allowing you to capture images in low-light conditions without using a flash. However, a higher ISO setting can also introduce more digital noise or grain to your photos.
On the other hand, a lower ISO setting makes the sensor less sensitive to light, resulting in cleaner images with less noise. When shooting in bright conditions, it’s advisable to use a lower ISO setting to maintain image quality. Understanding how to adjust the ISO setting on your digital camera is essential for achieving the desired exposure and image quality in different lighting situations.
| Low ISO (e.g., 100) | Best for bright conditions | Produces cleaner images with less noise |
| Medium ISO (e.g., 400) | Balances between sensitivity and noise | Suitable for general shooting conditions |
| High ISO (e.g., 1600+) | Use in low-light situations | Increases sensitivity but may introduce more noise |
Experimenting with different ISO settings and understanding how they affect your photos will help you capture stunning images in various lighting conditions. Keep in mind that finding the right balance between ISO, aperture, and shutter speed is key to achieving well-exposed and sharp photographs.
Step-by-Step Guide to Adjusting ISO on Your Camera
Adjusting the ISO setting on your digital camera is essential for capturing high-quality photos in different lighting conditions. Here is a simple guide to help you adjust the ISO on your camera:
1. Access the Menu
Turn on your camera and navigate to the menu settings. Look for the ISO setting option, which is usually located in the camera settings or shooting menu.
2. Select the ISO Setting
Once you locate the ISO setting, select it to access the range of ISO values available on your camera. You can choose from a range of ISO values, such as 100, 200, 400, 800, etc., depending on your camera model.
Choosing the Right ISO for Different Lighting Conditions
When shooting with a digital camera, it’s important to understand how ISO settings can affect your photos. The ISO setting controls the camera sensor’s sensitivity to light, which can impact the overall exposure of your images. Here’s a guide to choosing the right ISO for different lighting conditions:
Low Light: In low light situations, such as indoors or at night, you’ll want to use a higher ISO setting to compensate for the lack of natural light. A higher ISO will make your camera more sensitive to light, allowing you to capture brighter images without having to use a flash.
Daylight: When shooting in bright daylight, you can use a lower ISO setting to achieve crisp, detailed images. A lower ISO will produce less noise in your photos, resulting in higher image quality.
Indoor Lighting: For indoor settings with moderate lighting, you may need to adjust your ISO depending on the available light. Start with a mid-range ISO setting and increase it as needed to achieve the desired exposure.

Golden Hour: During the golden hour, the soft, warm light can create stunning photo opportunities. You can use a lower ISO setting to capture the rich colors and textures of this magical time of day.
By understanding how ISO settings work in different lighting conditions, you can take full control of your digital camera and capture high-quality images in any situation.
Tips for Using High ISO Settings Effectively
1. Understand the Trade-offs: Using a high ISO setting can introduce more noise into your images, so be aware of the trade-off between noise and the need for a faster shutter speed.
2. Use High ISO in Low Light: High ISO settings are ideal for shooting in low light conditions where a longer exposure time is not feasible.
3. Experiment with Different ISO Levels: Test different ISO settings to find the optimal balance between noise and image quality for your specific camera.

4. Consider Noise Reduction Techniques: Utilize in-camera noise reduction or post-processing software to minimize noise in high ISO images.
5. Combine High ISO with Other Techniques: Combine high ISO settings with other techniques like image stabilization or using a tripod to further enhance image quality.
Common Mistakes to Avoid When Setting ISO
Setting the ISO on your digital camera is an important step in capturing high-quality images. However, there are some common mistakes that photographers often make when adjusting this setting. Here are some key mistakes to avoid:
| 1. | Using a high ISO in well-lit conditions |
| 2. | Forgetting to adjust the ISO when moving from indoor to outdoor settings |
| 3. | Setting the ISO too low in low-light situations, resulting in blurry images |
| 4. | Not checking the ISO setting before taking a series of shots, leading to inconsistent image quality |
| 5. | Relying solely on auto ISO mode without understanding its limitations |
By avoiding these common mistakes and being mindful of your ISO settings, you can ensure that your digital camera captures the best possible images in any situation.
Advanced ISO Techniques for Creative Photography
When it comes to photography, understanding how to leverage ISO settings can take your creativity to the next level. Here are some advanced techniques to help you make the most out of your ISO settings:

1. Low Light Shooting: Increasing the ISO setting allows you to capture photos in low-light conditions without using a flash. However, be mindful of noise that can be introduced at higher ISO levels.
2. Motion Blur: Lowering the ISO setting can help create motion blur in your photos, adding a sense of movement and dynamism to your images.
3. Depth of Field: Adjusting the ISO setting can impact your depth of field, allowing you to control the amount of background blur in your photos.
4. Creative Grain: Embrace the grain that comes with higher ISO settings to add a vintage or artistic feel to your photos.
5. Bracketing: Use ISO bracketing along with exposure bracketing to capture a series of shots at different ISO settings, giving you more options in post-processing.

By experimenting with these advanced ISO techniques, you can push the boundaries of your photography and create stunning, unique images that truly stand out.
FAQ
What is ISO on a digital camera and why is it important?
ISO on a digital camera refers to the sensitivity of the camera sensor to light. It is important because it allows you to adjust the exposure of your photos in different lighting conditions. A higher ISO setting makes your camera more sensitive to light, which is useful in low-light situations, while a lower ISO setting is ideal for bright conditions.
How do I set the ISO on my digital camera?
To set the ISO on your digital camera, you can usually find the ISO setting in the camera menu or on the camera body itself. Simply navigate to the ISO setting, select the desired ISO value (such as 100 for low sensitivity or 1600 for high sensitivity), and confirm the selection. Some cameras also have an Auto ISO mode that automatically adjusts the ISO based on the lighting conditions.
What are the common ISO settings on digital cameras?
Common ISO settings on digital cameras typically range from 100 to 6400 or even higher, depending on the camera model. Some cameras may have extended ISO ranges that go below 100 or above 6400. The most commonly used ISO settings are 100 (low sensitivity), 400 (medium sensitivity), and 1600 (high sensitivity).
Can a high ISO setting affect the quality of my photos?
Yes, a high ISO setting can affect the quality of your photos by introducing digital noise or grain, especially in low-light conditions. Higher ISO settings can lead to a loss of detail and color accuracy in your images. It’s important to balance the need for a higher ISO with the desire for clean, sharp photos by using the lowest ISO setting possible for the given lighting conditions.
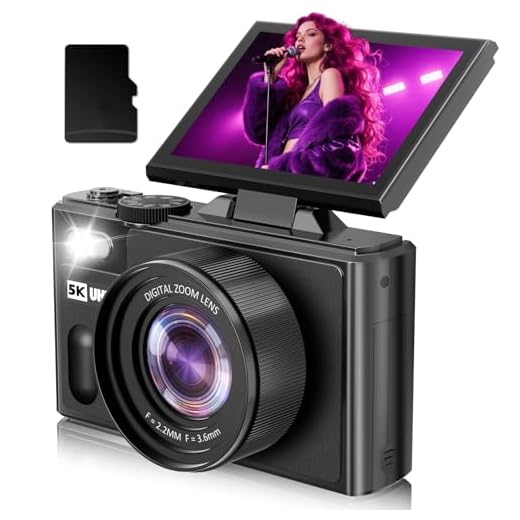
How does ISO relate to aperture and shutter speed on a digital camera?
ISO, aperture, and shutter speed are the three key components of exposure in photography. ISO affects the sensitivity of the camera sensor to light, while aperture controls the amount of light entering the camera and shutter speed determines how long the sensor is exposed to that light. By adjusting these three settings, you can achieve the desired exposure for your photos while also controlling depth of field and motion blur.




I disagree about using Auto ISO. I think it’s better to manually set the ISO to have full control over the exposure. Auto settings can sometimes overexpose or underexpose the image.
Great tips about ISO. I never considered using a lower ISO during the golden hour!
Experimenting with ISO is key! I usually start at ISO 100 for bright days but bump it up to at least 800 for indoor events. Just remember to check how it affects the image quality, especially if you’re using a lower-end camera. The noise can be a real problem if you go too high!
That's good advice! I always suggest practicing with different settings and keeping notes on what works best in various situations.
What does it mean when the article mentions that a higher ISO can introduce digital noise? How does that affect the overall photo quality?
Digital noise refers to the grainy or speckled appearance that can occur in photos taken at high ISO settings. While a higher ISO helps in low-light conditions by making the sensor more sensitive to light, it can also result in a loss of detail and sharpness due to this noise.
I don’t think using high ISO is always better for low-light. Sometimes it just introduces too much noise, and it's better to use a tripod instead.
Can you explain the difference between the auto ISO and manual ISO again? I’m still a bit confused about when to use each.
Can you explain how to adjust the ISO on different camera brands? I have a Canon, but I heard the method varies for Nikon and Sony cameras. Thanks!
I don’t think using auto ISO is always a bad idea. Sometimes it gets the exposure right better than I can manually. I prefer it in fast-paced settings like events.
What ISO setting is best for indoor sports photography?
For indoor sports, a higher ISO like 800 or 1600 is usually recommended to capture fast action without motion blur. Just be mindful of potential noise.
Can someone clarify how to find the ISO settings on different camera brands? I have a Canon, but I've seen others mention Nikon and Sony. Are they all similar?
I recently started using manual ISO settings. I found that using ISO 400 during an overcast day really improved my photos. Before, I relied on Auto ISO and didn't get the results I wanted.
I've been using my camera on auto ISO for a while, but I've started experimenting with manual settings. The difference in image quality is noticeable, especially in low light compared to auto mode. I think I prefer manual control now. Anyone else feel the same way?
I totally agree! Manual settings give you so much more flexibility, especially when trying to capture details in tricky lighting.
I've tried using a higher ISO in indoor settings and noticed the images looked pretty grainy. Now I’m starting to understand why!
I've been experimenting with ISO settings on my Nikon camera during evening photography. I found that going above ISO 800 starts to noticeably introduce noise, which I don't like. Has anyone else experienced this? Is there a good way to reduce noise in post-processing?
I've had similar experiences with noise at high ISO levels. I usually use Lightroom for noise reduction and find it works well for my images. You can adjust the luminance and color noise settings to get rid of the grain.