

Are you a photography enthusiast who loves capturing moments on the go? Mounting a digital camera in your car can be a game-changer when it comes to capturing stunning shots while driving. Whether you’re a professional photographer or just enjoy snapping pictures of your road trips, having a camera securely mounted in your car can open up a world of creative possibilities.
Mounting a digital camera in your car is not only convenient but also safe. With the right setup, you can keep your hands free and focus on the road while still capturing those breathtaking landscapes or unexpected moments. In this guide, we’ll walk you through the steps to mount your digital camera in your car securely and effectively.
From choosing the right mounting equipment to positioning your camera for the best shots, we’ll cover everything you need to know to get started. So, grab your camera, buckle up, and let’s dive into the world of car photography!
Step-by-Step Guide for Mounting Digital Camera in Car
Mounting a digital camera in your car can be a great way to capture memorable moments while on the road. Follow these steps to securely attach your camera:
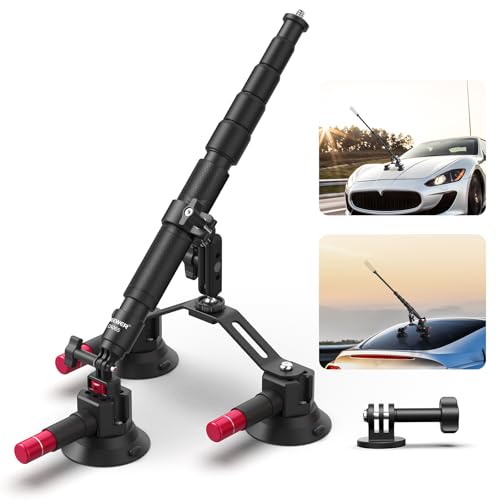
Step 1: Choose the Right Mount
Start by selecting a suitable mount for your digital camera. Look for mounts that are designed to attach to the dashboard, windshield, or rearview mirror for optimal positioning.
Step 2: Position the Mount
Once you have the mount, carefully position it in your car where you want to attach your camera. Make sure it is within easy reach and provides a clear view of the road ahead.
Step 3: Secure the Camera
Attach your digital camera to the mount securely using the appropriate mounting hardware. Make sure the camera is stable and won’t move around while driving.
By following these simple steps, you can safely mount your digital camera in your car and capture all your adventures on the road.
Choosing the Right Mounting Location
When mounting your digital camera in your car, it’s important to choose the right location to ensure optimal functionality and safety. Here are some key factors to consider:
- Visibility: Select a spot that provides a clear view of the road ahead without obstructing your line of sight. Avoid mounting the camera in a location that blocks your view or distracts you while driving.
- Stability: Choose a stable surface or mount that can securely hold the camera in place, even when driving on bumpy roads or making sharp turns. This will help prevent the camera from shifting or falling during your journey.
- Accessibility: Place the camera in a location that allows easy access to its controls and settings. This will make it convenient for you to adjust the camera’s angle or settings while on the road.
- Protection: Consider mounting the camera in a position where it is less likely to be damaged in case of an accident or sudden stop. Avoid placing the camera in areas where it could be easily hit or damaged by airbags.
By carefully considering these factors, you can choose the right mounting location for your digital camera in your car, ensuring both functionality and safety while capturing your driving experiences.
Gathering Necessary Tools and Equipment
Before you can mount your digital camera in your car, you’ll need to gather a few essential tools and equipment. Here is a list of items you’ll need:
| Tools | Equipment |
| Screwdriver | Camera mount or suction cup mount |
| Tape measure | Mounting bracket |
| Drill and drill bits | Power adapter or USB cable |
| Marker or pen | Memory card |
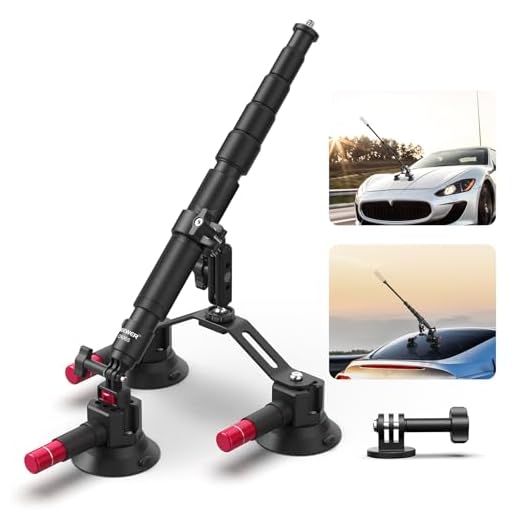
Choosing the Right Mount
It’s important to select the right mount for your digital camera based on your car’s interior and your preferences. Make sure the mount is sturdy and can securely hold your camera in place while driving.
Installing the Mounting Bracket
To install the mounting bracket for your digital camera in your car, start by choosing a suitable location on the dashboard or windshield where you want to mount the camera. Make sure the area is within reach and provides a clear view of the road ahead.
Next, clean the chosen surface with a mild cleaning solution to remove any dirt or residue that could interfere with the adhesive. Allow the surface to dry completely before proceeding.
Peel off the backing from the adhesive side of the mounting bracket and carefully press it onto the cleaned surface. Apply firm pressure for a few seconds to ensure a strong bond.
Once the mounting bracket is securely in place, attach the digital camera to the bracket according to the manufacturer’s instructions. Make sure the camera is positioned securely and at the desired angle for optimal viewing.
Test the stability of the mounted camera by gently shaking the bracket. Adjust as needed to ensure the camera remains in place while driving. Congratulations, you have successfully installed the mounting bracket for your digital camera in your car!
Attaching the Camera to the Bracket
Once you have positioned the bracket securely in your car, it’s time to attach the digital camera. Make sure to align the camera with the mounting bracket and use the appropriate screws or clips provided with the bracket to securely fasten the camera in place.
Double-check that the camera is firmly attached and that there is no risk of it coming loose while driving. Adjust the angle of the camera as needed to achieve the desired view. Once the camera is securely mounted, you can connect it to the power source and start using it to capture footage of your journeys.
Adjusting the Camera Angle and Position
Once you have mounted the digital camera in your car, it’s important to adjust the angle and position to get the best view. Here are some tips to help you do this:
- Start by sitting in the driver’s seat and turn on the camera to see the current view.
- Adjust the camera angle up or down to capture the desired field of view.
- Rotate the camera left or right to ensure it’s capturing the right area.
- Make sure the camera is securely mounted and doesn’t obstruct your view while driving.
Tips:
- Test the camera angle by taking a short drive and checking the footage.
- Consider using a swivel mount to easily adjust the camera position while driving.
Securing the Camera Cables
Once you have mounted your digital camera in your car, it is important to secure the camera cables properly to ensure they do not get in the way or cause any distractions while driving.
Here are some tips to help you secure the camera cables:
1. Route the cables neatly
Make sure to route the camera cables neatly along the interior of your car, following the existing wiring harnesses or using cable clips to keep them in place. This will help prevent the cables from getting tangled or caught on anything.
2. Use cable ties or clips
Use cable ties or clips to secure the camera cables to the car’s interior, such as under the dashboard or along the door frame. This will help keep the cables out of the way and prevent them from becoming a distraction while driving.
Testing the Camera for Proper Functioning
Before mounting the digital camera in your car, it is essential to test it for proper functioning. Follow these steps to ensure that the camera is working correctly:
1. Power on the camera: Make sure the camera turns on and that the display screen is functioning properly.
2. Check the image quality: Take a test photo or video to ensure that the camera is capturing clear and sharp images.
3. Verify the recording capabilities: Test the camera’s recording features to make sure it can capture videos without any issues.
4. Adjust the settings: Familiarize yourself with the camera settings and make any necessary adjustments to suit your preferences.
5. Test the mounting stability: Attach the camera to the desired mount and make sure it is securely in place before installing it in your car.
By following these steps, you can ensure that your digital camera is functioning correctly and ready to be mounted in your car for safe and efficient use.
FAQ
What are the benefits of mounting a digital camera in a car?
Mounting a digital camera in a car can provide you with a record of your driving experience, help in case of accidents or disputes on the road, and capture memorable moments during your travels.
Is it difficult to mount a digital camera in a car?
Mounting a digital camera in a car can vary in difficulty depending on the type of camera and the mounting system you choose. However, many cameras come with easy-to-use mounting options that make the process simple.
What are some popular locations for mounting a digital camera in a car?
Popular locations for mounting a digital camera in a car include the windshield, dashboard, rearview mirror, and even the headrest. The location you choose will depend on your preference and the type of footage you want to capture.
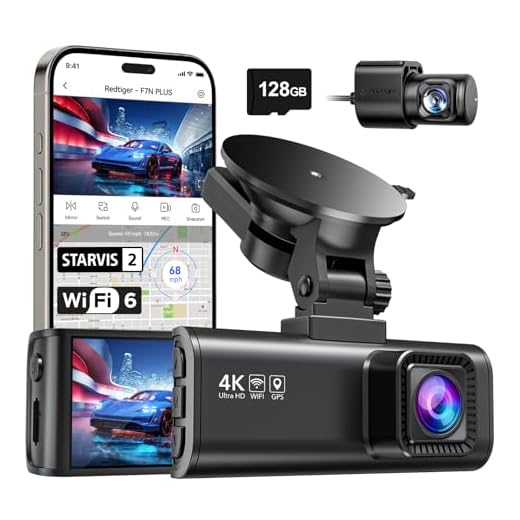
Can I use a digital camera as a dash cam in my car?
Yes, you can use a digital camera as a dash cam in your car by mounting it securely on the dashboard or windshield. Make sure the camera has a continuous recording feature and enough storage space to capture your entire journey.
What features should I look for in a digital camera for mounting in a car?
When choosing a digital camera for mounting in a car, look for features such as wide-angle lens, high resolution, loop recording, night vision, and motion detection. These features will help you capture clear footage and enhance your driving experience.


