
 Carmen J. Moore

Have you ever wanted to capture stunning 3D images and videos with your own hands? Building a digital stereoscopic camera can be a rewarding and exciting project for tech enthusiasts and photography lovers alike. By combining the power of technology and creativity, you can create a device that can bring your visual storytelling to a whole new dimension.
What is a digital stereoscopic camera?
A digital stereoscopic camera is a device that uses two lenses to capture two slightly different perspectives of the same scene, mimicking the way human eyes perceive depth. By merging these two images or videos together, you can create a 3D effect that adds a sense of realism and immersion to your visual content.

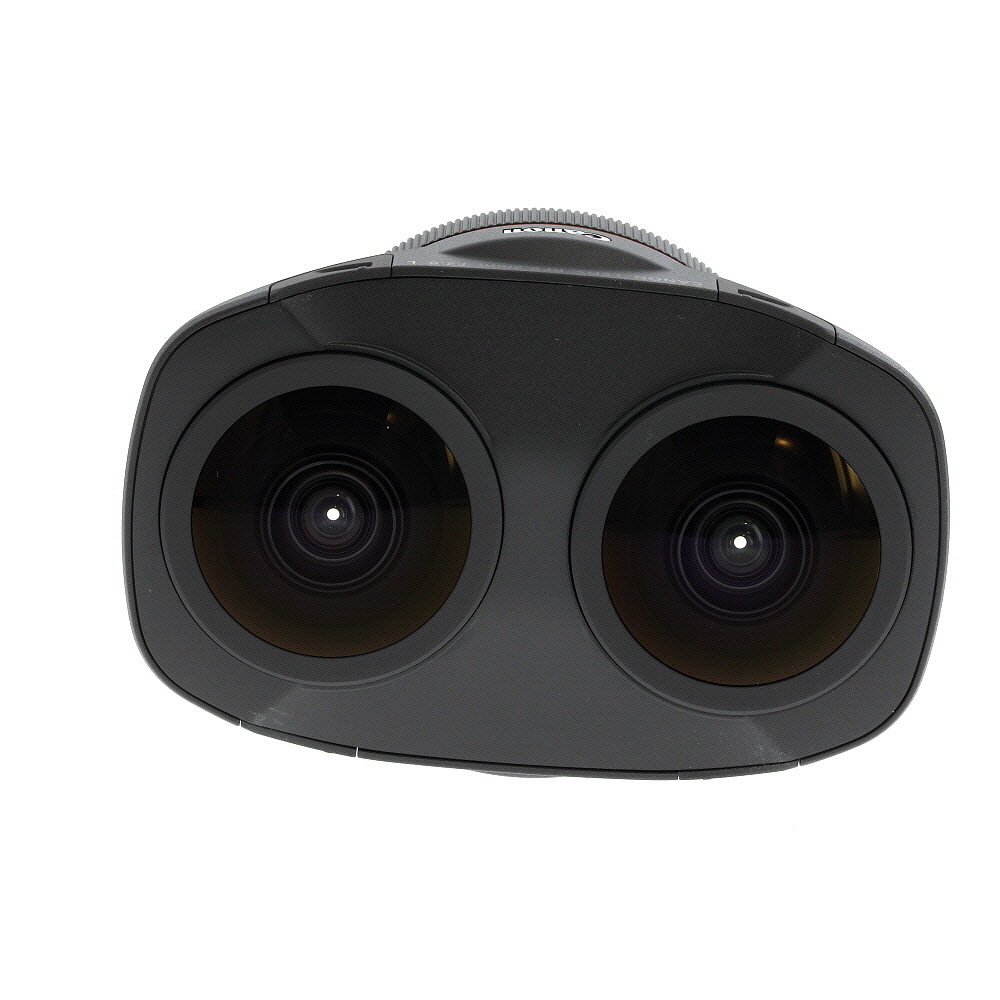


In this article, we will guide you through the process of building your own digital stereoscopic camera, from selecting the right components to assembling and testing the final product. Get ready to unlock a new world of creative possibilities!
Step-by-step guide to create digital stereoscopic camera
Creating a digital stereoscopic camera involves several key steps that require precision and attention to detail. Follow this step-by-step guide to successfully build your own digital stereoscopic camera:
Step 1: Gather materials
- Two identical cameras with matching specifications
- Mounting hardware
- Calibration software
- 3D image processing software
- Computer with sufficient processing power
Step 2: Set up cameras
Mount the two cameras side by side on a stable platform. Ensure that the lenses of both cameras are aligned and parallel to each other.
Step 3: Calibrate cameras
Use the calibration software to adjust the settings of each camera to ensure that they capture images with consistent exposure, focus, and color balance.
Step 4: Connect cameras to computer
Connect the cameras to a computer using the appropriate cables or wireless connection. Install the necessary drivers and software for the cameras to communicate with the computer.

Step 5: Capture and process 3D images
Use the 3D image processing software to capture and process stereoscopic images from the two cameras. Experiment with different settings to achieve the desired 3D effect.
By following these steps, you can create your own digital stereoscopic camera and explore the world of 3D photography.
Choosing the right camera components
When building a digital stereoscopic camera, choosing the right components is crucial to ensure high-quality 3D images and videos. Here are some key factors to consider:
Lenses
High-quality lenses are essential for capturing crisp and clear images. Look for lenses with low distortion and high resolution to achieve optimal results.
Sensors
The sensors used in the camera play a significant role in image quality. Opt for sensors with high resolution and low noise levels to capture detailed and vibrant 3D images.

Assembling the camera body
Once you have all the necessary components ready, it’s time to start assembling the camera body. Follow these steps carefully:
| 1. | Attach the two camera modules to the main body frame using the provided screws. |
| 2. | Connect the camera modules to the control board using the ribbon cables. |
| 3. | Secure the control board to the main body frame using the screws. |
| 4. | Install the battery pack in the designated slot on the main body frame. |
| 5. | Connect the battery pack to the control board. |
| 6. | Attach the display screen to the main body frame using the provided brackets. |
| 7. | Connect the display screen to the control board. |
| 8. | Secure all components in place and make sure everything is tightly connected. |
Installing the dual-lens system
Before you begin the installation process, make sure you have all the necessary tools and materials ready. You will need the following:
- Dual-lens camera module
- Stereo camera adapter board
- Screwdriver
- Tweezers
- Double-sided tape
Follow these steps to install the dual-lens system:
- Remove the back cover of the camera module using a screwdriver.
- Attach the stereo camera adapter board to the camera module using the provided screws.
- Connect the dual-lens camera module to the adapter board carefully, making sure the connections are secure.
- Secure the camera module and adapter board in place using double-sided tape.
- Reattach the back cover of the camera module.
Once you have completed these steps, your digital stereoscopic camera will be ready for use.
Calibrating the stereoscopic settings
Calibrating the stereoscopic settings is crucial to ensure that the 3D effect is accurate and comfortable for viewers. Here are the steps to calibrate the settings:

1. Adjusting the interaxial distance
Start by adjusting the distance between the two lenses of the camera, known as the interaxial distance. This distance should mimic the average distance between human eyes, which is about 6.4 cm. Adjust the interaxial distance based on the desired depth effect and the size of the scene you are capturing.
2. Setting the convergence point
The convergence point is where the two images captured by the camera converge to create the 3D effect. This point should be set based on the distance to the subject you are filming. A closer convergence point will result in a stronger 3D effect, while a farther convergence point will create a more subtle effect.
Testing the camera for optimal 3D effect
Before using your digital stereoscopic camera to capture 3D images and videos, it is important to test the camera to ensure you achieve the best possible 3D effect. Follow these steps to test your camera:
Step 1: Calibration
Start by calibrating the camera lenses to ensure they are properly aligned for capturing 3D images. Use a calibration tool or follow the manufacturer’s instructions for calibrating the camera.
Step 2: Depth Perception
Test the camera’s depth perception by capturing images of objects at different distances. Check the resulting images to see if the depth effect is clear and realistic. Adjust the camera settings if necessary to improve the depth perception.

| Aspect | Testing Procedure |
|---|---|
| Color Accuracy | Compare the colors in the 3D images to the actual colors of the objects. Adjust the white balance and color settings if needed. |
| Resolution | Take test shots at different resolutions to determine the optimal resolution for capturing 3D images with clarity and detail. |
| Alignment | Check the alignment of the two camera lenses to ensure they are parallel and properly synced for 3D image capture. |
Editing and sharing stereoscopic images and videos
Once you have captured your stereoscopic images and videos with your digital stereoscopic camera, you may want to edit and share them to enhance the viewing experience. Here are some tips on how to do that:
Editing:
- Use stereoscopic editing software to adjust the depth and alignment of the images or videos.
- Enhance the colors and contrast to make the content more visually appealing.
- Add special effects or transitions to create a more immersive experience.
Sharing:
- Upload your edited stereoscopic content to social media platforms or video sharing websites.
- Create 3D photo albums or galleries on your website to showcase your work.
- Consider hosting 3D viewing parties to share your creations with friends and family.
FAQ
What materials and components are needed to make a digital stereoscopic camera?
To make a digital stereoscopic camera, you will need two identical cameras, a 3D camera mount, a sync cable to connect the cameras, a computer with 3D editing software, and a 3D display or VR headset to view the stereoscopic images.


Don't forget to test the distance between the lenses! It really affects the 3D effect.
This article is very detailed. I appreciate the step-by-step approach, especially the tips on calibration!
I’m not sure about using two identical cameras. Isn’t it just easier to buy a pre-made stereoscopic camera? Why go through all this trouble?
Building it yourself lets you customize it more, plus it’s a fun project! The learning experience is worth it.
Can you clarify the role of the 3D image processing software? Is it necessary for just capturing photos?
The 3D image processing software is essential for creating the stereoscopic effect from the images captured by the two cameras. It helps merge them and can enhance the depth effect, which is crucial for 3D visuals.
What types of cameras would be best for creating a digital stereoscopic camera? Are there specific models that work well?
I recently built a stereoscopic camera using two mirrorless cameras. It was tricky aligning the lenses, but once I got it calibrated, the 3D images were amazing! I recommend investing in a good calibration tool to save time.
What kind of cameras do you recommend for this project? Do they all need to be identical?
I disagree with the suggestion to use high-end cameras. I've had great results with budget options that still provide decent image quality. It's more about how you set everything up.
That's a good point! Sometimes, unnecessary high specs can be overkill for personal projects.
What type of cameras do you recommend using for this project? I'm worried about compatibility and quality.
For this project, two identical cameras with similar specifications are ideal. Look for cameras with good resolution and low distortion. DSLR or mirrorless cameras work well, but even good-quality compact cameras can be used.
I just finished building my own digital stereoscopic camera following this guide! The setup was a bit tricky, especially aligning the lenses perfectly, but the results were worth it. I was surprised by how much depth I got in my first shots. I used a couple of older DSLR cameras I had lying around, and they're working great. Highly recommend testing the calibration thoroughly; it made a huge difference in the final images.
Can you explain more about the 3D processing software mentioned? Is there a recommended one for beginners?
Can I use different camera models for the left and right lenses, or do they need to be the same?
What are some common mistakes to avoid when making a stereoscopic camera? Any tips?
I recently attempted to build a digital stereoscopic camera, and while the steps seem straightforward, I struggled with the calibration. My images weren't aligning properly. It took me a few tries to get the interaxial distance correct. Has anyone else faced this issue?
Yes, I had the same problem! It really is crucial to get that distance just right. I found using a ruler helped me measure it more accurately.