
 Carmen J. Moore
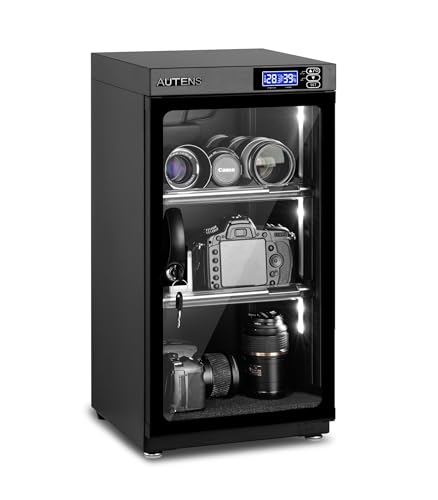
Protecting your camera equipment from moisture and humidity is crucial for maintaining its longevity and performance. A digital dry box is a great solution for keeping your gear safe and dry, especially in humid environments.


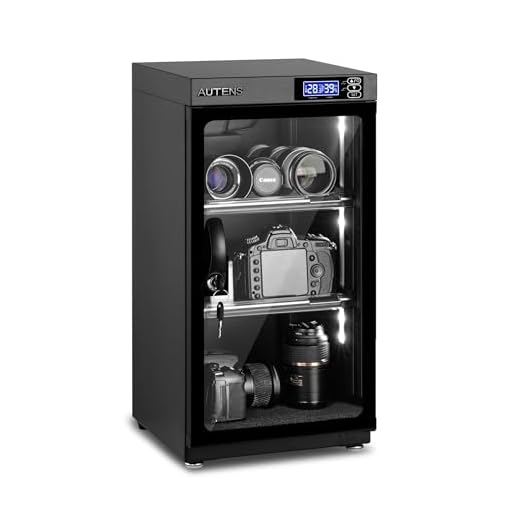
In this article, we will guide you through the process of building your own digital dry box for camera storage. With a few simple steps and materials, you can create a custom dry box that will help preserve your valuable camera equipment.
By following our instructions, you can ensure that your camera gear stays in optimal condition and is always ready for your next shoot. Let’s get started on building your digital dry box!
Benefits of Using a Dry Box
Using a dry box for your camera equipment offers several key benefits:
| 1. Moisture Protection | Helps prevent moisture damage to your camera gear by maintaining a low humidity environment. |
| 2. Fungus Prevention | Reduces the risk of fungal growth on lenses and sensitive camera components. |
| 3. Dust and Debris Protection | Keeps your equipment clean and free from dust, dirt, and other particles that can affect performance. |
| 4. Extended Equipment Lifespan | Preserves the longevity of your camera gear by safeguarding it from environmental factors that can cause deterioration. |
| 5. Convenient Storage | Provides a secure and organized storage solution for your camera equipment, keeping everything in one place. |
Choosing the Right Dry Box
When selecting a digital dry box for your camera, there are several factors to consider to ensure you make the best choice for your needs:
Size and Capacity
Choose a dry box that is spacious enough to accommodate not only your camera but also any additional lenses, accessories, and other equipment you may want to store. Make sure to consider your current gear as well as any future purchases to ensure your dry box will have enough room.
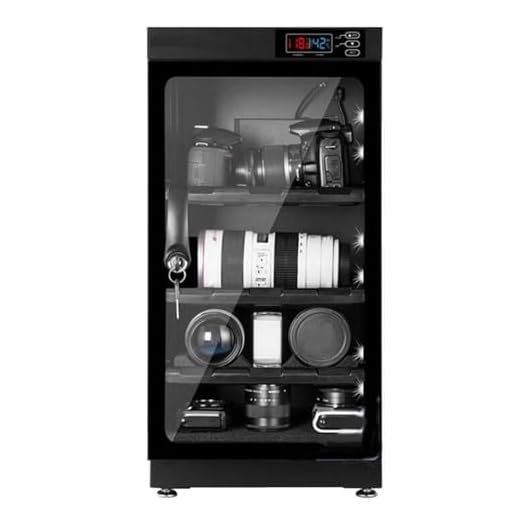
Material and Durability
Look for a dry box made from high-quality, durable materials such as ABS plastic or metal. These materials will provide better protection against moisture and ensure the longevity of your gear. Additionally, consider a dry box with a reliable seal to prevent any moisture from entering the box.
Building Your Own Dry Box
Building your own dry box for your camera equipment can be a cost-effective and fun DIY project. Here are the steps to create your own digital dry box:
Materials Needed:
To build your dry box, you will need the following materials:
- A plastic storage container with a tight-fitting lid
- A small dehumidifier or silica gel packets
- A hygrometer to monitor humidity levels
- A small battery-operated fan for air circulation
- Adhesive foam or rubber strips to seal the container
Steps to Build:
1. Clean the plastic container thoroughly and ensure it is completely dry before proceeding.
2. Place the dehumidifier or silica gel packets at the bottom of the container to absorb moisture.
3. Install the hygrometer inside the container to monitor humidity levels.
4. Place the battery-operated fan inside the container to promote air circulation.
5. Use adhesive foam or rubber strips to seal any gaps in the container to maintain airtightness.
6. Store your camera equipment inside the dry box to keep them safe from moisture and humidity.
By following these steps, you can create your own digital dry box to protect your camera gear and ensure they stay in optimal condition.

Materials Needed for DIY Dry Box
Creating a digital dry box for your camera requires a few essential materials. Here is a list of items you will need:
- Airtight container (such as a plastic storage box)
- Silica gel packets or desiccant
- Hygrometer (to monitor humidity levels)
- Drill or knife (to create holes for cables)
- Sealant or silicone caulk (to seal any gaps)
- Hygrometer calibration kit (optional, for accurate readings)
- Rubber grommets or cable glands (to pass cables through without compromising the seal)
By gathering these materials, you can start building your own digital dry box to protect your camera equipment from humidity and moisture.
Step-by-Step Guide to Building
Building your own digital dry box for camera can be a fun and rewarding project. Follow these steps to create your own customized dry box:
Materials Needed:
Before starting, gather the following materials:
| – Plastic storage container with airtight lid |
| – Silica gel packets |
| – Hygrometer (to measure humidity) |
| – Foam padding or dividers |
| – Drill (for creating holes) |
| – Desiccant (optional) |
Steps:
- Choose a suitable plastic container that is large enough to hold your camera equipment.
- Drill small holes in the container lid to allow for air circulation.
- Place silica gel packets inside the container to absorb moisture.
- Insert a hygrometer to monitor the humidity levels inside the box.
- Add foam padding or dividers to protect your camera gear from scratches.
- Seal the container with the airtight lid to maintain a dry environment.
- Place the digital dry box in a cool, dry place away from direct sunlight.
- Check the hygrometer regularly and recharge or replace silica gel packets as needed.
By following these steps, you can create a cost-effective digital dry box to keep your camera equipment safe and dry.
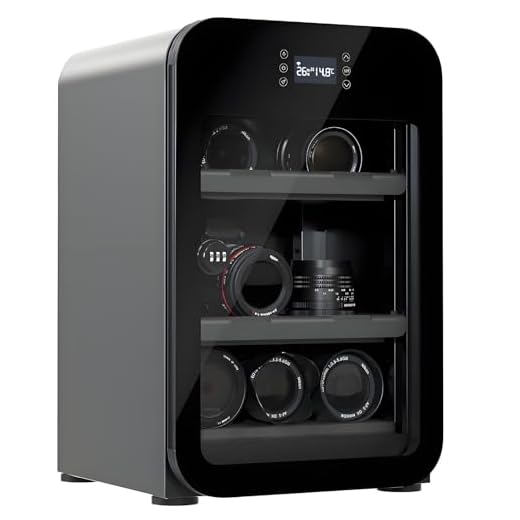
Using a Digital Dry Box
Once you have set up your digital dry box for your camera, it’s important to know how to properly use it to protect your equipment. Here are some tips on using a digital dry box:
- Store Your Camera: Place your camera and other equipment inside the dry box, making sure they are properly arranged and not overcrowded.
- Set the Humidity Level: Adjust the humidity level in the dry box according to the manufacturer’s recommendations or the specific needs of your equipment.
- Monitor Regularly: Check the humidity level and condition of your equipment regularly to ensure they are properly protected.
- Keep the Box Closed: Always keep the dry box tightly closed to maintain a stable environment for your camera and other gear.
- Replace the Desiccant: If your dry box uses desiccant, make sure to replace it regularly to maintain its moisture-absorbing properties.
Proper Storage Techniques
Proper storage is essential to ensure the longevity of your camera equipment. Here are some key techniques to follow:
- Keep your camera and lenses in a dry environment to prevent moisture damage. A digital dry box can help maintain the ideal humidity level.
- Avoid exposing your gear to extreme temperatures or direct sunlight, as this can damage sensitive components.
- Store your equipment in a clean and dust-free area to prevent particles from getting inside and causing damage.
By following these storage techniques, you can protect your camera gear and prolong its lifespan.
Maintaining the Dry Box
Proper maintenance is key to ensuring your digital dry box functions effectively and keeps your camera equipment safe from moisture damage. Here are some tips to help you maintain your dry box:
- Regularly check the humidity levels inside the dry box using a hygrometer.
- If the humidity levels are too high, replace the desiccant or recharge it if it is a reusable type.
- Clean the interior of the dry box periodically to remove any dust or debris that may affect its sealing properties.
- Inspect the seals and gaskets of the dry box for any signs of wear or damage, and replace them if necessary.
- Keep the dry box in a cool, dry place away from direct sunlight and extreme temperatures.
- Ensure the dry box is properly closed and sealed when not in use to maintain a stable humidity level.
FAQ
What materials do I need to make a digital dry box for my camera?
To make a digital dry box for your camera, you will need a plastic storage container with a tight-fitting lid, a dehumidifier or silica gel packets, a digital hygrometer to monitor humidity levels, and a power source to run the dehumidifier.
How do I set up and use a digital dry box for my camera?
To set up a digital dry box for your camera, place the dehumidifier or silica gel packets in the container, attach the digital hygrometer to monitor humidity levels, and ensure the lid is tightly sealed. Connect the dehumidifier to a power source and turn it on. Check the hygrometer regularly to ensure humidity levels are maintained within the desired range to protect your camera equipment.


How often do you need to replace the silica gel packets in the dry box? Is there a specific humidity level to aim for?
It's recommended to check the silica gel packets every 1-2 months and replace them when they change color or feel damp. Ideally, aim for a humidity level below 40% for optimal protection.
Thanks for sharing these tips! I never thought about using a fan inside the dry box for air circulation. Seems like a smart idea!
I built my own dry box following a similar guide, and it's been a game changer for my camera gear! I used a simple plastic container and some silica gel packets. I would recommend adding foam padding inside to keep everything safe from bumps. Just remember to check the hygrometer regularly!
I've seen pre-made dry boxes that cost a lot. Is building one really worth the effort compared to just buying one?
Building your own dry box can save you money and allow for customization based on your specific gear. However, pre-made options may offer added convenience and features, so it depends on your preferences and needs.
I think using a plastic container might not be the best choice because they can degrade over time. Metal or other materials might provide better protection. What do you think?
Your point is valid. While high-quality plastic can be durable, metal containers often provide better long-term moisture protection. It's important to choose materials that suit your environment and needs.