
 Carmen J. Moore

Transferring photos from your digital camera to your MacBook is a simple but essential task for every photographer. Whether you’re a professional or an amateur, having a reliable process to download your photos can save you time and keep your images organized. In this guide, we’ll walk you through the steps to transfer your photos from your digital camera to your MacBook.
Step 1: Connect Your Camera to Your MacBook
Start by connecting your digital camera to your MacBook using the USB cable that came with your camera. Make sure your camera is turned on and set to the appropriate mode for transferring photos. Your MacBook should recognize the camera and prompt you to open the Photos app or Image Capture.
Step 2: Open the Photos App or Image Capture
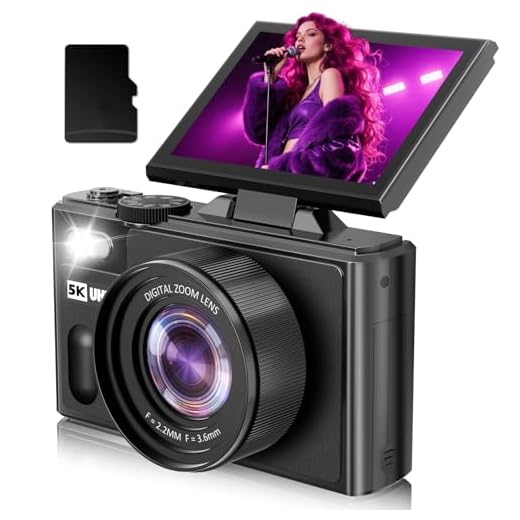


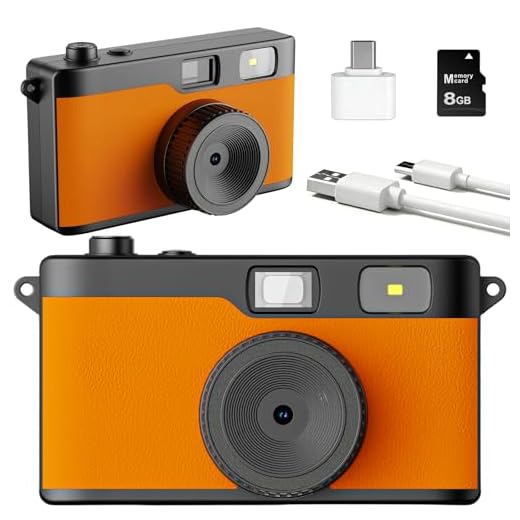
Once your camera is connected, open the Photos app or Image Capture on your MacBook. The Photos app is a built-in application that allows you to manage and organize your photos, while Image Capture is a simple tool for importing photos from devices like digital cameras. Choose the application that you prefer for transferring your photos.
Step-by-step guide to transferring photos from a digital camera to your MacBook
Transferring photos from your digital camera to your MacBook is a simple process that allows you to easily access and manage your images. Follow these steps to transfer your photos:
Step 1: Connect your camera to your MacBook
Use the USB cable that came with your camera to connect it to your MacBook. Make sure your camera is turned on and set to the appropriate mode for transferring photos.
Step 2: Open the Photos app
Once your camera is connected, open the Photos app on your MacBook. The app should automatically detect your camera and display the photos on it.
Note: If the Photos app does not open automatically, you can manually open it by searching for it in Spotlight or locating it in your Applications folder.

Step 3: Select and import your photos
Choose the photos you want to import from your camera to your MacBook. You can select individual photos or import all of them at once. Click on the “Import” button to start the transfer process.
Tip: You can organize your imported photos into albums or folders within the Photos app for easy access.
By following these simple steps, you can easily transfer your photos from your digital camera to your MacBook and enjoy viewing and sharing them on your computer.
Connect your digital camera to your MacBook using a USB cable
To download photos from your digital camera to your MacBook, follow these simple steps to connect the two devices using a USB cable:
- Turn off your digital camera and MacBook.
- Locate the USB cable that came with your camera. It should have a standard USB connector on one end and a connector that fits your camera on the other end.
- Plug the USB cable into the USB port on your MacBook. Make sure it is securely connected.
- Turn on your digital camera and set it to the mode that allows for data transfer (usually labeled as “PC” or “Transfer”).
- Connect the other end of the USB cable to your digital camera. The camera should recognize the connection and may prompt you to confirm the data transfer.
- Once the connection is established, your MacBook should recognize the camera as a removable storage device. You can now access and transfer your photos using the Finder or another photo management software.
Turn on your digital camera and MacBook
Before you can download photos from your digital camera to your MacBook, you need to make sure both devices are turned on and ready to connect. Start by powering on your digital camera by pressing the power button. Wait for the camera to fully boot up and be ready to transfer photos.

Next, open your MacBook and log in to your account. Make sure your MacBook is connected to a power source to ensure uninterrupted photo transfer. Once your MacBook is up and running, you’re ready to connect your digital camera.
Open the Photos app on your MacBook
To start transferring photos from your digital camera to your MacBook, you will need to open the Photos app. Follow these steps:
- Locate the Photos app on your MacBook. You can typically find it in the Applications folder or by using Spotlight search.
- Click on the Photos app icon to open it.
Once the Photos app is open, you can proceed with importing your photos from the digital camera to your MacBook.
Select the option to import photos from your camera
Once you have connected your digital camera to your MacBook, the Photos app should automatically open. If it doesn’t open, you can manually open the app by clicking on the Photos icon in your dock or by searching for it using Spotlight (Command + Space and then type Photos).
Inside the Photos app, you should see your camera listed under the “Devices” section in the sidebar. Click on your camera’s name to select it. You may be prompted to unlock your camera if it is password protected.

After selecting your camera, you will see a screen with options for importing photos. Look for a button or option that says “Import” or “Import All.” Click on this option to start importing your photos from the camera to your MacBook.
Depending on the number of photos on your camera, the import process may take some time. Once the import is complete, you can choose to delete the photos from your camera or keep them on the device.
Choose the photos you want to transfer and click import
After connecting your digital camera to your MacBook, open the Photos app on your computer. You will see your camera listed under the Devices section in the sidebar. Click on your camera to view the photos stored on it.
Once you have accessed the photos on your camera, you can choose the ones you want to transfer to your MacBook. You can select individual photos by clicking on them, or you can select multiple photos by holding down the Command key while clicking on each photo.
After selecting the photos you want to transfer, click on the “Import Selected” button located at the top right corner of the Photos app. This will begin the import process, and the selected photos will be transferred from your digital camera to your MacBook.

Safely eject your digital camera from your MacBook
Once you have finished transferring photos from your digital camera to your MacBook, it is important to safely eject the camera to avoid any data loss or corruption. Follow these steps to safely remove your digital camera:
Step 1: Close all applications
Make sure that all applications that were using the camera or accessing its files are closed. This will ensure that no files are in use when you eject the camera.
Step 2: Eject the camera
Locate the digital camera icon on your MacBook’s desktop or in the Finder sidebar. Click on the icon and drag it to the trash bin. Alternatively, you can right-click on the icon and select “Eject” from the dropdown menu. Wait for the confirmation message that it is safe to disconnect the camera before physically unplugging it from your MacBook.
FAQ
How can I download photos from my digital camera to my MacBook?
To download photos from your digital camera to your MacBook, you can use a USB cable to connect the camera to your computer. Once connected, open the Photos app on your MacBook and import the photos from the camera. You can also use a memory card reader to transfer the photos if your camera uses a memory card.
Can I download photos wirelessly from my digital camera to my MacBook?
Yes, you can download photos wirelessly from some digital cameras to your MacBook. Some cameras have built-in Wi-Fi capabilities that allow you to transfer photos directly to your computer without the need for cables. You can use the manufacturer’s software or third-party apps to establish a wireless connection and transfer the photos.

What software can I use to download photos from my digital camera to my MacBook?
You can use various software options to download photos from your digital camera to your MacBook. The Photos app on your MacBook is a common choice for importing photos. Additionally, you can use third-party software like Adobe Lightroom, Image Capture, or the manufacturer’s proprietary software for your camera to transfer the photos.
Is it possible to edit photos while downloading them from a digital camera to a MacBook?
Yes, it is possible to edit photos while downloading them from a digital camera to your MacBook. You can use editing software like Adobe Lightroom, Photos app, or other photo editing apps available on the Mac App Store to edit the photos as you import them. This allows you to make adjustments and enhancements to your photos before saving them on your MacBook.



What does it mean when it says to set my camera to the 'PC' mode? I'm not sure where to find that setting.
Always remember to safely eject your camera after transferring photos to avoid data loss!
I'm having trouble getting my MacBook to recognize my camera. Is there a specific setting I need to check on my camera before connecting it?
Has anyone tried using a memory card reader instead of USB? Is it faster?
I used a memory card reader and found it to be much quicker, especially with a lot of photos. Plus, it saves the hassle of connecting the camera.
I disagree that the Photos app is the best way to manage photos. I prefer using third-party software for more features. Anyone else feel the same?
I followed the steps in the article and it worked great! I love the Photos app for organizing my pictures. Just a tip: if it doesn't automatically open, use Spotlight to search for it quickly. Also, make sure your camera is set to the right transfer mode.
Thanks for sharing your experience! It's great to hear that the guide helped you. If you have any other tips or need further assistance, feel free to ask!