
 Carmen J. Moore

If you’re looking to enhance your live streaming or video recording setup, integrating a digital camera into OBS Studio can take your content to the next level. With the right setup, you can achieve higher-quality video and more professional-looking streams. In this guide, we’ll walk you through the steps to display your digital camera feed in OBS Studio.
Step 1: Install Camera Software

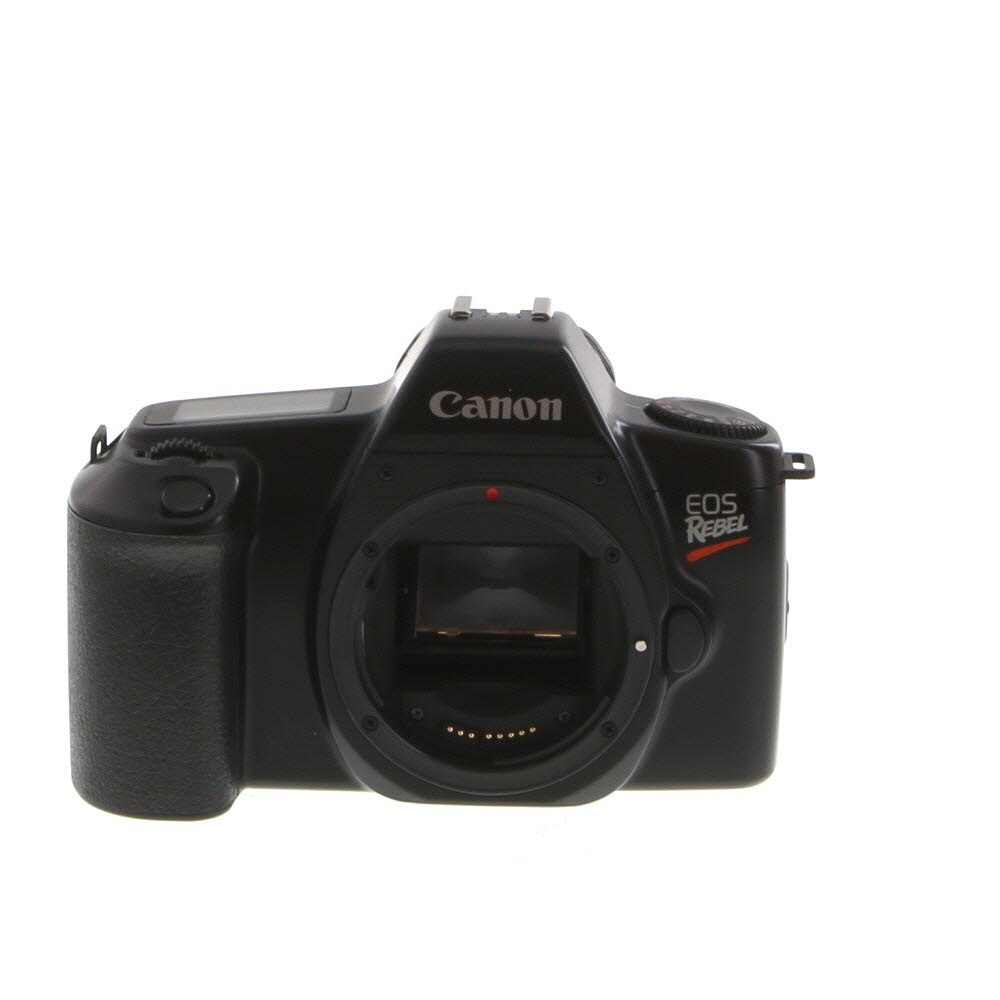


Before you can display your digital camera in OBS Studio, you’ll need to make sure that your camera is connected to your computer and that the necessary camera software is installed. Most modern digital cameras come with software that allows you to connect them to your computer and control settings like exposure, focus, and white balance.
Step 2: Configure OBS Studio
Once your camera software is installed and your camera is connected to your computer, open OBS Studio. In OBS, create a new scene by clicking the “+” icon in the Scenes box. Then, add a new source by clicking the “+” icon in the Sources box. Select “Video Capture Device” as the source type, and choose your digital camera from the dropdown menu.
Step-by-step guide to displaying a digital camera in OBS Studios
Using a digital camera as a video source in OBS Studios can enhance the quality of your live streams or recordings. Follow these steps to set up your digital camera:
Step 1: Connect your digital camera to your computer using a USB cable.

Step 2: Open OBS Studios on your computer.
Step 3: Click on the “+” icon in the “Sources” box and select “Video Capture Device.”
Step 4: Name your camera source and click “OK.”
Step 5: In the “Device” dropdown menu, select your digital camera from the list of available devices.
Step 6: Configure the settings for your camera source, such as resolution, frame rate, and audio input.
Step 7: Position and resize your camera source within the OBS Studio canvas as needed.
Step 8: Click “Start Streaming” or “Start Recording” to begin using your digital camera in OBS Studios.
By following these steps, you can easily display your digital camera feed in OBS Studios for professional-looking live streams or recordings.
Setting up your digital camera for use in OBS
Using a digital camera as a webcam in OBS can greatly enhance the quality of your streams or recordings. Follow these steps to set up your digital camera:
Step 1: Connect your camera to your computer
Use a USB cable to connect your digital camera to your computer. Make sure your camera is set to the appropriate mode for streaming or recording.

Step 2: Install camera drivers (if necessary)
If your camera requires specific drivers to work with your computer, make sure to install them before proceeding. Check the manufacturer’s website for the latest drivers.
Connecting your digital camera to your computer
To display your digital camera in OBS Studio, you first need to connect your camera to your computer. Here are the steps to do so:
- Locate the USB cable that came with your digital camera.
- Connect one end of the USB cable to your digital camera.
- Connect the other end of the USB cable to a USB port on your computer.
- Turn on your digital camera.
- Wait for your computer to recognize the camera. You may need to install drivers or software provided by the camera manufacturer.
- Once the camera is recognized by your computer, you can open OBS Studio and add your camera as a video capture device.
Configuring OBS to recognize your digital camera
To display your digital camera in OBS Studio, you need to configure OBS to recognize your camera as a video source. Follow these steps to set up your digital camera:
- Connect your digital camera to your computer using a USB cable.
- Open OBS Studio on your computer.
- Click on the “+” icon in the “Sources” panel.
- Select “Video Capture Device” from the list of available sources.
- Choose your digital camera from the dropdown menu under “Device.”
- Adjust the settings like resolution, frame rate, and other preferences according to your needs.
- Click “OK” to add your digital camera as a video source in OBS Studio.
Your digital camera should now be displayed as a video source in OBS Studio, and you can start using it for your live streams or recordings.
Adjusting camera settings for optimal performance
When setting up your digital camera in OBS Studio, it’s important to adjust the camera settings for optimal performance. Here are some key settings to consider:

Resolution and Frame Rate
Make sure to set the resolution and frame rate of your camera to match your streaming needs. Higher resolutions and frame rates may require more processing power, so adjust these settings based on your computer’s capabilities.
Exposure and White Balance
Adjust the exposure and white balance settings on your camera to ensure that the image is properly exposed and color balanced. This will help prevent overexposure or color casts in your video feed.
| Setting | Optimal Value |
| Exposure | Auto or manual adjustment based on lighting conditions |
| White Balance | Custom or preset based on lighting conditions |
Creating a new scene in OBS for your digital camera
Setting up a new scene in OBS for your digital camera is essential to ensure a smooth and professional-looking live stream. Here’s how you can do it:
| Step 1: | Open OBS Studio and click on the “+” icon in the Scenes box to create a new scene. |
| Step 2: | Name your new scene (e.g., “Digital Camera”) and click “OK” to create it. |
| Step 3: | Click on the “+” icon in the Sources box and select “Video Capture Device” to add your digital camera as a source. |
| Step 4: | Choose your digital camera from the list of available devices and adjust the settings as needed. |
| Step 5: | Position and resize the camera feed within the scene as desired by dragging and adjusting the source within the preview window. |
| Step 6: | You can add additional sources, overlays, and effects to enhance your digital camera feed within the scene. |
| Step 7: | Once you are satisfied with the setup, click “Start Streaming” to go live with your digital camera scene. |
Positioning and resizing your digital camera feed in OBS
Once you have added your digital camera as a source in OBS, you may need to adjust its position and size to fit your stream layout. Here are some tips on how to do that:
Positioning:
To move your camera feed around the screen, simply click and drag it to the desired location. You can also use the arrow keys on your keyboard for more precise positioning. Make sure to place it where it won’t overlap with other important elements on your stream.
Resizing:
To resize your camera feed, click and drag any of the corners or sides of the feed to make it larger or smaller. You can also hold down the Shift key while resizing to maintain the aspect ratio of the feed. Experiment with different sizes to find the best fit for your stream layout.
Adding overlays and effects to enhance your digital camera display in OBS
Once you have set up your digital camera in OBS, you can further enhance your display by adding overlays and effects. These elements can help make your stream more engaging and professional-looking. Here are some tips on how to add overlays and effects to your digital camera display in OBS:
1. Adding overlays:
To add overlays to your digital camera display, you can use image files that contain graphics, logos, or text. You can add overlays by creating a new scene in OBS and adding the image file as a source. You can then resize and position the overlay to fit your camera display. Overlays can help brand your stream and make it more visually appealing.
2. Applying effects:
OBS offers various filters and effects that you can apply to your digital camera display. These effects can enhance the look of your camera feed by adjusting color, contrast, brightness, and more. You can experiment with different effects to find the ones that best suit your stream’s aesthetic. Some popular effects include chroma key (green screen), color correction, and sharpening.
FAQ
What is OBS Studio?
OBS Studio is a free and open-source software for video recording and live streaming. It is popular among content creators, gamers, and professionals for its robust features and flexibility.

How can I display a digital camera in OBS Studio?
To display a digital camera in OBS Studio, you need to connect your camera to your computer using a USB cable or a capture card. Then, open OBS Studio, click on the “+” icon in the “Sources” section, select “Video Capture Device,” choose your camera from the dropdown menu, and adjust the settings as needed.
What are some tips for optimizing the display of a digital camera in OBS Studio?
For optimal display of a digital camera in OBS Studio, make sure your camera is set to the desired resolution and frame rate. Adjust the white balance, exposure, and other settings on your camera to improve image quality. Additionally, consider using proper lighting and a stable camera mount to enhance the overall look of your video feed.



I’m new to OBS Studio. Can I use any digital camera, or do I need a specific type? What should I look for?
I set up my DSLR following this guide. The quality is incredible compared to my webcam! The only issue I faced was finding the right drivers for my camera. Once I figured that out, everything worked smoothly.
I don’t think using a digital camera is worth it for casual streaming. A good webcam can do just fine.
I see your point, but the video quality from a digital camera is way better for those who want a more professional look.