
 Carmen J. Moore

Digital technology has revolutionized the way we capture and preserve the world around us. With just a camera and a few simple techniques, you can digitize physical objects and bring them into the digital realm.
Whether you want to create 3D models, document historical artifacts, or simply share your favorite possessions online, digitizing objects with a camera is a versatile and accessible process. In this article, we will explore the steps and best practices for capturing high-quality digital replicas of real-world objects.



Step-by-step guide to digitizing an object using a camera
Step 1: Choose a well-lit area to place the object you want to digitize.
Step 2: Set up your camera on a stable surface or tripod to avoid blurriness.
Step 3: Adjust the camera settings for the best image quality, including focus, exposure, and white balance.
Step 4: Position the camera at the desired angle to capture the object from multiple perspectives.
Step 5: Take multiple photos of the object, ensuring to capture all details and angles.

Step 6: Transfer the photos to your computer and use image editing software to enhance and align them.
Step 7: Use photogrammetry software to create a 3D model from the photos by reconstructing the object’s shape and texture.
Step 8: Clean up the 3D model by removing any unwanted artifacts or errors.
Step 9: Export the final 3D model in a compatible file format for viewing or further editing.
Step 10: Enjoy your digitized object and explore new possibilities for visualization and interaction.
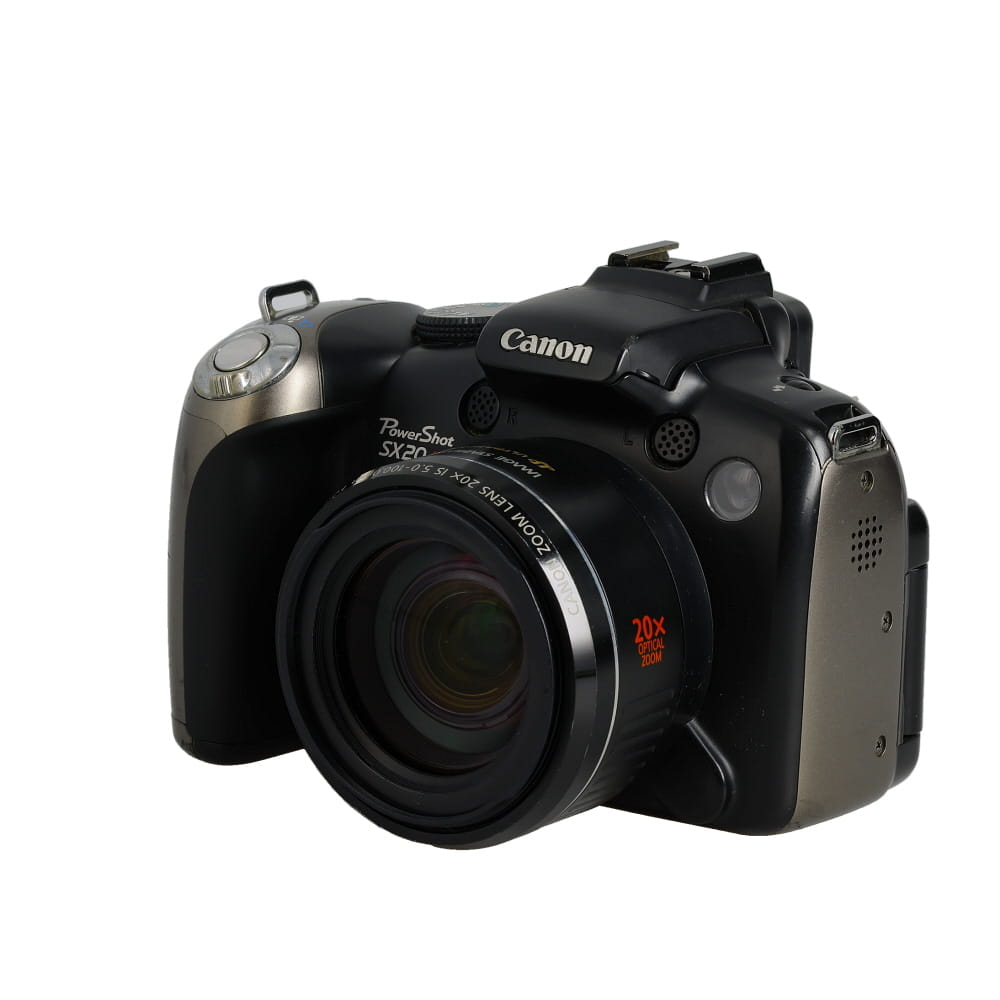
Choose the right camera for digitizing
When selecting a camera for digitizing objects, there are a few key factors to consider:
Resolution: Choose a camera with high resolution to capture fine details of the object.
Manual settings: Look for a camera that allows manual adjustment of settings like focus, exposure, and white balance for better control over the digitization process.
Shutter speed: A camera with a fast shutter speed can help capture sharp images, especially when dealing with moving objects.
Lens quality: Invest in a camera with a good quality lens to ensure clear and accurate digitization results.

By considering these factors, you can choose the right camera that meets your digitization needs and helps you achieve high-quality results.
Set up the object for optimal digitization
Before capturing images of the object with your camera, it is essential to set up the object properly to ensure optimal digitization results. Here are some key steps to follow:
1. Clean the object: Make sure the object is free from dust, dirt, and smudges. Cleaning the object will help ensure clear and accurate digitization.
2. Choose a suitable background: Place the object on a plain, contrasting background to help the camera focus on the object and capture it effectively.
3. Use proper lighting: Ensure the object is well-lit with natural or artificial light to avoid shadows and reflections that can affect the digitization process.

4. Position the object: Place the object in a stable position to avoid blurriness or distortion in the captured images. Use a tripod if necessary to keep the camera steady.
5. Adjust camera settings: Set the camera to the appropriate resolution, focus, and exposure settings for the object you are digitizing. Experiment with different settings to find the best configuration.
By following these steps, you can set up the object for optimal digitization and capture high-quality images with your camera.
Adjust camera settings for capturing details
When digitizing an object using a camera, it’s important to adjust the camera settings to ensure you capture all the necessary details. Here are some tips:
- Set the camera to the highest resolution possible to capture fine details.
- Adjust the aperture to control the depth of field and focus on specific areas.
- Use a low ISO setting to reduce noise and maintain image quality.
- Experiment with different shutter speeds to find the optimal balance between sharpness and motion blur.
- Consider using a tripod to stabilize the camera and prevent blurriness.
Use proper lighting techniques for best results
Proper lighting is crucial when digitizing an object using a camera. Here are some tips to ensure you get the best results:
- Use natural light whenever possible as it provides the most accurate colors and details.
- Avoid harsh shadows by placing the object in diffused light or using a softbox.
- Position the light source at an angle to highlight the details and textures of the object.
- Avoid direct sunlight as it can cause overexposure and harsh shadows.
By following these lighting techniques, you can capture clear and detailed images of the object for digitization.
Capture multiple angles for a 3D effect
To create a more realistic 3D representation of your object, it’s essential to capture multiple angles. This will allow the software to generate a more accurate 3D model by combining different perspectives of the object.
When capturing multiple angles, make sure to move around the object and take photos from various sides, including the top and bottom if necessary. This will provide the software with sufficient information to reconstruct the object in 3D space.
By capturing multiple angles, you can enhance the depth and details of the digitized object, resulting in a more immersive and realistic 3D effect.
Edit and refine the digitized object for final presentation
Once you have captured the object using your camera, it’s time to edit and refine the digitized version for final presentation. Here are some steps to guide you through the process:

1. Crop and enhance
Begin by cropping the image to remove any unwanted background or distractions. Then, use editing tools to enhance the colors, contrast, and sharpness of the object. This will help the digitized version look more polished and professional.
2. Adjust perspective and lighting
If necessary, adjust the perspective of the object to make it appear more symmetrical or aligned. Also, consider adjusting the lighting to highlight important features and create a more visually appealing image.
By following these steps, you can ensure that your digitized object is ready for final presentation, whether it’s for a portfolio, website, or other digital platform.
FAQ
What equipment do I need to digitize an object using a camera?
To digitize an object using a camera, you will need a digital camera or a smartphone with a high-resolution camera, a tripod for stability, proper lighting to avoid shadows, and software for photo editing and processing.
Can I use a smartphone camera to digitize objects effectively?
Yes, you can use a smartphone camera to digitize objects effectively. Many modern smartphones have high-quality cameras that can capture detailed images suitable for digitizing objects. However, for the best results, it is recommended to use a camera with higher resolution and better manual control options.




I tried digitizing a sculpture using the steps outlined here. Lighting was key for me; I used a softbox to diffuse harsh shadows and it made a huge difference. The final 3D model was much clearer than my previous attempts just using natural light. Recommended!
What type of lighting setup do you recommend for capturing objects? I want to avoid shadows but still highlight the details.
Could you explain more about the photogrammetry software mentioned? How do I choose the right one, and are there free options available?
There are several photogrammetry software options available, both free and paid. Popular free choices include Meshroom and Agisoft Metashape's trial version. Look for software that supports your camera's file formats and has good user reviews.
I think you don't really need an expensive camera for this. My smartphone did just fine, and the quality was surprisingly good for digitizing smaller items.
That's a great point! Many smartphones now offer high-resolution cameras that can achieve excellent results for digitizing objects, especially for casual use.
What type of software is recommended for photogrammetry? I've heard of a few options, but I'm not sure which one is user-friendly for beginners.
For beginners, software like Agisoft Metashape or Autodesk ReCap is often recommended due to their user-friendly interfaces. There are also free options like Meshroom, which can be a good starting point.
I recently tried digitizing an old statue using my DSLR, and it turned out great! I made sure to clean the statue thoroughly and used a plain white background. The lighting was tricky at first, but I found that using a softbox helped eliminate harsh shadows. Capturing at different angles made a huge difference for the 3D model. Highly recommend following the multiple angles tip!
I disagree that you need a high-end camera. I've digitized plenty of objects with my mid-range DSLR and even my smartphone when I adjusted the settings properly. It really depends on the object's size and detail.
Don’t forget to clean your object before photographing! Dust can really mess up the final images.
I’m not sure I agree with the idea that any decent camera will do. I’ve tried using lower-end models and the results were really disappointing. Maybe a good quality camera is more essential than suggested.
How important is it to have a high-resolution camera for this process? Could a decent smartphone camera work just as well?
A high-resolution camera can capture finer details, but modern smartphones can achieve great results too. It's all about how you use the camera and adjust the settings.
I’ve used my smartphone to digitize some objects, and it actually worked pretty well! Just make sure to adjust the settings properly.
What type of camera is best for digitizing small objects?
For small objects, a camera with a high resolution and macro capabilities is ideal. Look for models that allow manual adjustments for focus and exposure.
I've tried digitizing a small statue using a smartphone camera, and it turned out surprisingly well! I followed the steps about lighting and angles closely. One tip I have is to use a turntable to rotate the object while taking pictures; it made capturing different angles much easier. I think it helped a lot with creating a detailed 3D model.
I tried digitizing my old coins using my smartphone. The results were surprisingly good! Just made sure the lighting was perfect and used a plain background. Definitely worth it!
Lighting really is key! I used a softbox for lighting my object, and it made a huge difference in reducing shadows.