
 Carmen J. Moore

Are you a scientist, researcher, or hobbyist who wants to capture detailed images of microscopic specimens?
One way to achieve this is by adapting a digital camera to a microscope, allowing you to capture high-quality images and videos of tiny objects with ease.
By following a few simple steps and using the right equipment, you can connect your digital camera to a microscope and unlock a whole new world of microscopic photography.
Step-by-step guide to adapting a digital camera to a microscope
Adapting a digital camera to a microscope can greatly enhance your ability to capture high-quality images of microscopic samples. Follow these steps to successfully set up your digital camera for use with a microscope:

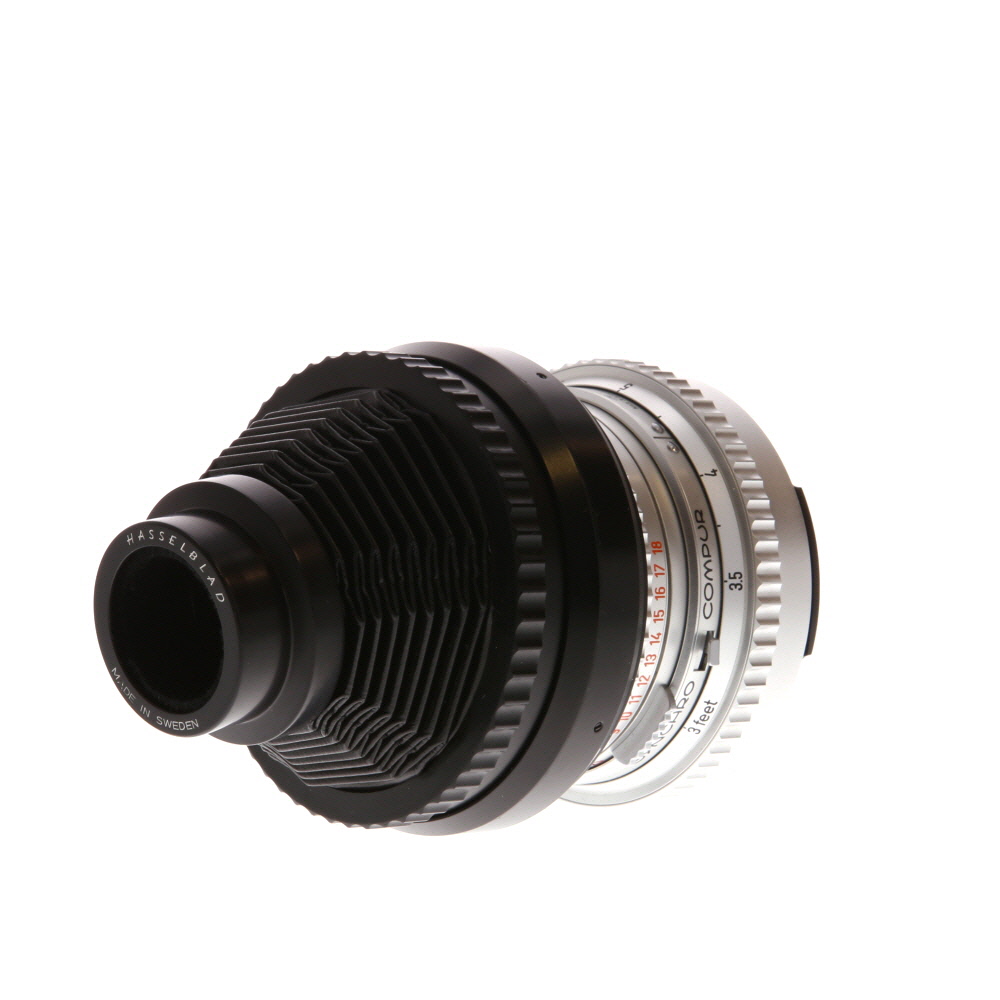


Step 1: Choose a suitable digital camera that is compatible with your microscope. Check the camera’s specifications to ensure it can be mounted onto the microscope.
Step 2: Obtain a camera adapter that is designed to connect your digital camera to the microscope. The adapter should securely hold the camera in place and align it with the microscope’s optical system.
Step 3: Attach the camera adapter to the digital camera according to the manufacturer’s instructions. Make sure the adapter is securely fastened to the camera.
Step 4: Mount the digital camera onto the microscope using the camera adapter. Ensure that the camera is positioned correctly and securely attached to the microscope.
Step 5: Adjust the camera settings to optimize the image quality for microscopy. Set the appropriate exposure, focus, and resolution settings on the camera to ensure clear and detailed images.

Step 6: Connect the digital camera to a computer or external monitor for real-time viewing of the microscopic images. Use the camera’s software to control the image capture and adjust settings as needed.
By following these steps, you can successfully adapt a digital camera to a microscope and capture high-quality images of microscopic samples with ease.
Gather necessary materials
Before you can adapt your digital camera to a microscope, you will need to gather a few essential materials. Here is a list of what you will need:
1. Camera adapter
You will need a camera adapter that is compatible with your specific digital camera model. This adapter will allow you to attach your camera to the microscope.
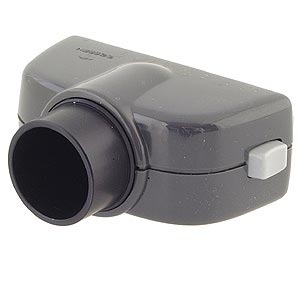
2. Microscope eyepiece adapter
You will also need a microscope eyepiece adapter that fits your microscope’s eyepiece size. This adapter will help you connect your camera to the microscope eyepiece.
Prepare the camera and microscope
Before you can adapt your digital camera to a microscope, you need to make sure both the camera and the microscope are ready for the process. Here are the steps to prepare them:
Camera:
- Ensure your camera has a removable lens. This is necessary for attaching it to the microscope.
- Check if your camera has a T-ring adapter available. This adapter is used to connect the camera to the microscope.
- Make sure your camera is fully charged or has fresh batteries to avoid interruptions during the process.
Microscope:
- Clean the eyepiece and lens of the microscope to ensure clear and crisp images.
- Adjust the microscope’s settings to the desired magnification level before attaching the camera.
- Secure the microscope on a stable surface to prevent any movement during the adaptation process.
Connect the camera to the microscope
Step 1: Begin by ensuring that your digital camera has the appropriate adapter or mount to connect to the microscope. Some cameras may require a specific adapter or attachment to fit securely onto the microscope.
Step 2: Turn off both the camera and the microscope before attempting to connect them.
Step 3: Locate the camera port on the microscope, which is typically located near the eyepiece. It may be a C-mount, T-mount, or other type of connection.
Step 4: Attach the camera to the microscope using the appropriate adapter or mount. Make sure it is securely fastened to prevent any movement or instability during use.
Step 5: Turn on the camera and adjust the settings as needed for capturing images or videos through the microscope.
Step 6: Test the connection by looking through the camera’s viewfinder or screen to ensure that the microscope’s image is being properly displayed.
Adjust the settings for optimal image quality
When adapting a digital camera to a microscope, adjusting the camera settings is crucial to achieve the best image quality. Here are some tips to help you optimize the settings:
- ISO: Set the ISO to the lowest value possible to reduce noise in the image.
- Aperture: Use a small aperture (high f-stop number) to increase depth of field and ensure sharp focus across the entire image.
- Shutter speed: Adjust the shutter speed to avoid motion blur or overexposure. A tripod can help stabilize the camera for longer exposures.
- White balance: Set the white balance based on the light source to ensure accurate color reproduction.
- Focusing: Use manual focus to carefully adjust the focus on the microscope slide for crisp details.
Experiment with different settings and make adjustments based on the specific requirements of your imaging task to achieve the best results.
Capture and save the images
Once your digital camera is connected to the microscope and properly aligned, you can start capturing images of the specimens. Use the camera’s software to adjust settings such as focus, exposure, and white balance for the best results.

After capturing the images, make sure to save them in a high-quality format such as RAW or JPEG. Organize the images in folders on your computer for easy access and reference later on.
You can also use image editing software to enhance and annotate the images if needed. This will help you create more professional-looking images for presentations or publications.
Share and analyze the captured images
Once you have captured images using your digital camera adapted to a microscope, it is important to share and analyze them for further study. Here are some steps to help you in this process:
1. Sharing the images:
You can share the captured images with colleagues, students, or researchers by transferring them to a computer or other storage device. You can also share them online through email, cloud storage, or social media platforms.
2. Analyzing the images:
After sharing the images, you can analyze them using image processing software to enhance the quality, adjust the brightness and contrast, measure dimensions, and analyze specific features of the captured samples. You can also use specialized software for image analysis to extract quantitative data from the images.

| Software: | There are various software programs available for image processing and analysis, such as ImageJ, FIJI, Adobe Photoshop, and others. Choose the one that best suits your needs and expertise. |
FAQ
Can I use any digital camera with a microscope?
Not all digital cameras can be easily adapted to a microscope. You need to make sure your camera has the necessary features and accessories to connect it to the microscope.
What are the benefits of adapting a digital camera to a microscope?
Adapting a digital camera to a microscope allows you to capture high-quality images and videos of the specimens you are observing. This can be useful for documentation, research, and educational purposes.
What accessories do I need to adapt a digital camera to a microscope?
To adapt a digital camera to a microscope, you will need a camera adapter that fits the specific camera model you have, a microscope adapter that fits your microscope, and possibly additional accessories like a camera remote for hands-free operation.
Is it difficult to adapt a digital camera to a microscope?
Adapting a digital camera to a microscope can be a bit challenging if you are not familiar with the process. However, with the right adapters and some guidance, you should be able to do it successfully.
Can I use the images captured with a digital camera on a microscope for scientific research?
Yes, images captured with a digital camera adapted to a microscope can be used for scientific research. However, it is important to ensure that the images are of high quality and accurately represent the specimens you are studying.




I recently adapted my DSLR to my microscope, and it was a game changer! The image quality was so much better than using the eyepiece. I followed similar steps to what you provided, but I had to buy a specific T-ring for my camera model, which I didn't realize at first. Just a heads-up for anyone trying this! Make sure you have the right adapters.
Thanks for sharing your experience! It's great to hear that the upgrade made such a difference. Adapters can sometimes be a bit tricky, so your advice is valuable for newcomers.
Could you clarify what type of microscope eyepiece adapter to look for? There are so many options out there.
When looking for an eyepiece adapter, make sure to check the specifications of your microscope’s eyepiece size. Common types are C-mount and T-mount, but it varies by model.
I’m not so convinced that adapting a camera is worth the effort. I've tried it before, and the images still didn't compare to just using a high-quality microscope camera. Sometimes simpler solutions can be better.
Good article! I'm wondering if I can use my smartphone instead of a traditional digital camera for this setup. Have you heard of anyone doing that?