
 Carmen J. Moore

Are you tired of losing your precious memories because you forgot to save them on your digital camera? Saving photos on a digital camera is a simple process that can be easily overlooked. Whether you’re a professional photographer or just a casual snapshooter, knowing how to properly save your photos is essential to preserving your memories.
With the advancement of technology, digital cameras have become an essential tool for capturing moments in our lives. However, if you don’t save your photos correctly, you risk losing them forever. In this article, we will provide you with step-by-step instructions on how to save photos on a digital camera, so you never have to worry about losing your precious memories again.




How to Save Photos on a Digital Camera
Once you have taken photos on your digital camera, it is important to save them properly to ensure you don’t lose any precious memories. Follow these steps to save your photos:
- Connect your digital camera to your computer using a USB cable.
- Turn on your camera and set it to the appropriate mode for transferring photos.
- Open the file explorer on your computer and locate the connected camera device.
- Find the folder containing your photos on the camera and select the photos you want to save.
- Copy the selected photos and paste them into a folder on your computer.
- Alternatively, you can use photo management software to import and organize your photos.
- Once the photos are saved on your computer, you can also back them up to an external hard drive or cloud storage for extra security.
By following these steps, you can ensure that your photos are safely saved and easily accessible whenever you want to view or share them.
Understanding Your Camera’s Memory
When it comes to saving photos on your digital camera, understanding your camera’s memory is crucial. The memory on your camera is where your photos are stored, so knowing how much space you have and how to manage it is essential.
Types of Memory
There are different types of memory that digital cameras use to store photos. The most common types are SD cards and microSD cards. These cards come in varying capacities, so it’s important to check what type of card your camera supports and how much storage space you need.
Managing Memory
To save photos on your digital camera, you need to make sure you have enough memory available. If your camera’s memory is full, you won’t be able to save any more photos until you free up space. You can manage your camera’s memory by deleting old photos or transferring them to a computer or external storage device.

| Memory Type | Capacity |
|---|---|
| SD Card | Up to 512GB |
| microSD Card | Up to 256GB |
Choosing the Right Memory Card
When saving photos on a digital camera, it is important to choose the right memory card to ensure optimal performance. Here are some key factors to consider when selecting a memory card:
Storage Capacity: Choose a memory card with sufficient storage capacity to hold all your photos. Consider the file size of your photos and how many you plan to take before selecting a card.
Speed Class: Look for a memory card with a high speed class rating for faster read and write speeds. This is especially important if you are shooting in burst mode or recording high-definition video.
Compatibility: Make sure the memory card is compatible with your camera model. Check the specifications of your camera to ensure it supports the type and capacity of the memory card you choose.
Reliability: Opt for a reputable brand and avoid cheap, generic memory cards to ensure reliability and data security. A reliable memory card will help prevent data loss and corruption.
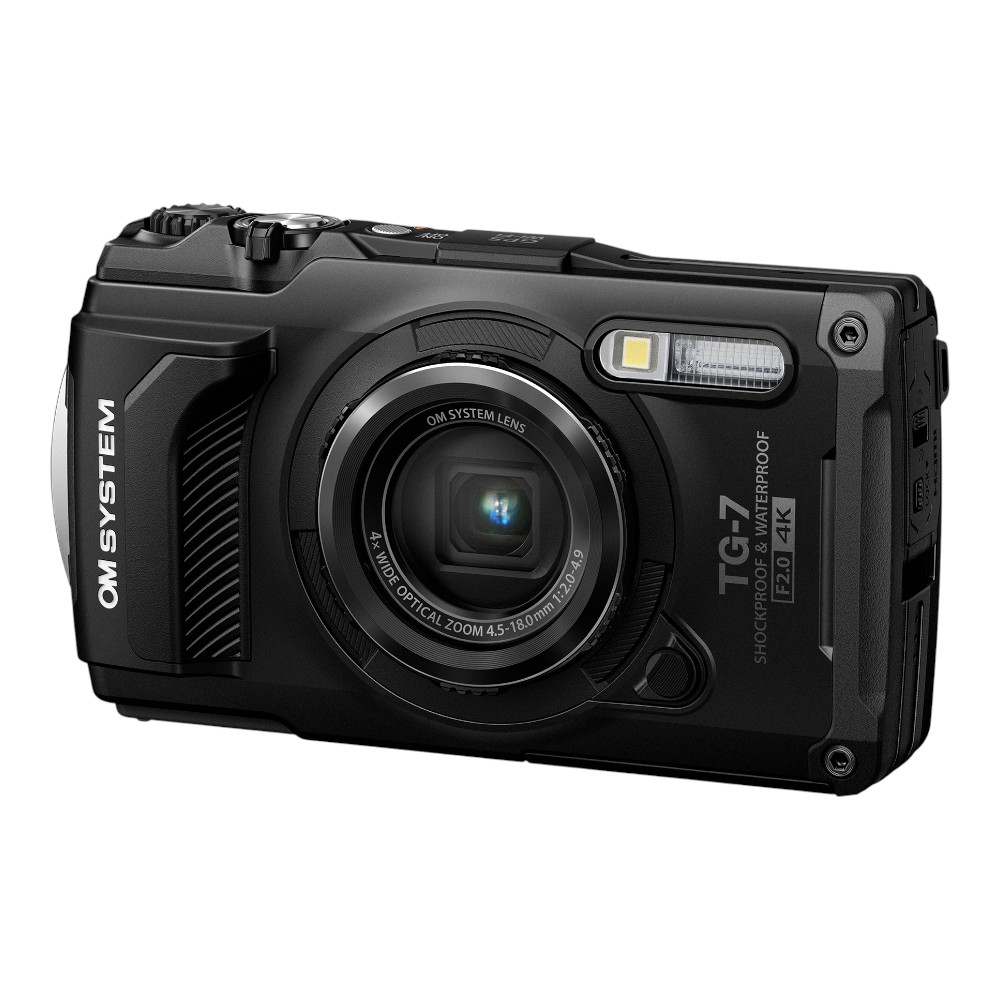
By considering these factors when choosing a memory card for your digital camera, you can ensure that your photos are safely stored and easily accessible whenever you need them.
Formatting Your Memory Card
Regularly formatting your memory card is essential to ensure optimal performance and prevent potential data loss. Here are the steps to format your memory card:
Step 1: Backup Your Data
Before formatting your memory card, make sure to back up all your photos and videos to a computer or external storage device.
Step 2: Access the Format Option
On your digital camera, navigate to the settings menu and look for the format option. Select the memory card you want to format.
Important:
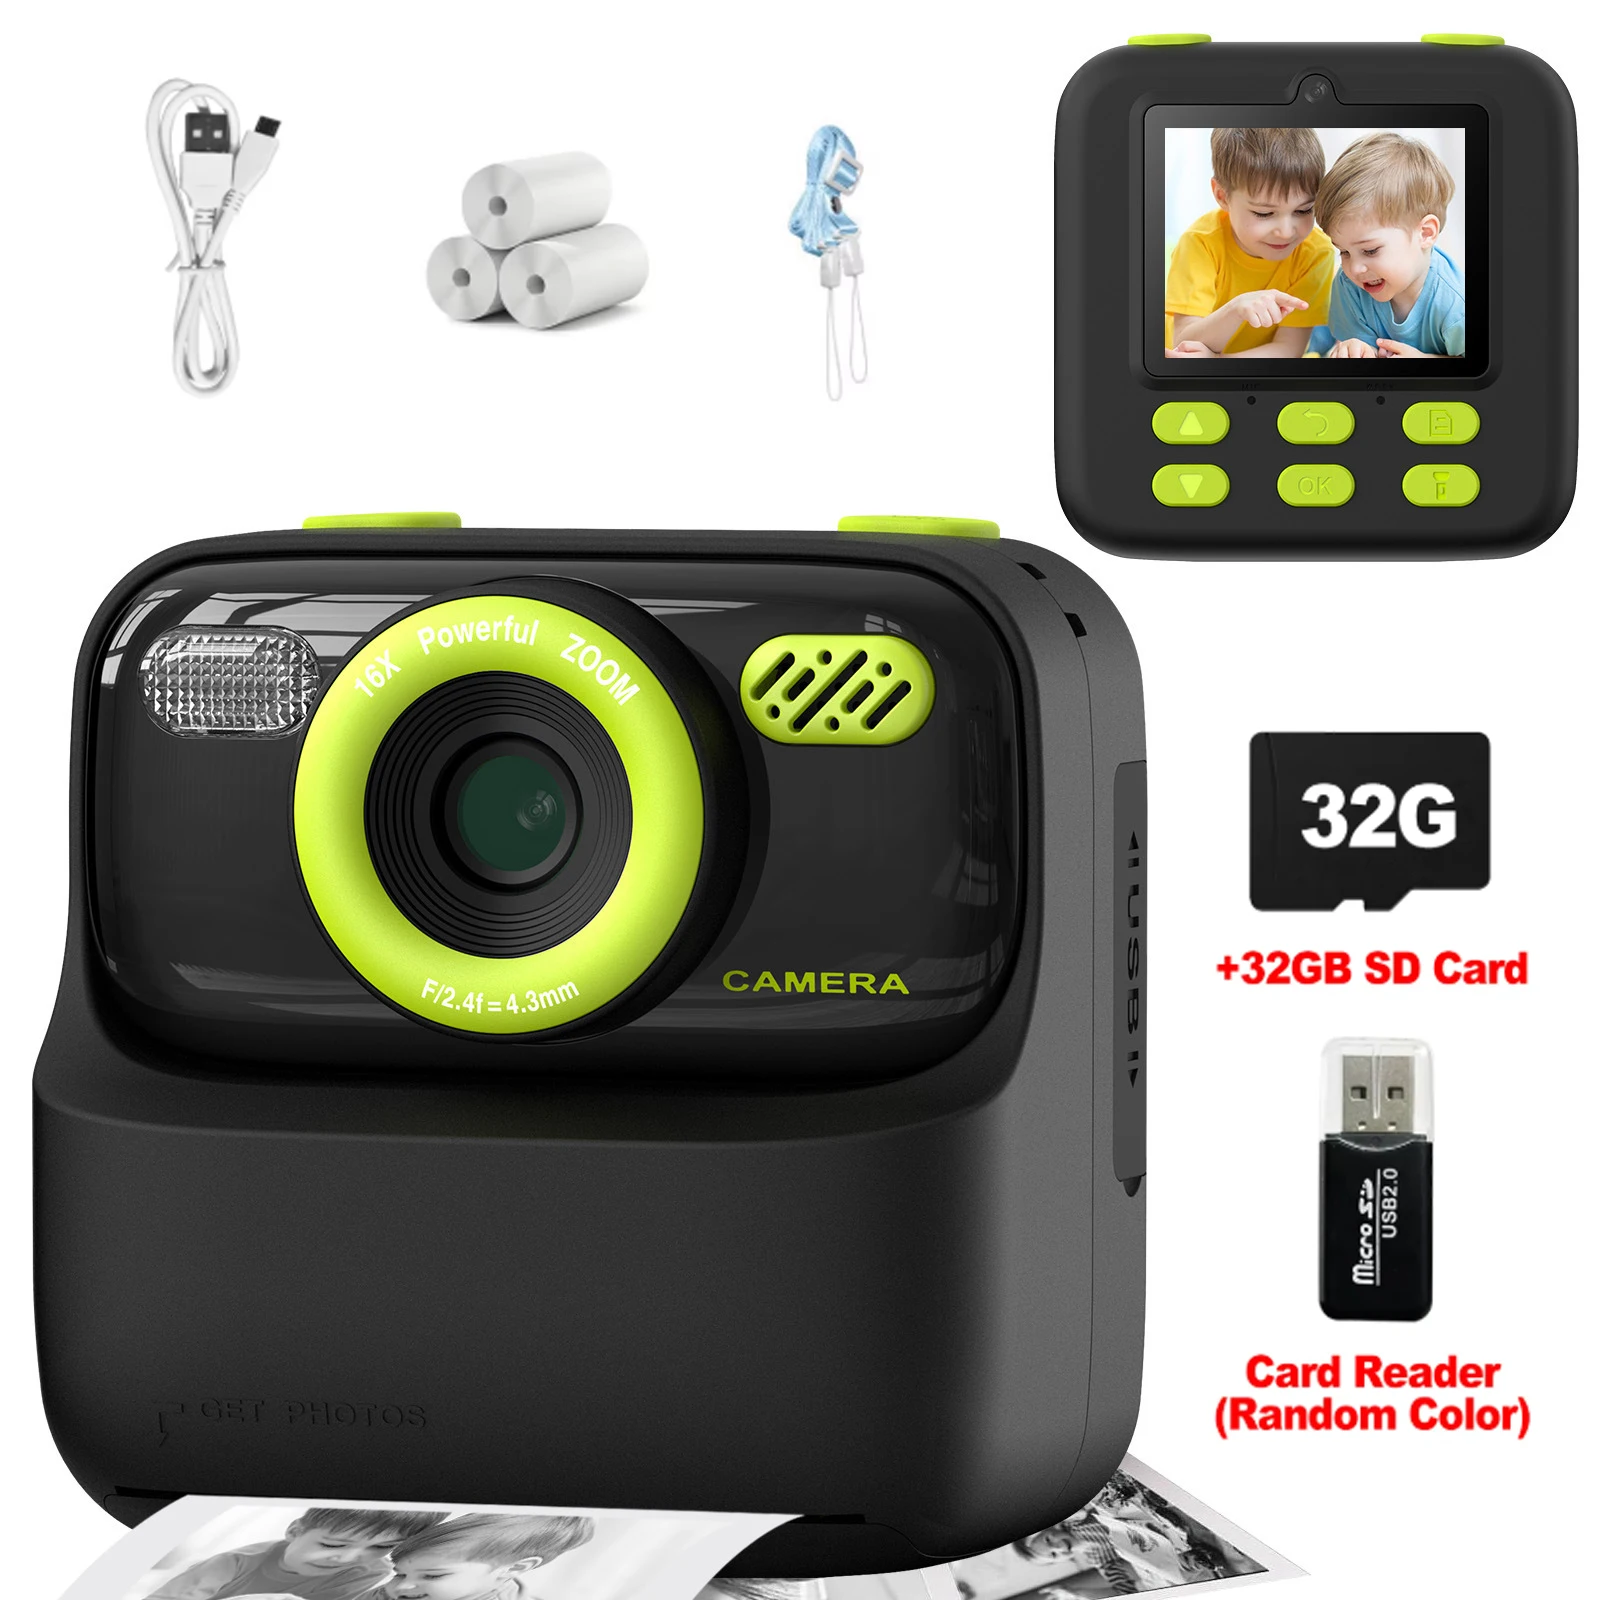
Formatting will erase all data on the memory card, so double-check that you have backed up your files before proceeding.
Once you confirm the format action, the camera will erase all data and prepare the memory card for future use.
Setting the Image Quality
One important aspect to consider when saving photos on a digital camera is the image quality setting. This setting determines the resolution and file size of the photos you capture. Higher quality settings result in larger file sizes but better image clarity and detail, while lower quality settings reduce file size but sacrifice image quality.
It’s essential to choose the right image quality setting based on your intended use for the photos. If you plan to print the photos or display them on a large screen, opt for a higher quality setting to ensure sharp and detailed images. However, if you only need the photos for online sharing or viewing on a small screen, a lower quality setting may suffice to save storage space on your camera.
Most digital cameras offer a range of image quality settings, such as JPEG Fine, JPEG Normal, and JPEG Basic. Experiment with different settings to find the right balance between image quality and file size that suits your needs.

Organizing Your Photos
Once you have saved your photos on your digital camera, it’s important to organize them properly to easily find and access them later. Here are some tips on how to organize your photos:
Create Folders
Start by creating folders on your computer or external storage device to categorize your photos. You can create folders based on the date, event, or subject of the photos.
Use Descriptive File Names
When saving your photos, use descriptive file names that will help you identify the content of the photo at a glance. Avoid generic file names like “IMG_001” and instead use names like “FamilyVacation_BeachSunset.jpg”.
- Organize by Date: Sort your photos by date to easily track the timeline of events.
- Tag Your Photos: Use tags or keywords to label your photos and make them searchable.
- Backup Your Photos: Make sure to regularly back up your photos to prevent loss in case of a computer crash or device failure.
Backing Up Your Photos
1. Regularly back up your photos: It’s important to create copies of your photos to prevent losing them in case your camera malfunctions or gets lost. Consider backing up your photos to an external hard drive, cloud storage service, or a computer.
2. Organize your backup files: Keep your backup files organized by creating folders and subfolders to categorize your photos. This will make it easier to locate specific images when needed.

3. Use automatic backup solutions: Take advantage of automatic backup solutions provided by some cameras or software programs. This will ensure that your photos are consistently backed up without you having to remember to do it manually.
4. Check your backups regularly: Periodically check your backup files to ensure that they are up to date and that all your photos have been successfully copied. This will give you peace of mind knowing that your precious memories are safe.
Transferring Photos to a Computer
Once you’ve taken photos on your digital camera, you’ll want to transfer them to your computer for safekeeping and sharing. Here’s how to do it:
1. Connect your camera to your computer
Use the USB cable that came with your camera to connect it to your computer. Make sure your camera is turned on and set to the correct mode for transferring photos.
2. Transfer the photos
Once connected, your computer should recognize the camera as a removable storage device. You can then open the folder containing your photos and copy them to your computer’s hard drive. Alternatively, you can use photo management software to import the photos.

Tip: It’s a good idea to organize your photos into folders on your computer to keep them organized and easy to find.
Using Cloud Storage Services
Another convenient way to save your photos from your digital camera is by using cloud storage services. Cloud storage allows you to upload your photos to a remote server, where you can access them from any device with an internet connection. Popular cloud storage services include Google Drive, Dropbox, and iCloud.
To save your photos using a cloud storage service, you will need to create an account and install the corresponding app on your digital camera or computer. Once the app is installed, you can easily upload your photos to the cloud and organize them into folders for easy access.
Cloud storage services offer a secure way to store your photos, as they often have built-in security features to protect your files. Additionally, many cloud storage services offer automatic backup options, ensuring that your photos are safe in case your digital camera is lost or damaged.
Deleting Unwanted Photos
Over time, your digital camera may accumulate a large number of photos that you no longer need or want. To free up space and keep your photo collection organized, it’s important to regularly delete unwanted photos. Here are some steps to help you efficiently delete unwanted photos from your digital camera:

1. Review Your Photos
Start by reviewing all the photos on your camera to identify which ones you want to delete. Look for blurry or out-of-focus shots, duplicates, or photos that simply don’t meet your quality standards.
2. Select and Delete
Once you’ve identified the unwanted photos, use the camera’s menu options to select and delete them. Some cameras allow you to select multiple photos at once for faster deletion. Be cautious and double-check before confirming the deletion to avoid accidentally deleting important photos.
Tip: Consider transferring any important photos to a computer or cloud storage before deleting them from your camera to ensure you have a backup.
Protecting Your Photos from Loss
Backing up your photos is essential to protect them from loss. Consider using cloud storage services like Google Drive, Dropbox, or iCloud to store copies of your photos online. This ensures that even if your camera is lost or damaged, your photos are safe and accessible from any device with an internet connection.
Additionally, regularly transferring your photos to a computer or external hard drive provides an extra layer of security. Create multiple backups in different locations to safeguard against potential data loss.
Remember to organize your photos into folders and label them appropriately for easy retrieval. By taking these steps, you can prevent the heartbreak of losing precious memories captured on your digital camera.
FAQ
How can I save photos on a digital camera?
There are several ways to save photos on a digital camera. The most common method is to insert a memory card into the camera and save the photos directly onto the card. Another option is to connect the camera to a computer using a USB cable and transfer the photos to the computer’s hard drive. Some cameras also have built-in Wi-Fi or Bluetooth connectivity, allowing you to transfer photos wirelessly to a computer or other device.
What is the best way to organize and save photos on a digital camera?
Organizing and saving photos on a digital camera can be done in several ways. One popular method is to create folders on the memory card or computer and categorize the photos based on date, location, or event. You can also use photo management software to tag and organize photos with keywords, making it easier to search and retrieve specific images. It’s important to regularly back up your photos to prevent data loss, either by saving them to an external hard drive or cloud storage.




I’ve always struggled with transferring photos from my camera to my computer. Are there any specific software recommendations that make this process easier?
Using software like Adobe Lightroom or Windows Photo Import can simplify the transfer process. These programs allow you to import photos directly and organize them on your computer.
I had a bad experience with a cheap memory card that failed and I lost a whole trip's worth of photos. Now I always invest in a reliable brand. It's just not worth the risk!