
 Carmen J. Moore

Installing a security camera is an essential step in securing your home or business. However, many people are intimidated by the thought of wiring a security camera system themselves. The good news is that with the right tools and knowledge, you can easily wire a security camera without the need for professional help.
In this step-by-step guide, we will walk you through the process of wiring a security camera system from start to finish. We will cover everything from choosing the right cables to connecting the camera to your monitoring device. By the end of this guide, you will have the confidence and skills to wire a security camera system like a pro.
Whether you’re looking to install a single camera or a complex surveillance system, this guide will provide you with the information you need to get the job done right. So, let’s dive in and learn how to wire a security camera system to protect your property and loved ones.


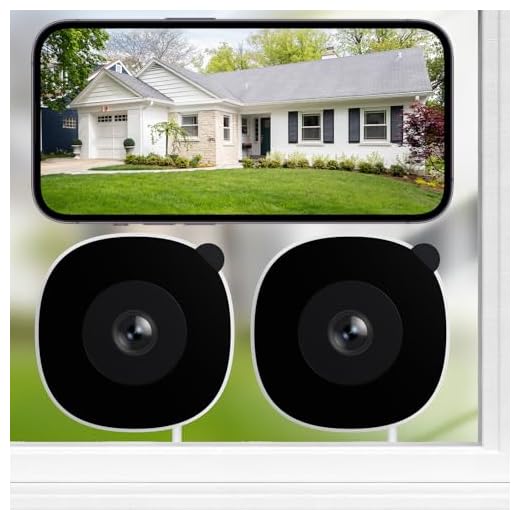
Steps to wire a security camera
Wiring a security camera requires careful planning and attention to detail. Follow these steps to ensure a successful installation:
- Identify the mounting location for the camera.
- Locate a power source nearby for the camera.
- Run the cables from the camera to the power source and recording device.
- Connect the power cable to the camera and the power source.
- Connect the video cable to the camera and the recording device.
- Secure the cables to prevent interference or damage.
- Test the camera to ensure it is functioning properly.
- Adjust the camera angle and settings as needed.
- Monitor the camera feed to ensure proper surveillance.
Gather necessary tools
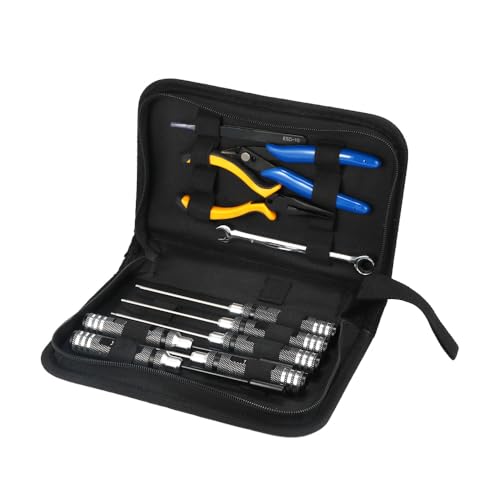
Before you start wiring your security camera, make sure you have all the necessary tools and materials on hand. Here are the tools you will need:
- Screwdriver (Phillips and flathead)
- Drill and drill bits
- Fish tape or wire pulling tool
- Tape measure
- Wire cutters/strippers
- Power drill
- Ladder (if needed for installation)
Choose the Right Location
When wiring a security camera, selecting the right location is crucial for ensuring optimal surveillance coverage. Here are some key factors to consider when choosing the location for your security camera:
| Visibility: | Ensure that the camera has a clear line of sight to the area you want to monitor. Avoid obstructions such as trees, bushes, or walls that could block the view. |
| Height: | Mount the camera at an appropriate height to capture the desired field of view. Generally, a height of 8-10 feet is recommended for outdoor cameras. |
| Weatherproofing: | If installing an outdoor camera, make sure it is weatherproof and can withstand the elements to ensure long-term functionality. |
| Lighting: | Consider the lighting conditions in the area where the camera will be installed. Choose a location that provides adequate lighting for clear video footage. |
| Accessibility: | Ensure that the camera is easily accessible for maintenance and adjustments. Avoid placing it in hard-to-reach locations that may require frequent maintenance. |
Determine the power source
Before wiring your security camera, you need to determine the power source for the camera. Most security cameras require a power source to operate, and there are a few different options available:
- Power over Ethernet (PoE): Some security cameras can be powered using PoE, which means they receive power and data through a single Ethernet cable. If your camera supports PoE, you will need a PoE injector or PoE switch to provide power.
- DC power supply: Many security cameras come with a DC power adapter that can be plugged into a standard electrical outlet. Make sure to check the voltage requirements of your camera and use the appropriate power supply.
- Battery-powered: Some wireless security cameras are battery-powered, eliminating the need for a wired power source. If you choose a battery-powered camera, make sure to monitor the battery life and replace or recharge the batteries as needed.
Once you have determined the power source for your security camera, you can proceed with wiring the camera according to the manufacturer’s instructions.
Run the cables
Once you have determined the optimal locations for your security cameras, it’s time to run the cables. Here’s how to do it:
- Start by measuring the distance between the camera and the recording device or power source. This will help you determine how much cable you need.
- Use cable clips or staples to secure the cables along the walls or ceiling. Make sure the cables are out of reach and protected from potential damage.
- If you need to run cables outdoors, consider using weatherproof conduit to protect them from the elements.
- For a clean and professional installation, you can also run the cables through the walls or attic. Just make sure to follow building codes and regulations.
Pro Tip:
Label each cable with its corresponding camera or device to make future maintenance or troubleshooting easier.
Connect the camera to the DVR
After mounting the security camera, the next step is to connect it to the DVR. Follow these steps:
- Locate the BNC video connector on the camera.
- Connect a BNC cable to the camera’s video output.
- Connect the other end of the BNC cable to one of the video inputs on the DVR.
- If your camera has audio capabilities, locate the audio output on the camera.
- Connect an audio cable to the camera’s audio output.
- Connect the other end of the audio cable to the audio input on the DVR (if available).
- Secure all connections and ensure they are tight to prevent signal loss.
Adjust camera settings
Once your security camera is wired and installed, it’s important to adjust the camera settings to ensure optimal performance. Here are some key settings you may need to adjust:
Resolution: Set the resolution of the camera based on your preferences and the level of detail you need to capture.
Frame rate: Adjust the frame rate to balance video quality and storage space. Higher frame rates may result in smoother video but require more storage.
Exposure: Fine-tune the exposure settings to ensure clear images in different lighting conditions.
Motion detection: Enable and configure motion detection settings to trigger recordings or alerts when motion is detected.
Network settings: Configure network settings such as IP address, DNS, and port forwarding to enable remote access to the camera.
By adjusting these settings, you can customize your security camera to meet your specific needs and enhance its effectiveness in monitoring your property.
Test the camera
Once you have connected the camera to the power source and the recording device, it’s important to test the camera to ensure it’s functioning properly. Here are the steps to test your security camera:
- Check the power supply: Make sure the camera is receiving power by checking the power source and connections.
- Adjust the camera angle: Ensure the camera is positioned correctly and capturing the desired area.
- Check the image quality: View the camera feed on the monitoring device to verify the image quality and clarity.
- Test the night vision: If your camera has night vision capabilities, test it in low light conditions to see if it functions as expected.
- Check the motion detection: Walk in front of the camera to test the motion detection feature and confirm it triggers recording or alerts.
- Review the recording: Check the recorded footage to ensure the camera is capturing and storing video properly.
By following these steps, you can ensure your security camera is set up correctly and providing the intended surveillance coverage.



Great article! I didn't realize how important it is to consider lighting when choosing a camera location. I'll pay more attention to that.
I just installed two security cameras using this guide. I found measuring the distance for cable length really helpful. I used RG59 coaxial cables for video and separate power cables. It was a bit tricky getting everything through the attic, but following the steps made it easier. Make sure to double-check camera angles once everything is hooked up!
Glad to hear the guide helped! Using RG59 is a solid choice for video quality. Don't forget to test the angles after installation to ensure proper coverage.
What type of cable do I need for a PoE security camera installation? I want to make sure I get the right one before starting. Thanks!
I recently wired my own security camera, and it was easier than I expected! I used a Power over Ethernet setup, which really simplified the process since I only had to run one cable. I mounted it about 9 feet high for better coverage and avoided obstructions. Just a tip: make sure to test the camera once it's up to adjust the angle correctly!
Thanks for sharing your experience! Using PoE can definitely streamline the installation process. Just remember to check the camera's specifications to ensure it supports PoE.
I'm planning to install a security camera at my front door, but I'm unsure about the best height to mount it. What do you recommend?