
 Carmen J. Moore
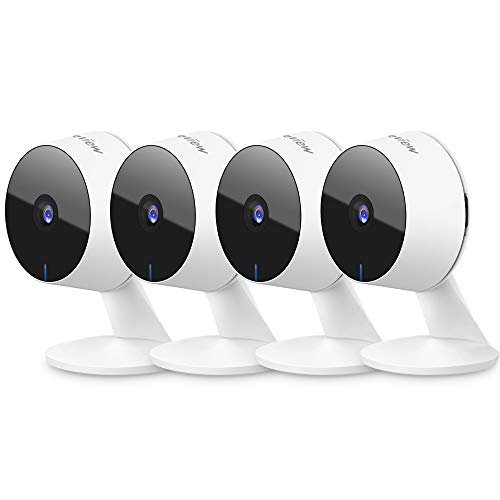
If you’re looking to enhance the security of your property, adding a camera to your Night Owl security system is a great step. Night Owl is known for its high-quality surveillance equipment that provides reliable monitoring and peace of mind.


Adding a camera to your Night Owl system is a straightforward process that can be done with a few simple steps. Whether you’re looking to expand your existing setup or setting up a new system, this guide will walk you through the process of adding a camera to your Night Owl security system.
Step-by-step guide to adding a camera to Night Owl Security
Adding a camera to your Night Owl Security system is a straightforward process that can enhance your home or business surveillance. Follow these steps to successfully add a camera:
- Locate the camera installation spot: Choose a strategic location that covers the desired area and has a power source nearby.
- Mount the camera: Use the provided mounting hardware to securely attach the camera to the chosen spot.
- Connect the camera to the DVR: Run a cable from the camera to the DVR, ensuring a secure connection.
- Power up the camera: Plug the camera into a power source to activate it.
- Configure the camera: Access the DVR’s settings to add the new camera and adjust its settings as needed.
- Test the camera: Verify that the camera is functioning correctly by monitoring the live feed on your monitor or mobile device.
- Adjust settings: Fine-tune the camera settings such as resolution, motion detection, and recording preferences to meet your security needs.
Check the compatibility of the camera
Before adding a camera to your Night Owl security system, it is essential to ensure that the camera you are planning to install is compatible with your existing system. Night Owl provides a list of compatible cameras on their website, so make sure to check this list before purchasing a new camera.
If the camera you have is not on the compatibility list, it may not work properly with your Night Owl system. In this case, you will need to choose a camera that is compatible or consider upgrading your system to accommodate the new camera.
Locate the camera installation spot
Before installing your Night Owl security camera, you need to carefully choose the spot where you want to install it. Consider factors such as the coverage area, visibility, and accessibility.
Make sure the camera is placed in a strategic location that provides a clear view of the area you want to monitor. Avoid placing the camera in areas where it might be obstructed by obstacles like trees or walls.
Once you have selected the ideal spot for your camera, proceed with the installation process according to the manufacturer’s instructions.
Mount the camera securely
When mounting your Night Owl security camera, make sure to choose a secure location that provides a clear view of the area you want to monitor. Use the mounting hardware provided with the camera to securely attach it to a wall or ceiling. Make sure the camera is positioned at the correct angle for optimal coverage.
It’s important to mount the camera high enough to prevent tampering or vandalism. Ensure that the camera is out of reach and protected from harsh weather conditions. Once the camera is securely mounted, adjust the settings and test the camera to ensure it is functioning properly.
Connect the camera to power
Before installing the camera, make sure to connect it to power. Night Owl cameras typically come with power adapters that need to be plugged into a power outlet.
Follow these steps to connect the camera to power:
- Locate the power adapter that came with your camera.
- Connect the power adapter to the camera.
- Plug the power adapter into a nearby power outlet.
- Make sure the power source is stable and reliable to ensure continuous operation of the camera.
Connect the camera to the DVR/NVR
Once you have identified the appropriate ports on your DVR/NVR, follow these steps to connect the camera:
- Locate the BNC connectors on both the camera and DVR/NVR.
- Insert one end of the coaxial cable into the BNC connector on the camera.
- Connect the other end of the coaxial cable to the corresponding BNC input on the DVR/NVR.
- If your camera requires power, connect the power adapter to the camera and plug it into a power source.
- Repeat this process for each camera you wish to add to your Night Owl security system.
Once all cameras are connected, you can power on the DVR/NVR and check the live feed to ensure that the cameras are successfully added to your system.
Configure the camera settings
Once you have added a camera to your Night Owl security system, it is important to configure the camera settings to ensure optimal performance. Here is a step-by-step guide to help you configure the camera settings:
| 1. | Access the camera settings menu on your Night Owl security system. |
| 2. | Adjust the camera’s resolution settings to your desired level of clarity. |
| 3. | Set up motion detection alerts by defining the motion detection zones and sensitivity levels. |
| 4. | Configure the camera’s night vision settings for optimal performance in low-light conditions. |
| 5. | Enable or disable audio recording based on your preferences and privacy concerns. |
| 6. | Save the changes and test the camera to ensure that the settings are properly applied. |
Test the camera’s functionality
Once you have successfully added the camera to your Night Owl security system, it is important to test its functionality to ensure everything is working properly. Here are some steps you can follow to test the camera:
- Access the camera feed on your monitor or mobile device.
- Check the video quality to ensure it is clear and in focus.
- Verify that the camera is capturing the intended area and there are no blind spots.
- Test the camera’s night vision capabilities by viewing the feed in low light conditions.
- Adjust the camera’s settings if necessary to optimize its performance.
By testing the camera’s functionality, you can ensure that your Night Owl security system is providing the surveillance coverage you need for your home or business.
Monitor the camera’s feed on your device
Once you have successfully added the camera to your Night Owl security system, you can easily monitor the camera’s feed on your device. Here’s how:
- Open the Night Owl app on your smartphone or tablet.
- Log in to your account using your username and password.
- Locate the camera you want to monitor in the app’s interface.
- Tap on the camera to view the live feed.
- You can now see real-time footage from the camera on your device.

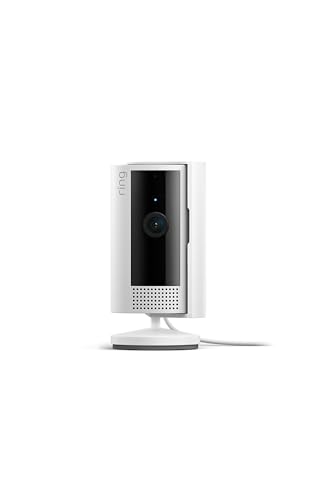



Just a tip: always check the compatibility list on Night Owl’s website before buying a new camera to avoid issues later.
Can someone clarify what type of cables I need to connect the camera to the DVR? Is it just standard coaxial?
Yes, you'll need coaxial cables with BNC connectors to connect the camera to the DVR.
I disagree about how simple the setup is. I struggled a bit with the camera positioning and getting the angles right. It can be tricky if you're not used to it.
I'm thinking about adding an outdoor camera to my Night Owl system. Does anyone know if the Night Owl cameras are weatherproof?
I recently added a camera to my Night Owl setup, and it was easier than I thought! The instructions were clear, and I appreciated the option to adjust settings later. Just make sure you have a good power source nearby before you start.