
 Carmen J. Moore

Are you an astronomy enthusiast looking to capture stunning images of the night sky? Attaching a digital camera to your telescope can open up a whole new world of possibilities for astrophotography. With the right equipment and technique, you can capture breathtaking images of planets, stars, and nebulae.
But how exactly do you attach a digital camera to a telescope? In this guide, we will walk you through the step-by-step process of connecting your camera to your telescope, from choosing the right adapter to adjusting the settings for optimal results. Whether you’re a beginner or a seasoned astronomer, this guide will help you take your astrophotography to the next level.
So grab your telescope, digital camera, and a sense of wonder, and let’s dive into the exciting world of capturing the cosmos through your lens!
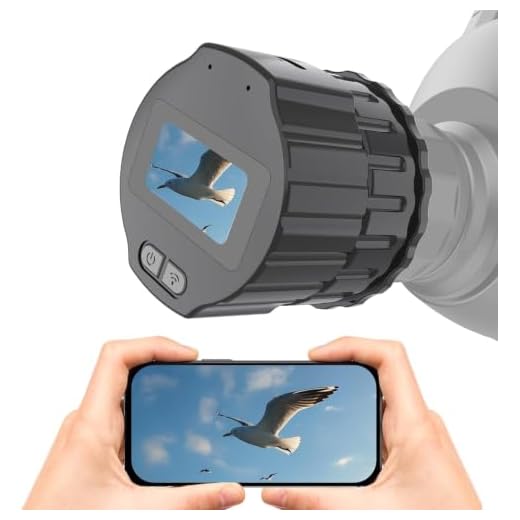



Step-by-step Guide: Attaching a Digital Camera to a Telescope
Attaching your digital camera to a telescope can enhance your astrophotography experience. Follow these steps to securely attach your camera:
1. Select the appropriate T-ring adapter for your camera model.
2. Remove the eyepiece from the telescope’s focuser.
3. Attach the T-ring adapter to the camera’s lens mount.
4. Connect the T-ring adapter to the telescope’s focuser, ensuring a secure fit.

5. Adjust the telescope’s focus to achieve a sharp image on the camera’s display.
6. Use a remote shutter release or timer to minimize camera shake during exposure.
7. Experiment with different exposure settings to capture stunning images of celestial objects.
With these steps, you’ll be able to capture breathtaking photos of the night sky using your digital camera and telescope setup.
Choosing the Right Camera for Astrophotography
When selecting a digital camera for astrophotography, there are several key factors to consider to ensure you capture stunning images of the night sky. Here are some tips to help you choose the right camera for your needs:

- Sensor Size: A larger sensor size will generally result in better image quality and low-light performance. Consider cameras with APS-C or full-frame sensors for astrophotography.
- Low Noise Performance: Look for cameras with good low-light performance and minimal noise levels at high ISO settings. This will help reduce graininess in your astro images.
- Manual Settings: Ensure the camera allows you to adjust settings such as exposure time, ISO, and aperture manually. This level of control is essential for astrophotography.
- Live View Mode: Live view mode is beneficial for framing and focusing your shots accurately. Look for cameras with a high-quality live view display.
- Compatibility with Telescopes: Check that the camera is compatible with your telescope setup. Some cameras may require additional adapters or accessories to attach to a telescope.
Understanding Telescope Mounting Systems
When attaching a digital camera to a telescope, understanding the different types of telescope mounting systems is crucial. The mounting system determines how the camera will be attached to the telescope and how stable the setup will be during observation or photography sessions.
Types of Mounting Systems
There are two primary types of mounting systems used for telescopes:
| Mounting System | Description |
|---|---|
| Alt-Azimuth Mount | This type of mount allows for movement in two directions – altitude (up and down) and azimuth (left and right). Alt-azimuth mounts are easier to use for beginners but can be less stable for long-exposure photography. |
| Equatorial Mount | An equatorial mount is designed to compensate for Earth’s rotation, allowing the telescope to track celestial objects accurately. Equatorial mounts are preferred for astrophotography and long-exposure imaging due to their stability. |
Choosing the right mounting system for your telescope and camera setup will depend on your specific needs and the type of photography or observation you plan to do. Consider the stability, ease of use, and tracking capabilities when selecting a mounting system for your digital camera and telescope combination.
Attaching the Camera to the Telescope
Attaching a digital camera to a telescope requires the use of a T-ring and a T-adapter. Follow these steps to attach your camera to your telescope:
| Step 1: | Remove the eyepiece from the telescope’s focuser. |
| Step 2: | Attach the T-ring to the camera by screwing it into the camera’s lens mount. |
| Step 3: | Connect the T-adapter to the T-ring. |
| Step 4: | Insert the T-adapter into the telescope’s focuser. |
| Step 5: | Secure the connection and make sure the camera is aligned with the telescope’s optics. |
Once the camera is securely attached to the telescope, you can start capturing stunning images of celestial objects.
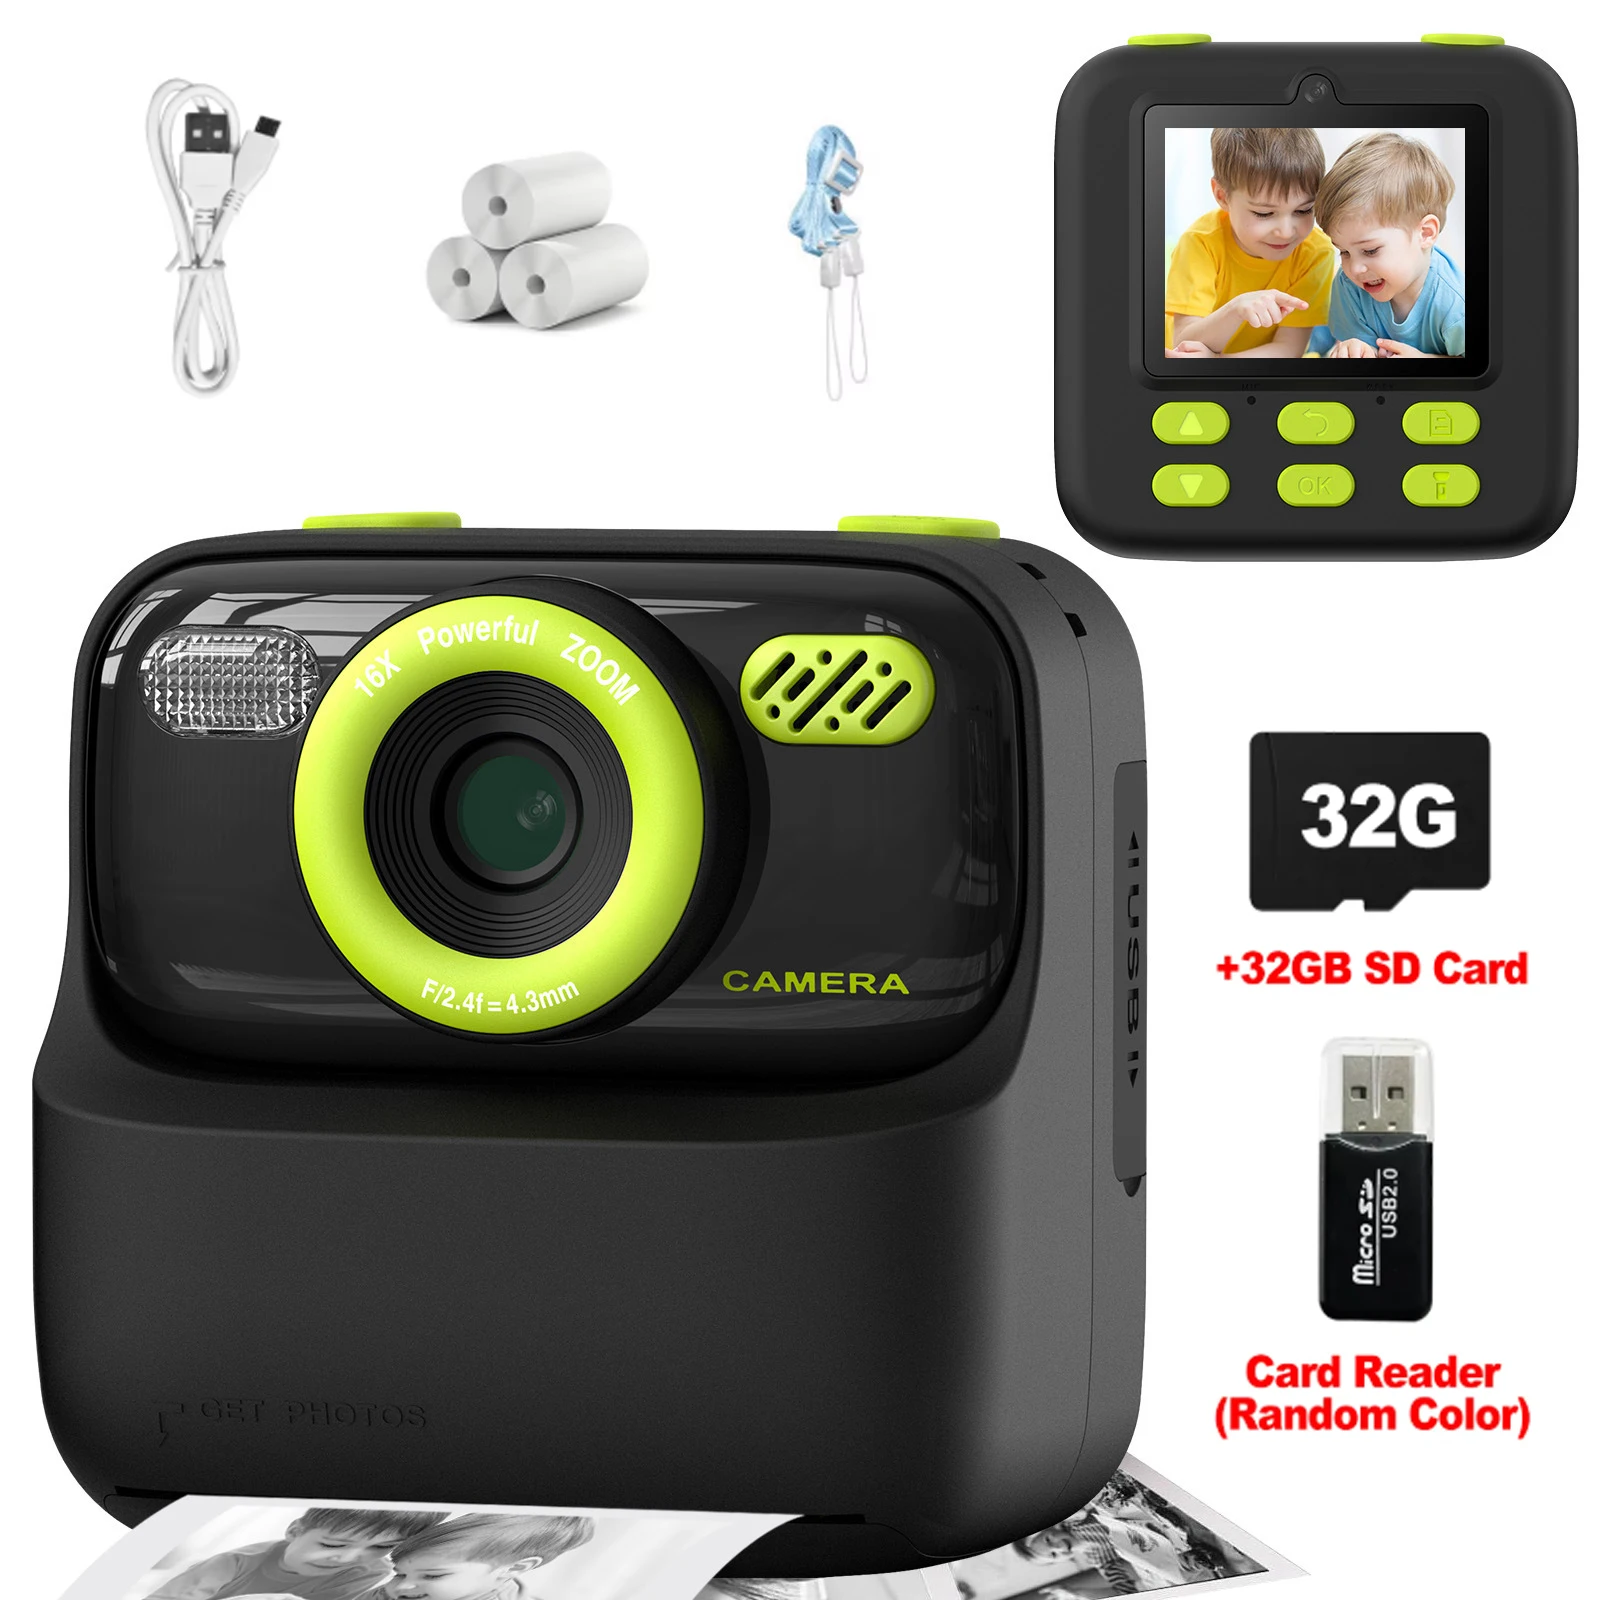
Adjusting Camera Settings for Astrophotography
When attaching a digital camera to a telescope for astrophotography, it is crucial to adjust the camera settings to capture stunning images of the night sky. Here are some key settings to consider:
1. Manual Mode: Set your camera to manual mode to have full control over exposure settings such as aperture, shutter speed, and ISO.
2. Aperture: Choose a wide aperture (low f-stop) to let in more light and capture faint objects in the sky.
3. Shutter Speed: Use a long exposure time to gather more light from distant celestial objects, but be mindful of star trails.
4. ISO: Increase the ISO sensitivity to capture more light in low-light conditions, but avoid excessive noise.

5. White Balance: Adjust the white balance settings to ensure accurate color reproduction in your astrophotography images.
Experiment with these settings and make adjustments based on the conditions of the night sky to achieve the best results in capturing the beauty of the universe.
Capturing Stunning Images of the Night Sky
One of the most exciting aspects of attaching a digital camera to a telescope is the ability to capture stunning images of the night sky. With the right equipment and techniques, you can photograph planets, stars, galaxies, and other celestial objects in incredible detail.
Equipment: To capture high-quality images, you will need a digital camera with manual settings, a telescope with a stable mount, and a T-ring adapter to connect the camera to the telescope. It’s also helpful to have a remote shutter release to minimize camera shake.
Techniques: For best results, set your camera to manual mode and adjust the exposure settings based on the brightness of the object you are photographing. Use a sturdy tripod to keep the telescope steady, and consider using a tracking mount to compensate for the Earth’s rotation.

Practice: Experiment with different settings and techniques to find the best combination for capturing clear and detailed images. Practice patience and persistence, as astrophotography can be challenging but incredibly rewarding when you capture that perfect shot of the night sky.
Tips and Tricks for Perfecting Your Astrophotography Skills
Are you looking to take your astrophotography to the next level? Here are some tips and tricks to help you perfect your skills:
1. Use a Sturdy Tripod
One of the keys to capturing clear and sharp images of the night sky is to use a sturdy tripod. This will help eliminate any camera shake and ensure that your photos are crisp and in focus.
2. Experiment with Different Camera Settings
Don’t be afraid to experiment with different camera settings such as exposure time, ISO, and aperture. Adjusting these settings can help you capture the perfect shot of the stars, galaxies, and other celestial objects.
FAQ
What equipment do I need to attach a digital camera to a telescope?
To attach a digital camera to a telescope, you will need a T-ring specific to your camera model, a T-adapter that fits your telescope’s focuser, and possibly a camera control software for capturing images.

Can I use any digital camera with any telescope?
Not every digital camera can be easily attached to a telescope. You need to have the right adapters and accessories that match the camera’s mount and the telescope’s focuser. It’s essential to check compatibility before attempting to attach a digital camera to a telescope.
What are the benefits of attaching a digital camera to a telescope?
Attaching a digital camera to a telescope allows you to capture high-quality images of celestial objects, such as planets, stars, and galaxies. It enables you to take long-exposure shots to reveal details that are not visible to the naked eye. Additionally, you can share your astronomical observations with others and create stunning astrophotography images.


What type of T-ring do I need for a Canon camera?
I recently tried attaching my Nikon D5300 to my telescope using this guide. The step with the T-adapter was crucial for stability. I was surprised at how clear the images turned out! Highly recommend experimenting with different exposure settings.
Just a tip: using a sturdy tripod makes a huge difference in image clarity!