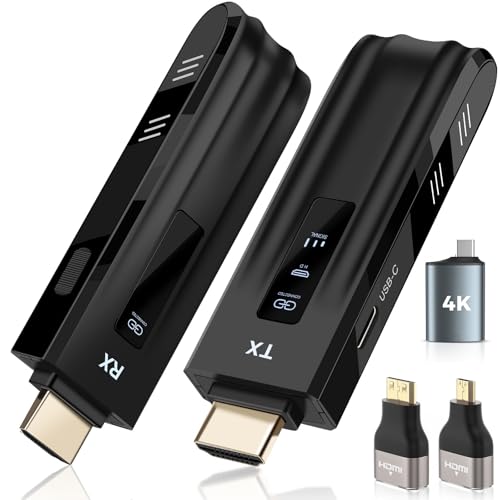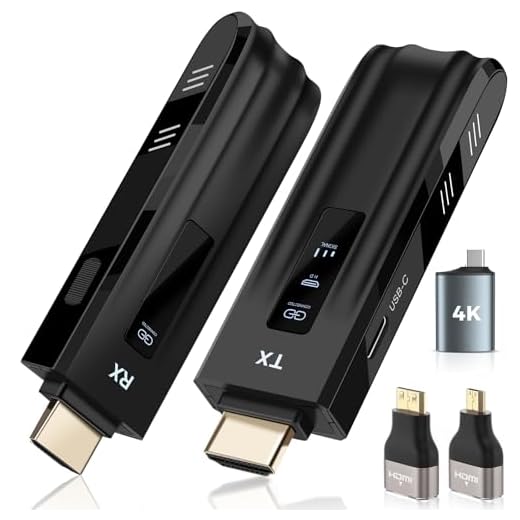


Wireless security cameras provide a convenient way to monitor your home or business remotely. However, sometimes you may want to view the camera feed on a larger screen, such as your TV, for better visibility and convenience. In this article, we will guide you on how to connect your wireless security camera to your TV so you can easily view the live footage.
There are several methods to view your wireless security camera on a TV. One common way is to use a compatible smart TV that supports the camera’s app. You can download the app on your TV, log in to your camera’s account, and access the live feed directly on the big screen.
Another option is to connect your camera to a streaming device, such as a Chromecast or Roku, and then cast the camera feed to your TV. This method allows you to view the camera footage on any TV with a HDMI port, even if it’s not a smart TV.
Step-by-Step Guide for Viewing Wireless Security Camera on TV
If you want to view your wireless security camera feed on your TV, follow these simple steps:
Step 1: Make sure your TV supports the necessary input connections, such as HDMI or VGA.
Step 2: Connect the wireless security camera receiver to the TV using the appropriate cable.
Step 3: Power on the TV and switch to the correct input source where the camera feed is connected.
Step 4: Turn on the wireless security camera and ensure it is connected to the receiver.
Step 5: Wait for the camera feed to display on the TV screen.
Step 6: Adjust the camera angle and settings as needed to optimize the viewing experience.
Step 7: Enjoy monitoring your space on the big screen!
Check Compatibility of Your Camera and TV
Before attempting to view your wireless security camera on your TV, it’s important to ensure that your camera and TV are compatible with each other.
Check the specifications of your camera to see if it supports the necessary protocols for streaming to a TV, such as HDMI or Wi-Fi Direct. Additionally, make sure your TV has the appropriate input ports or supports wireless streaming from external devices.
Connect Your Camera to the TV
To view your wireless security camera on your TV, you need to connect the camera to the TV. Here is a step-by-step guide on how to do it:
Step 1: Check Compatibility
Make sure your wireless security camera and TV are compatible for connection. Check the camera’s user manual for details on how to connect it to external devices like a TV.
Step 2: Use HDMI Cable
Connect your wireless security camera to the TV using an HDMI cable. Plug one end of the HDMI cable into the camera’s HDMI output port and the other end into the TV’s HDMI input port. Make sure both devices are turned off before making the connection.
Once the cable is connected, turn on both the camera and the TV. Use the TV’s input select feature to choose the HDMI input where the camera is connected.
Use HDMI Cable for Wired Connection
If your wireless security camera system has an HDMI output, you can easily connect it to your TV using an HDMI cable. This method provides a reliable and stable connection for viewing your camera footage on a larger screen.
To set up the connection, simply plug one end of the HDMI cable into the HDMI output port on your security camera system and the other end into an available HDMI input port on your TV. Once connected, switch your TV to the corresponding HDMI input source to view the camera feed.
Using an HDMI cable eliminates the need for a wireless network connection and ensures minimal latency, making it ideal for real-time monitoring of your security cameras on your TV.
Set Up Wireless Connection if Supported
If your wireless security camera supports Wi-Fi connectivity, you can easily set up a wireless connection to view the camera feed on your TV. Here are the steps to follow:
1. Connect the Camera to Your Wi-Fi Network: Use the camera’s setup instructions to connect it to your Wi-Fi network. Make sure the camera and your TV are on the same network.
2. Install the Camera’s App on Your Smart TV: If your smart TV supports the camera’s app, download and install it from the app store on your TV.
3. Pair the Camera with Your TV: Follow the app’s instructions to pair the camera with your TV. This usually involves scanning a QR code or entering a unique code.
4. View the Camera Feed on Your TV: Once the camera is paired with your TV, you can now view the live feed from the camera on your TV screen.
Note: If your camera does not support wireless connectivity, you may need to use additional devices like a streaming device or a video encoder to connect the camera to your TV.
Access Camera’s IP Address
Before you can view your wireless security camera on your TV, you need to know the camera’s IP address. To find this information, you can usually check the camera’s settings or documentation. Once you have the IP address, you can enter it into your TV’s browser or a compatible app to access the camera’s live feed. Make sure the camera and TV are connected to the same network for seamless viewing.
Install Viewing App on Your TV
Another option to view your wireless security camera on your TV is to install a viewing app directly on your smart TV. Many smart TVs come with app stores where you can download various applications, including those designed for viewing security camera feeds.
Here are the steps to install a viewing app on your TV:
- Turn on your smart TV and navigate to the app store on your TV’s menu.
- Search for a compatible viewing app for your wireless security camera system. Some popular apps include “IP Cam Viewer” or “tinyCam Monitor.”
- Download and install the selected app on your smart TV.
- Launch the app and follow the on-screen instructions to connect it to your wireless security camera system.
- Once connected, you should be able to view the live feed from your security cameras directly on your TV screen.
Installing a viewing app on your smart TV provides a convenient way to monitor your security cameras without the need for additional hardware or cables.
Configure App Settings for Camera Feed
Before viewing your wireless security camera feed on your TV, you need to configure the app settings for seamless connectivity. Here’s how you can do it:
- Open the camera app on your smartphone or tablet that is connected to the security camera.
- Go to the settings menu within the app and look for options related to streaming or casting.
- Enable the option that allows you to stream the camera feed to other devices.
- Make sure your TV is connected to the same Wi-Fi network as your smartphone or tablet.
- Launch the app on your mobile device and select the option to cast or stream the camera feed to your TV.
- Follow the on-screen instructions to establish the connection between your device and the TV.
Once the app settings are configured correctly, you should be able to view the live feed from your wireless security camera on your TV screen effortlessly.
Adjust Camera Angle and Quality
Once you have successfully connected your wireless security camera to your TV, it’s important to adjust the camera angle and quality for optimal viewing experience. Here are a few tips:
1. Camera Angle: Make sure the camera is positioned at the right angle to capture the desired area. You may need to adjust the camera’s tilt, pan, and zoom settings to get the best view.
2. Image Quality: Check the camera’s image quality settings to ensure clear and crisp video footage on your TV screen. Adjust the resolution, frame rate, and brightness as needed.
3. Lighting Conditions: Pay attention to the lighting conditions in the area where the camera is installed. Make sure there is enough light for the camera to capture clear images, especially in low-light situations.
4. Test and Adjust: After making any changes to the camera angle and quality settings, test the camera feed on your TV to see if the changes have improved the viewing experience. Adjust as necessary until you are satisfied with the results.
Enjoy Viewing Your Security Camera on TV
Watching your security camera footage on your TV can provide a larger and clearer view of your surroundings, giving you peace of mind and enhancing your security. Here’s how you can easily set up your wireless security camera to display on your TV:
Step 1: Connect Your Camera to Your TV
Start by connecting your wireless security camera to your home network. Most modern security cameras offer Wi-Fi connectivity, making it easy to link them to your network. Once connected, you can install the camera’s app on your smart TV or streaming device if it’s compatible.
Step 2: Access the Camera Feed on Your TV
Open the camera app on your TV or streaming device and select the option to view the live feed from your security camera. Make sure your camera is properly positioned to capture the desired area and adjust the settings for optimal viewing.
Tip: Consider setting up multiple cameras around your property for comprehensive coverage and peace of mind.
With your security camera feed displayed on your TV, you can easily monitor your property, keep an eye on your loved ones, and ensure your home is secure at all times.


